Posted on

Beginners guide to Recon-ng

Hello, aspiring ethical hackers. In our previous blogpost, you learnt in detail about OSINT. In this article, you will learn about Recon-ng, a OSINT gathering tool.

Recon-ng is an open-source intelligence gathering tool aimed at reducing the time spent harvesting information from open sources. It is a full-featured reconnaissance framework designed to gather OSINT information very quickly.

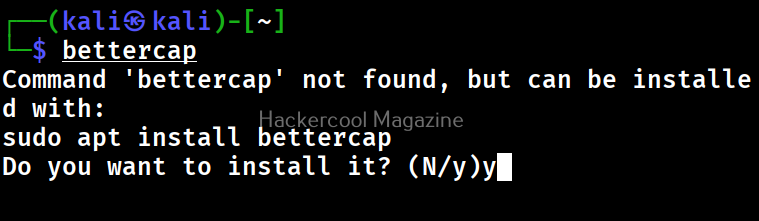
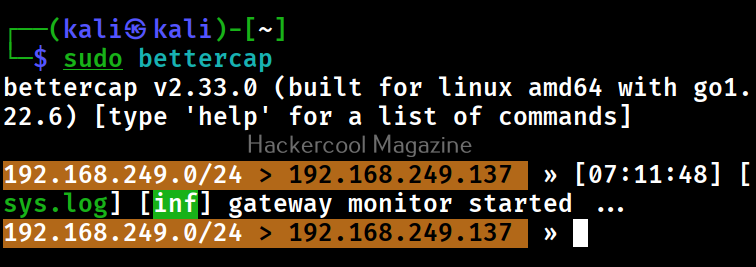
Let’s see how this tool works. For this, we will be using Kali Linux as Recon-ng is installed by default on it. This tool can be started using command shown below.

recon-ng

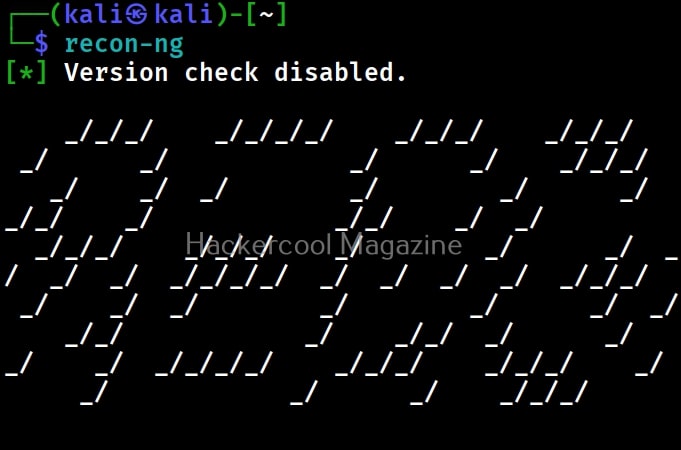
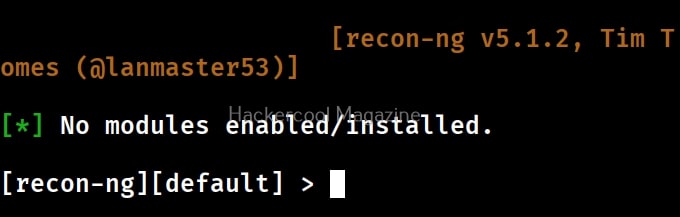
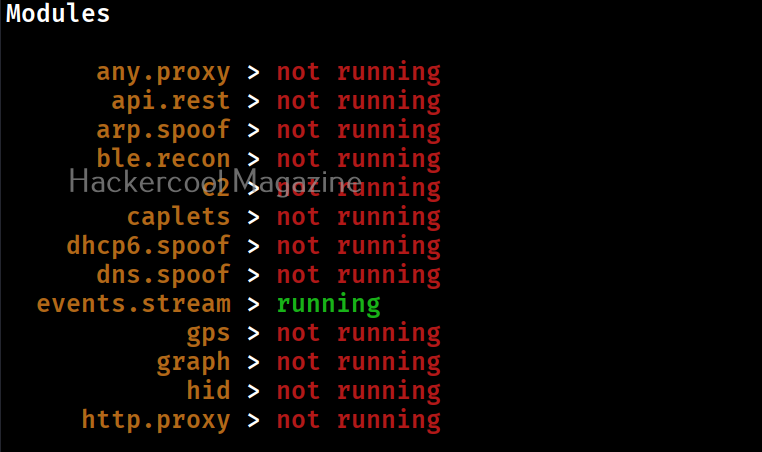
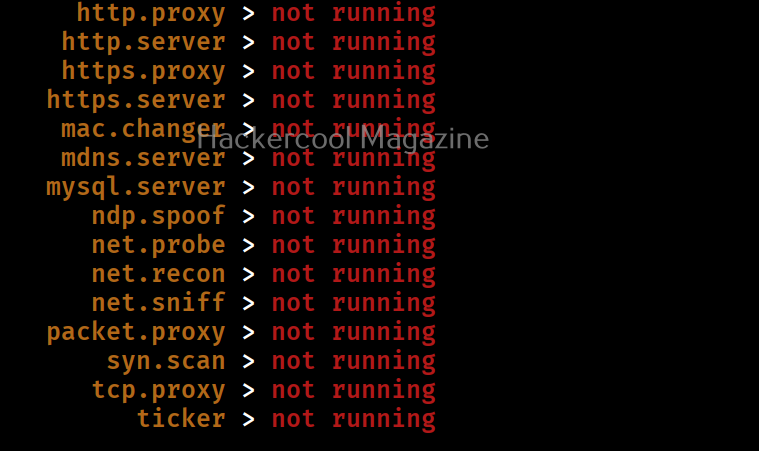
If you notice the above images, the interface of Recon-ng is similar to Metasploit. It has been designed in such a way to decrease the learning curve. You can create different workspaces in Recon-ng. To create a new workspace, you have to use the command shown below.

workspaces create <name of workspace>

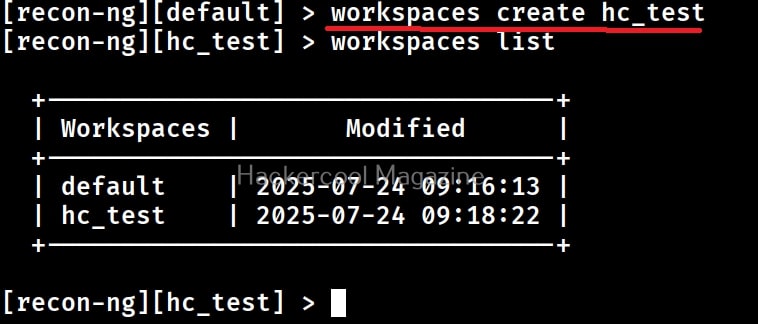
For example, we have created a new workspace named “hc_test”. The various framework items of Recon-ng that are useful to us can be seen using command shown below.
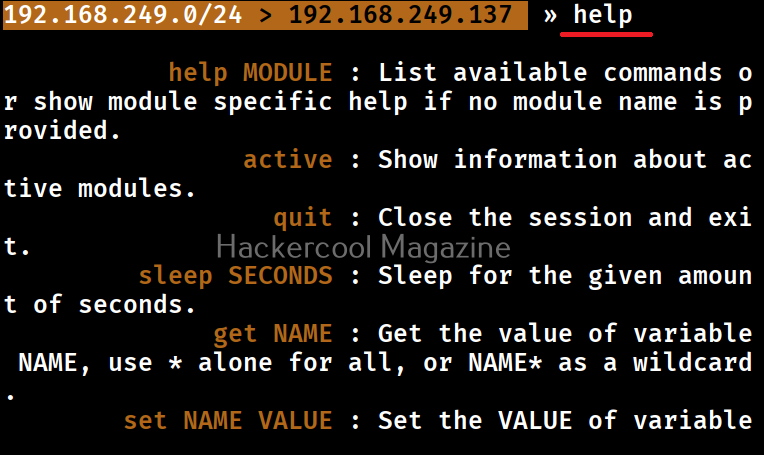
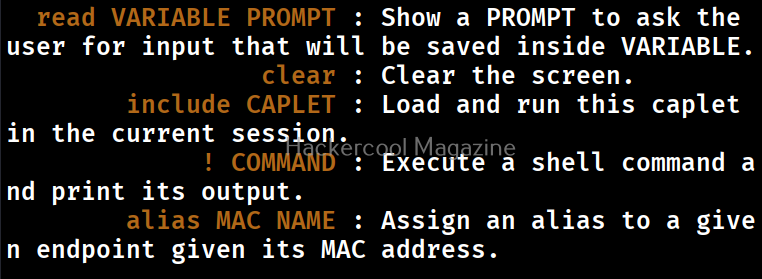
show

For this tutorial, let’s gather information about a domain. To do this, we need to first add a domain. This can be done using command shown below.

db insert domains

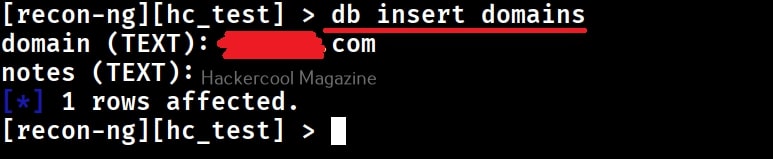
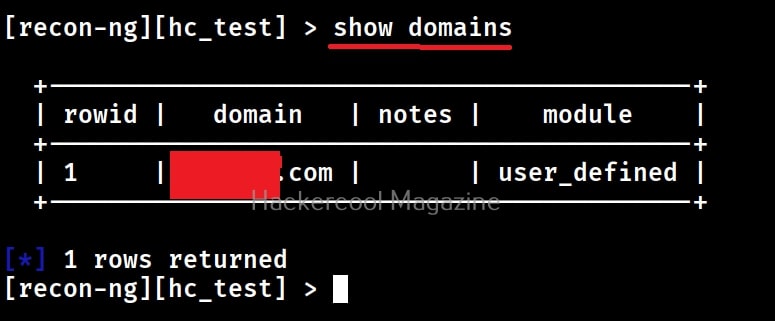
Now, you can see the domains you added using command shown below.

show domains

Similarly you can add and view other items too in similar manner. Just like Metasploit, Recon-ng has various modules each performing a specific function. You need to first add these modules to Recon-ng to be able to use them. This modules are found in ‘marketplace’ and can be viewed using command shown below.

marketplace search

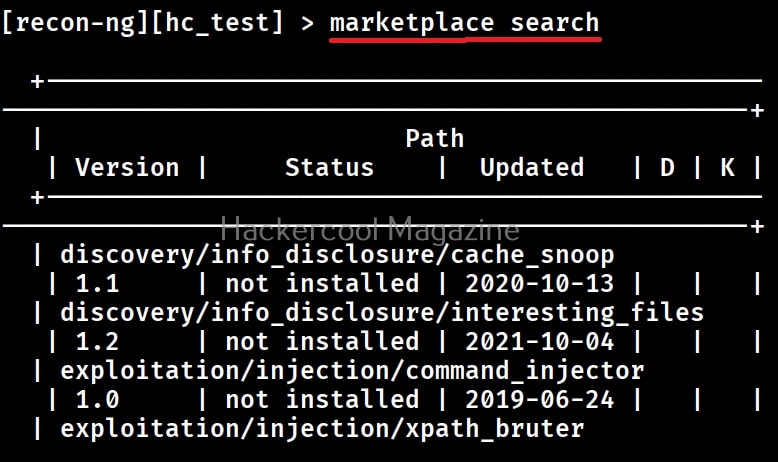
This will list all available modules. Searching for the module we want can be laborious and in some cases nothing less than searching for needle in haystack. But don’t worry. You can even search for modules you want. For example, let’s search for Whois related modules. This can be done as shown below.

marketplace search <search term>

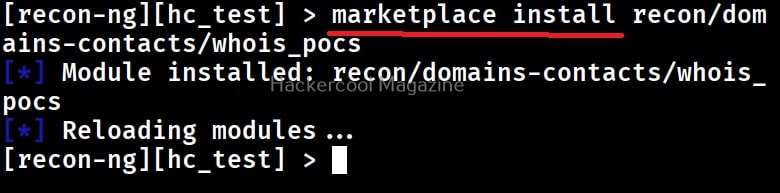
From here, you can install any module we want. This can be done using command shown below. For example, let’s install the recon/domain-contents/ whois-pocs/ module.

marketplace install <module>

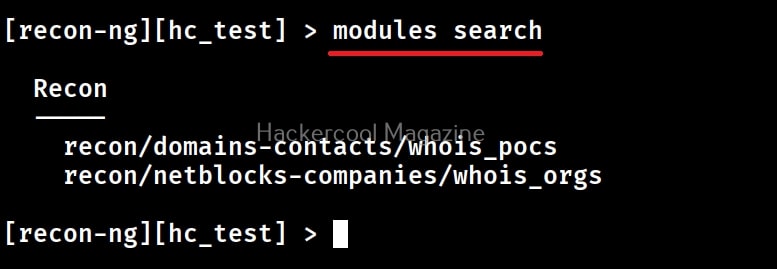
Similarly, you can install other modules we want in the same way from the market place. Once they are installed, you can search for all installed modules using the command shown below.

modules search

To load a module, we use command as shown below.

modules load <module_name>

For example. let’s load the module we just installed.

Once the modules is loaded, you can view information about the module using the “info” command as shown below.

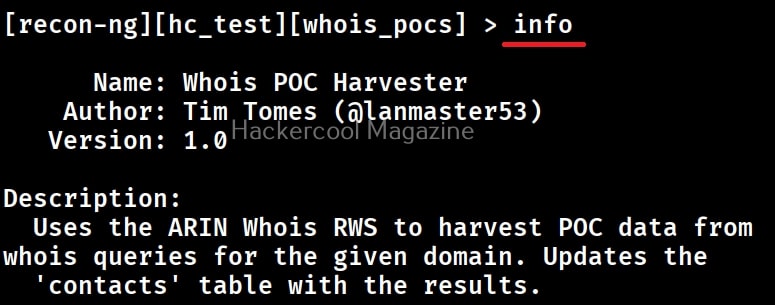
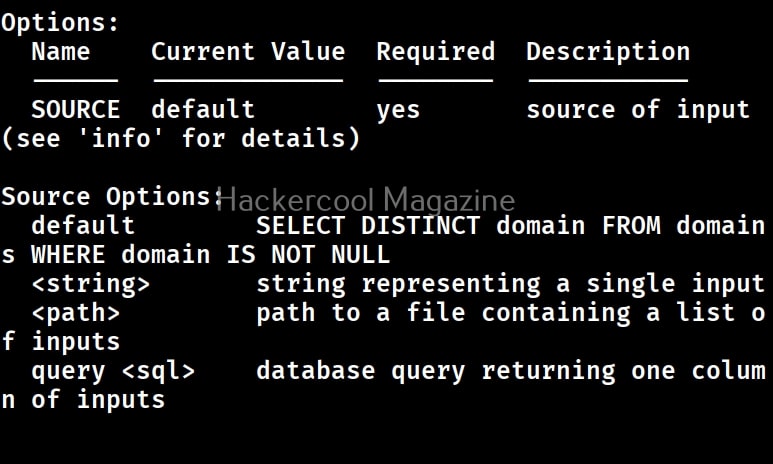
As you can read in the above module, this module retrieve poc data about a domain for Whois queries. Since we have already added a domain, all you have to do is execute the module using command “run”.

As you can see, the module retrieved contact information belonging to the domain we queried. This information contains first name, second name and email addresses of 46 contacts belonging to the domain (The retrieved data has been hidden for the purpose of privacy). This information can be useful while phishing or spear-phishing our targets.

In the same manner, we can retrieve other OSINT information using recon-ng. Next, learn how to perform OSINT using Maltego.

Posted on

Beginners guide to bettercap

Hello, aspiring ethical hackers. In our previous blogpost, you learnt about Man in The Middle (MiTM) attack. In this article, you will learn about Bettercap, a network reconnaissance and MiTM attack tool.

What is Bettercap?

Bettercap is a powerful, easily extensible and portable framework written in GO programming language, that is useful to security researchers, Red teamers and reverse engineers in performing reconnaissance and MiTM attacks. It is known as Swiss Army knife for 802.11, BLE, IPV4 and IPV6 network reconnaissance and MiTM attacks. Its features include,

  • Performing WiFi network scanning, de-authentication attacks, clientless PMKID association attack and automatic WPA/WPA2/WPA3 client handshakes capture.
  • Bluetooth Low Energy devices scanning, characteristics enumeration, reading and writing.
  • 2.4Ghz wireless devices scanning and MouseJacking attacks with over-the-air HID frames injection (with DuckyScript support).
  • CAN-bus and DBC support for decoding, injecting and fuzzing frames.
  • Passive and active IP network hosts probing and recon.
  • ARP, DNS, NDP and DHCPv6 spoofers for MITM attacks on IPv4 and IPv6 based networks.
  • Proxies at packet level, TCP level and HTTP/HTTPS application level fully scriptable with easy to implement javascript plugins.
  • A powerful network sniffer for credentials harvesting which can also be used as a network protocol fuzzer.
  • A very fast port scanner.
  • A powerful REST API with support for asynchronous events notification on websocket to orchestrate your attacks easily.
  • A very convenient web UI.

Let’s see how this tool works. For this, we will be using Kali Linux as attacker system as bettercap is available by default in Kali Linux’s repositories. It can be installed using command shown below. As target we will be using Metasploitable 2 . Both the systems are installed as part of our Simple hacking Lab.

bettercap

After installation, bettercap can be started as shown below. Note that it requires SUDO privileges to run.

sudo bettercap

Type “help” on the bettercap interface to learn more about it.

For this tutorial, let’s learn about how to use modules in Bettercap. Bettercap has various modules. By default, only one module is always running. This is the “events.stream” module that shows all that’s happening in bettercap.

To learn about any module all you have to do is use command shown below. For example, let’s view the help details about ‘net.probe’ module.

help <module name>

As you can see in the above image, this module detects the new hosts on the network by sending UDP packets. To start a module in bettercap, the command is given below.

<module name> on

As soon as you turn it ON, it starts probing the network for any new machines. You can see all the active bettercap modules running by using command “active”.

As you can see in the above image, these modules of bettercap are running. They are “events -stream” (which runs by default as soon as we start bettercap, “net.probe” module and “net.recon” modules.

Now, let’s do something useful with this tool. In our previous blogpost on packet sniffing, you learnt how network packets can be captured. Let’s try the same with bettercap.

For this, we start “net.sniff” module on bettercap.

Also, we will start ‘arp.spoof’ module. As you learnt in ARP spoofing, this will allow us to perform MiTM attacks.

For the novices, the “net.sniff” module performs packet sniffing while “arp-spoof” module performs ARP poisoning attack on the the target IP specified (that of Metasploitable 2).

Doing this captures all the network traffic going to or from our target system i.e Metasploitable 2. While bettercap does this, let’s login into Metasploitable 2 DVWA web app from our attacker system.

While we do this, Bettercap captures the credentials, as they are in plain text.

As you can see in the above images, both the password and username are clearly visible and successfully retrieved by this tool. Next, learn about Wireshark, a network analyzer.

Posted on

Beginners guide to wfuzz

Hello, aspiring ethical hackers. In our previous blogpost, you learnt what is fuzzing. In this article, you will learn about wfuzz, a web application fuzzer or brute forcer.

Wfuzz is a tool designed to bruteforce web applications and can be used to find directories, servlets, scripts etc. It can also be used to brutefoce GET and POST parameters for checking different kinds of injections like SQL, XSS, LDAP etc, bruteforce forms (usernames and password) etc. Its features include,

  • Multiple Injection points capability with multiple dictionaries
  • Recursion (When doing directory bruteforce)
  • POST, headers and authentication data brute forcing
  • Output to HTML
  • Colored output
  • Hide results by return code, word numbers, line numbers, regex.
  • Cookies fuzzing
  • Multi threading
  • Proxy support
  • SOCK support
  • Time delays between requests
  • Authentication support (NTLM, Basic)
  • All parameters bruteforcing (POST and GET)
  • Multiple encoders per payload
  • Payload combinations with iterators
  • Baseline request (to filter results against)
  • Brute force HTTP methods
  • Multiple proxy support (each request through a different proxy)
  • HEAD scan (faster for resource discovery)
  • Dictionaries tailored for known applications (Weblogic, Iplanet, Tomcat, Domino, Oracle 9i,
    Vignette, Coldfusion and many more.

Let’s see how this tool works. For this, we will be using Kali Linux as attacker machine as wfuzz is installed by default on it. As target system, we will be using Metasploitable 2. Both machines are installed as part of our Simple Hacking Lab.

Let’s scan for directories first. All you have to do to scan for directories with Wfuzz is as shown below. Just specify a wordlist to use and the URL to be fuzzed.

wfuzz -w <path to wordlist> <URL>

But remember that, the parameter that you are trying to fuzz should be specified with keyword “FUZZ” as shown below. For example, here, we are busting directories. So, we are have added the word “FUZZ” after the URL.

Get colored output (-c)

Sometimes the output of wfuzz can be monotonous and boring. This option can be used to get colored output.

Hide responses with specified HTTP codes (-hc)

In the above images, you can see that wfuzz displays results with all HTTP response codes 404,200,403,301 etc. Using this option, we can specify wfuzz to hide results with specific response code. For example, let’s hide results with response code 404.

As you can see in the above imagers, there are no results shown with response code 404.

Show responses with specific codes (–sc)

Apart from hiding responses of specific codes, we can also specify Wfuzz to show responses with specific codes with this option. For example, here we can specify to view only responses with 200, 301 requests.

Here’s the result.

Follow redirection (-L)

This option is used to specify wfuzz to follow redirections of URLs if specified.

Here’s the output.

Recursion (-R)

This option specifies the depth of recursion level with wfuzz. For example. let’s set recursion to “2”.

Number of connections (-t)

By default, Wfuzz makes 10 concurrent connections at once. This option is used to change that. For example, let’s set the number of concurrent connections to 19.

Time delay between each request (-s)

By default, wfuzz doesn’t add any delay between each request it makes. This can be noisy and raise suspicions on Blue team side. This option can be used to specify some delay in seconds. For example, let’s set delay of 10 seconds between each request.

Save the output to a file (-f)

This option can be used to save output of wfuzz to a file.

Next, learn how to fuzz with ffuf.

Posted on

Beginners guide to Nuclei vulnerability scanner

Hello, aspiring ethical hackers. In our previous blogpost, you learnt about vulnerability scanning. In this article, you will learn about Nuclei, a high performance, fast and customizable vulnerability scanner that uses YAML based templates. Its features include,

  • Simple YAML format for creating and customizing vulnerability templates.
  • Contributions from thousands of security professionals to tackle trending vulnerabilities.
  • Reduced false positives by simulating real-world steps to verify a vulnerability.
  • Ultra-fast parallel scan processing and request clustering.
  • Integration into CI/CD pipelines for vulnerability detection and regression testing.
  • Supports multiple protocols like TCP, DNS, HTTP, SSL, WHOIS JavaScript, code and more.
  • Integration with Jira, Splunk, GitHub, Elastic, GitLab.

Let’s see how this tool works. For this, we will be using Kali Linux as attacker system as Nuclei is available by default in its repositories. As target, we will be using Metasploitable 2. Both these systems are part of our Simple Hacking Lab. Nuclei can be installed on Kali as shown below.

Scanning (-u, -t)

Nuclei can be specified with a target URL or IP to scan as shown below.

Here’s how its output looks like.

See all available templates (-tl)

While studying about its features, you have read that Nuclei uses lot of vulnerability templates for performing a vulnerability scan. At the time of scan initialization, Nuclei installs and uses these templates. Templates form a very important part of Nuclei. You can see all the available templates of Nuclei using command shown below.

nuclei -tl

As already mentioned, these templates are in YAML format.

Run a particular template (-t)

If you want to run a specific template instead of all the templates, you can do so with this option. For example, let’s just run phpmyadmin-misconfiguration template as shown below.

List all tags (-tgl)

The templates of Nuclei are also divided based on tags. A tag can be all the templates belonging to a specific software or technology. For example, let’s say WordPress, SSH etc. All the tags in Nuclei can be searched using command shown below.

nuclei -tgl

Run templates belonging to a specific tag (-tags)

This option can be used to run all templates belonging to a specific tag. For example, let’s say we want to run all templates belonging to tag “ftp” on our target, we can do it as shown below.

Here’s its output.

Run code based templates (-Code)

This option can be used to run all “Code” protocol based templates.

Here’s its output.

Run file based templates (-file)

Just like code related templates, Nuclei has file based templates. This option can be used to run them.

Run templates based on severity (-s)

We can also run Nuclei templates based on the severity of vulnerabilities. The possible values it can take is info, low, medium, high and unknown. You have seen in the above scan results of Nuclei that vulnerabilities are being classified from info to critical etc.

For example, let’s just run templates with severity “critical”.

As you can see in the above image, it is only running templates with critical severity.

Silent mode (-silent)

Silent mode of Nuclei just displays results.

Scan multiple targets at once (-L)

Nuclei can also be used to scan multiple targets. For this, all you have to do is save all targets in a text file and use the command shown below.

nuclei -l <target_file>

Saving output (-o)

The output of Nuclei’s vulnerability scan can be saved to a file using the option as shown below.

Next, learn about Nessus vulnerability scanner.

Posted on

Beginners guide to chntpw

Hello, aspiring ethical hackers. In our previous blogpost, you learnt how Windows authentication works. In this article, you will learn about chntpw, a offline Windows password and Registry Editor that can be used to reset or blank local passwords on Windows NT operating systems.

Chntpw or Change NT Password is a utility that does the above actions by editing the SAM database where Windows stores its hashes.

Let’s see how this tool works. We can use this tool in two ways. The first method is using it as a package installed in cybersecurity operating systems like Kali, Parrot Security etc. The second method is via a bootable CD/USB image. For this tutorial, we will be using the bootable CD/USB image. It can be downloaded from here.

Using chntpw, we can reset local account passwords of all NT Windows operating systems like Windows NT, 2000, XP, Vista , Windows 7 , windows 8, windows Server 2003 and 2008 etc. We will test this tool on Windows XP SP2.

After making a bootable USB from files downloaded, insert the bootable USB drive of chntpw and power on into BIOS. You should use the screen shown below.

Hit ENTER. You should see the screen shown below.

Then, it will show you all the steps to take (total 4 steps). In the first step, you have to select the disk you want to make changes to (The disk on which Windows is installed). In our case, it is disk “sdb”. It will automatically show you disk partitions. All you have to do is select. It will automatically also find Windows installations and show it to you. In this example, there is only one disk set.

Select ‘1’. The disk will be mounted. The second step is to select the registry files you want to make changes to. It will prompt you to select the part of registry you want to make changes to from the predefined choices listed. The options given are,
1. Password reset
2. Recovery/ console parameters (software).
3. Loading almost all registry files.

For this tutorial, let’s select the option of “password reset”. Then SAM file will be loaded to the /tmp directory. In the third step, more options are shown as shown below.

Let’s select the option of “Edit user data and passwords”. Then it will list all the users present on the local system.

Then it will ask you to select the “RID” of the user you want to make changes to. Let’s select the user with RID ‘rf4’, the Administrator user. Once you select the user, it will present the ‘User edit’ menu asking you to select what changes you want to make.

Let’s select the option to clear the password (making blank). Then, it will automatically blank the password of the user. Changes are made but not written to the disk yet. Type ‘q’ to quit the menu.

The fourth step is to write the changes to the disk. The tool will prompt you asking if you want to write changes to the disk. Select ‘Yes’ to do it.

That’s how you can use chntpw to change or blank passwords of local Windows users.