

If you’re starting your journey in networking or ethical hacking, one concept you’ll hear again and again is the OSI Model. At first, it might look complicated. Seven layers? Strange names? Technical terms? Don’t worry. In this guide, you’ll learn the OSI Model in a simple, beginner-friendly way, without any confusion.
New to Ethical Hacking?
Start your journey with The Beginner Ethical Hacker Starter Kit (2026 Edition).
Inside the free guide, you’ll learn:.
- Ethical hacking fundamentals
- Beginner cybersecurity roadmap
- Essential hacking tools
- Common vulnerabilities explained
What is the OSI Model?
The OSI Model stands for Open Systems Interconnection Model. It is a framework that explains how data travels from one computer to another over a network. Instead of thinking of communication as one big process, the OSI model breaks it into 7 layers.
Each layer has a specific role. Think of it like sending a package:
- You pack it
- Label it
- Ship it
- Deliver it
Each step is handled separately.
Why is the OSI Model Important?
If you are learning ethical hacking, You might wonder as to why you should learn about OSI Model. Here’s why:
1. It Helps You Understand Networks:
When you learn OSI model, you’ll know how data moves step by step from one device to another device.
2. It Makes Troubleshooting Easier:
You can easily identify where a problem is occurring in a network.
3. Essential for Ethical Hacking:
Many attacks target specific OSI layers. So, this is important for ethical hackers.
4. Foundation for Cybersecurity:
You may not like this but without this, advanced topics in cybersecurity won’t make sense.
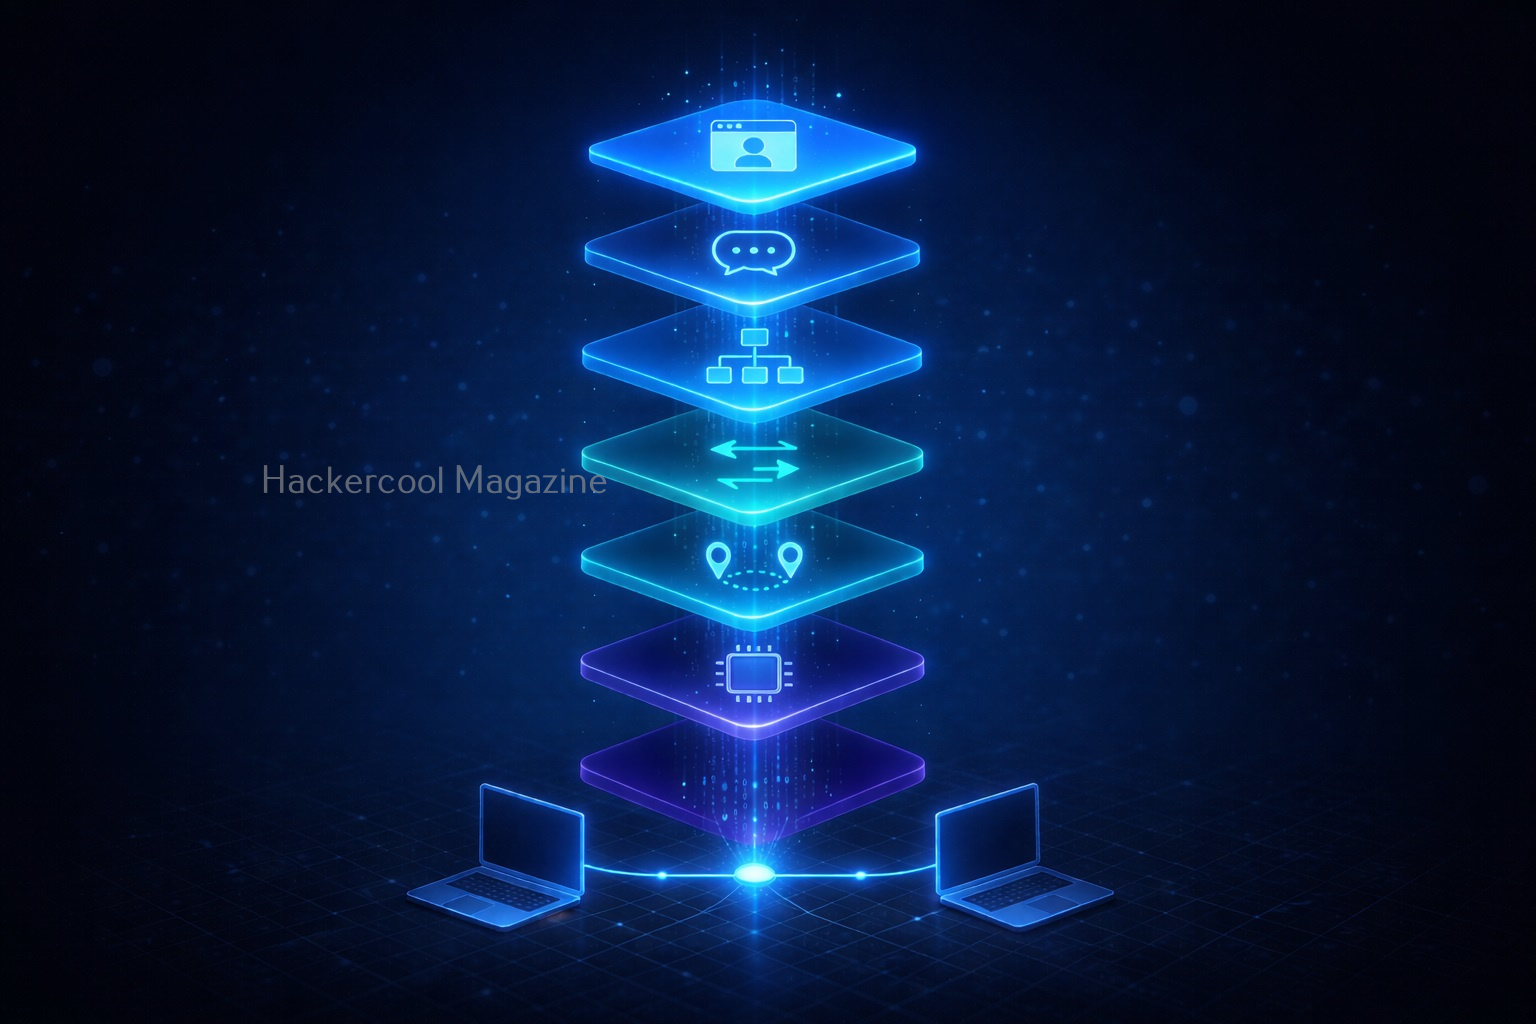
The 7 Layers of the OSI Model
The seven layers of the OSI Model, from top to bottom are the Application Layer, Presentation Layer, Session Layer, Transport Layer, Network Layer, Data Link Layer and Physical Layer. Let’s break them down in the simplest way possible.

7. Application Layer (Top Layer):
The Application Layer is the top most layer of the OSI Model and is responsible for providing a user interface for network applications. Simply put, this is the layer users interact with. For example,
- Web browsers
- Email apps
It allows applications to communicate with the network. The Application Layer performs several key functions, including:
- Network Services: It provides network services to applications, including file transfer, email and other network-based applications.
- User Interface: It provides a user interface for network applications, allowing the user to interact with the network.
- Network Resource Access: It provides a means for applications to access network resources, such as databases or file servers.
Some protocols in Application Layer are,
- HTTP (Hypertext Transfer Protocol): This is the primary protocol used for web browsing and web application access.
- FTP (File Transfer Protocol): This is a protocol for transferring files between systems.
- SMTP (Simple Mail Transfer Protocol): This is a protocol used for sending mails.

6. Presentation Layer:
The Presentation Layer is responsible for providing a common format for data exchange between applications. This layer handles:
- Data formatting
- Encryption
- Compression
Simply put, it makes sure data is readable. Some of the Presentation Layer protocols are:
- MIME (Multipurpose Internet Mail Extensions): This is a protocol for the representation of multimedia content.
- SSL (Secure Sockets Layer) and TLS (Transport Layer Security): These are protocols for securing data transmission over the internet.

5. Session Layer:
The Session Layer is responsible for establishing, managing and terminating communication sessions between applications. A session is a continuous exchange of information between two applications and can involve multiple data transfers.
It provides a framework for applications to communicate with each other. It coordinates the communication process between the applications and ensures that the data is transmitted in an orderly and synchronized manner. The Session Layer also ensures that the communication between the applications is maintained until it is terminated by either the sender or the receiver. In simple words, it starts, maintains and ends sessions.
Some of the Session Layer protocols are,
- NFS (Network File System): This is a popular protocol for sharing files over a network.
- RDP (Remote Desktop Protocol): This is a protocol for remote access to a desktop.
- SSH (Secure Shell): This is a protocol for secure remote access to a computer.
4. Transport Layer:
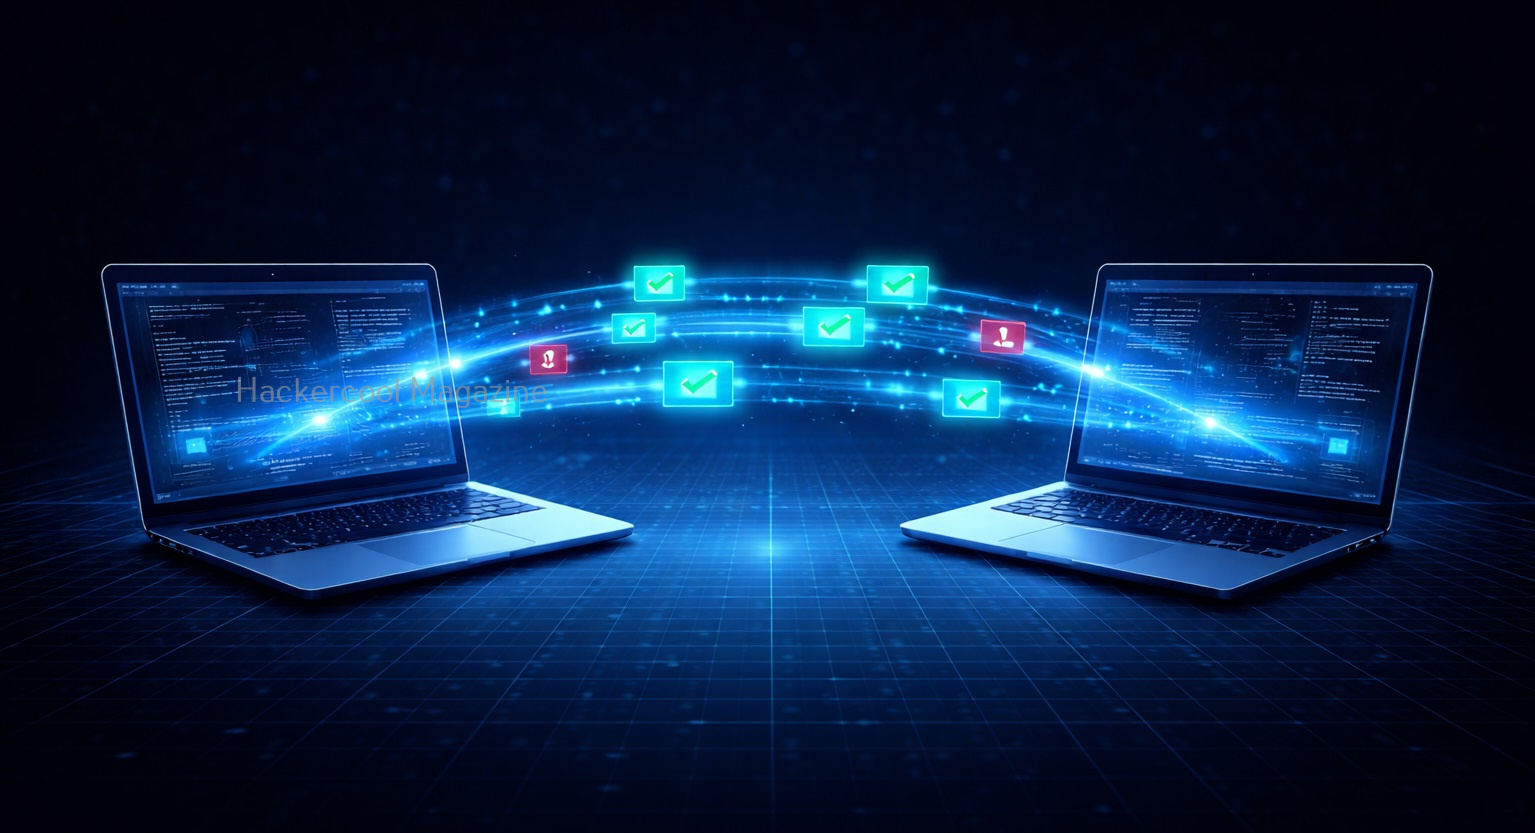
The Transport Layer of the OSI (Open Systems Interconnection) Model is responsible for reliable data transfer between end systems. It is the layer that divides entire data being sent into manageable segments and ensures that each segment reaches its destination without any errors or lost data.
These segments are then transmitted and reassembled at the destination end. This layer also provides flow control, which prevents the sender from overwhelming the receiver and error control which detects and corrects any errors that may occur during transmission. In simple words, this is where data delivery is controlled.
Key functions:
- Error checking
- Data flow control
There are two main types of protocols in Transport Layer. They are,
- TCP (Transmission Control Protocol): This is a reliable, connection-oriented protocol which ensures that data is transmitted accurately and completely.
- UDP (User Datagram Protocol): This is an unreliable, connectionless protocol that does not guarantee the delivery or accuracy of data. It is used for applications that do not require reliable data transmission, such as video streaming.

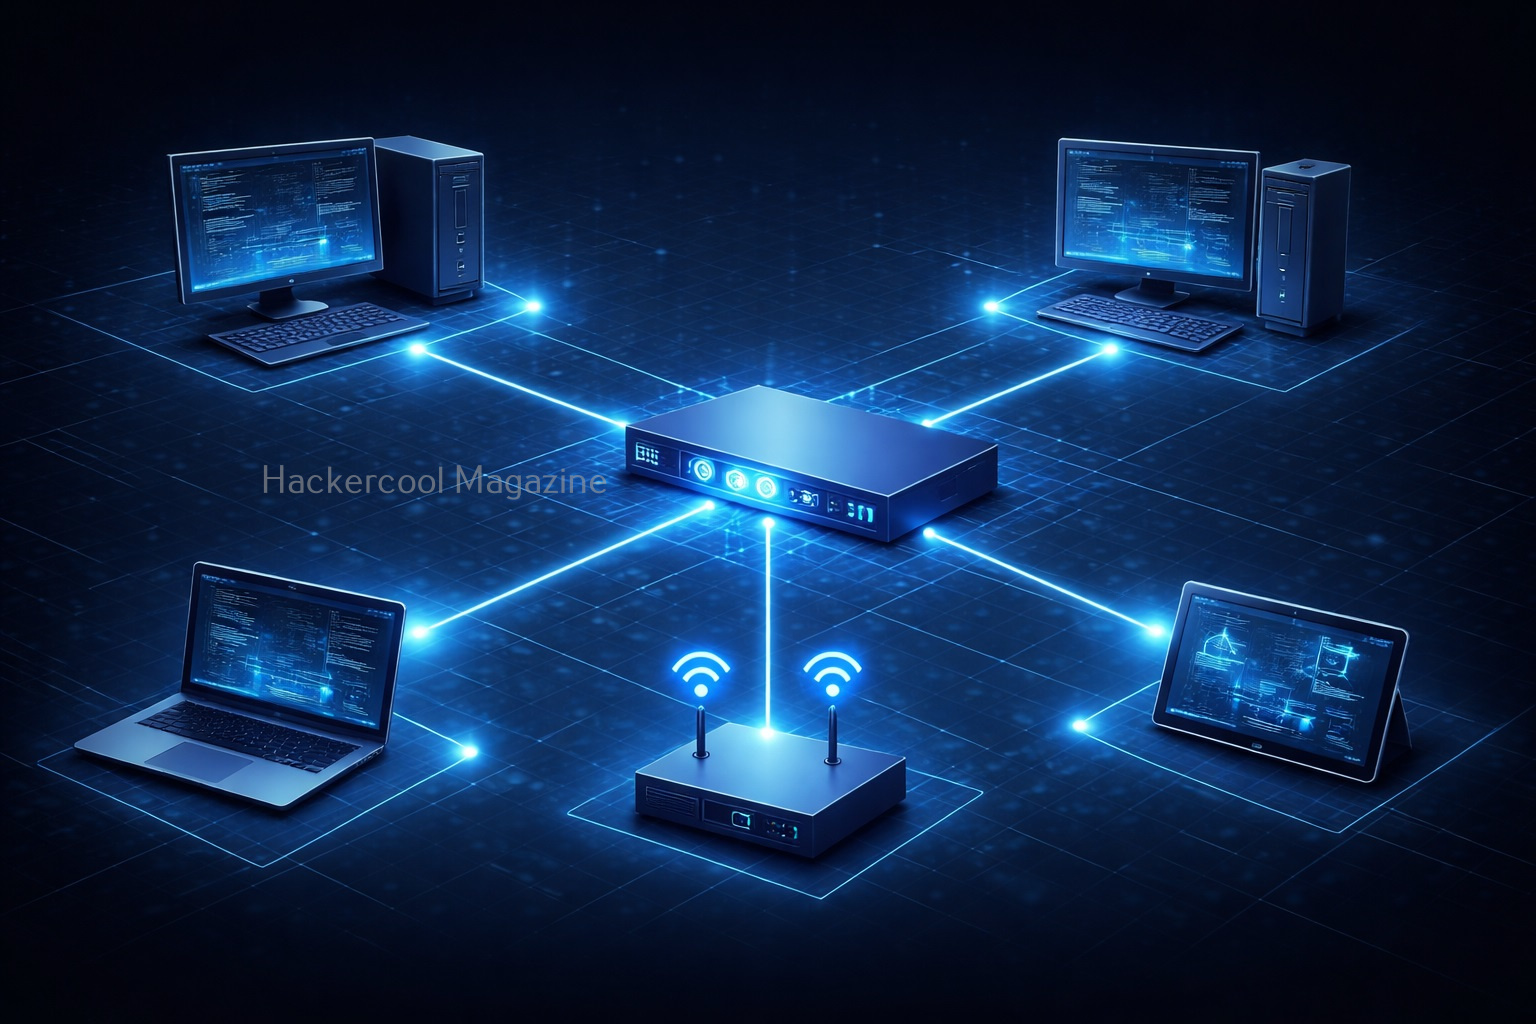
3. Network Layer:
The Network Layer is deals with the routing of data between computer networks. It provides the means for transmitting data from one network to another and ensures that data is delivered to its intended destination. It also ensures that data is delivered to its intended destination by routing it through the network in an efficient and effective manner.
This layer handles:
- Routing
- IP addresses
It decides the best path data should take to reach its destination. Some examples of Network Layer protocols include IP (Internet Protocol) and ICMP (Internet Control Message Protocol).
2. Data-Link Layer:
The Data Link Layer is concerned with the delivery of data frames between computers belonging to a same network. It provides error detection and correction functions and defines the format of the data frames that are transmitted between devices in the same network.
The Data Link Layer is responsible for several key functions in a network, including:
- Defining the format of the data frames that are transmitted between devices
- Error detection and correction
- Flow control and media access control
- Media-independent transmission of data frames
This layer works with:
- MAC addresses
- Physical addressing
Simply put, it ensures data moves between devices on the same network.
Want to Learn Ethical Hacking Step-by-Step?
If you’re serious about learning cybersecurity, a structured roadmap makes the journey much easier.
Download The Beginner Ethical Hacker Starter Kit (2026 Edition) and discover:
✔ The ethical hacking learning path
✔ Beginner-friendly security concepts
✔ Essential tools ethical hackers use
✔ The most common vulnerabilities explained
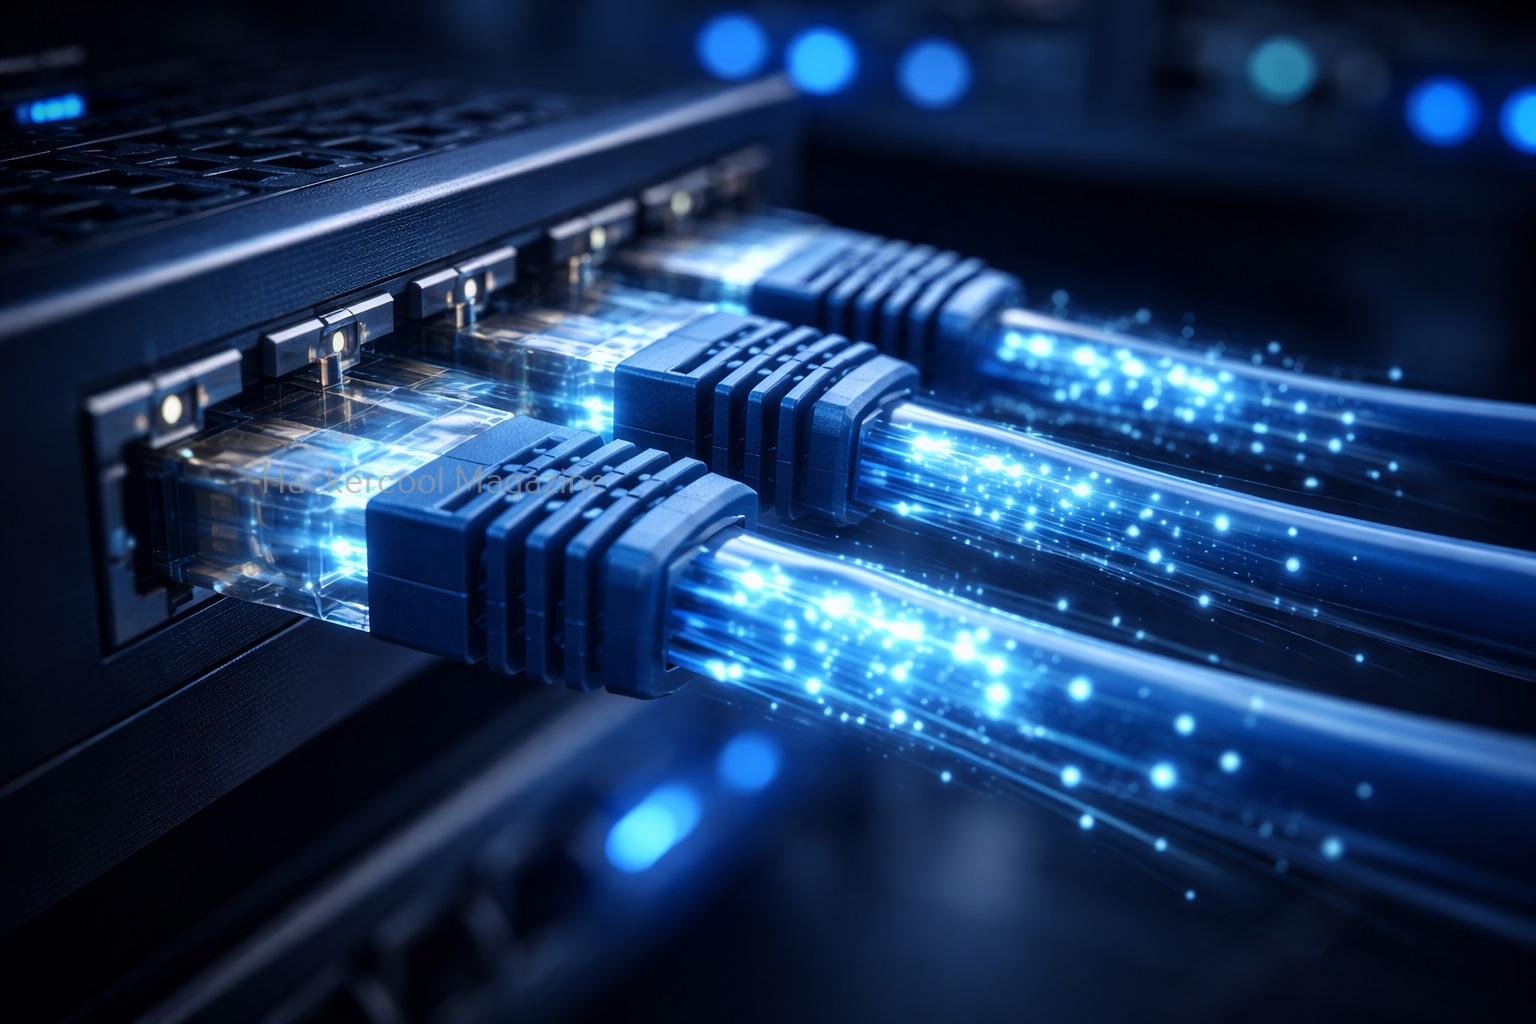
1. Physical Layer:
The Physical Layer is the bottom most layer of the OSI Model. It ensures physical transmission of data between computers. It defines the electrical, mechanical and functional specifications for the physical connection between devices.
This is the hardware layer and includes:
- Cables
- Signals
- Bits
It physically transmits data.

How Data Travels (Simple Example)
Let’s see a simple example of OSI model in action when data travels. Let’s say you open a webiste in your favorite browser. Here’s what happens at each layer.
Step 1: Application Layer
You open your browser and visit a specific website.
Step 2: Presentation Layer
Data of your requested website is formatted and encrypted.
Step 3: Session Layer
A Connection is established.
Step 4: Transport Layer
Data is broken into small packets.
Step 5: Network Layer
These data packets are routed using IP protocol.
Step 6: Data Link Layer
Once packets reach your network, MAC addresses are used for delivering the data to your device.
Step 7: Physical Layer
Data is sent as electrical signals.
The same process happens in reverse on the receiving side.

Easiest Way to Remember OSI Layers
You can easily remember all OSI Layers from top to bottom by making the sentence given below with the first letter of all layers.
All People Seem To Need Data Processing
- Application
- Presentation
- Session
- Transport
- Network
- Data Link
- Physical
OSI Model in Ethical Hacking
Understanding OSI model helps you see where attacks actually happen in hacking. For example,
Application Layer Attacks:
Web attacks like SQL Injection and XSS attacks.
Presentation Layer Attacks:
SSL Striping and other decryption attacks.
Session Layer Attacks:
Session Hijacking and other Man in the Middle (MiTM) attacks.
Transport Layer Attacks:
DoS attacks
Network Layer Attacks:
MAC spoofing, MAC flooding and EVil Twin in Wireless.
This helps ethical hackers:
- Identify weaknesses
- Choose attack methods
- and Defend systems
OSI Model in Real-world
In real-world networking, the TCP/IP model is more commonly used. But OSI is still the best way for beginners to learn concepts clearly.

Common Mistakes Beginners Make While Learning OSI Model
Here are some common mistakes beginners make while learning about OSI model.
1. Trying to memorize Without Undertanding:
Focus on what each layer does, not just their names.
2. Skipping the OSI Model altogether:
I did this mistake in my beginner days because I thought OSI model was boring. Don’t make the same mistake. This creates confusion later.
3. Overcomplicatng it:
Keep it simple. You don’t need to know deep technical details yet.
Tips to Learn Faster
Here are some tips for you to master OSI model faster.
1. Visualize it:
Imagine data moving through layers like a pipeline.
2. Relate to Real Life:
Think of sending a parcel or message.
3. Practice explaining:
If you can explain it simply, that means you understood it.
4. Revise Regularly:
Repetition helps retention.
Conclusion
The OSI Model is not just theory. It’s the foundation of networking and ethical hacking. Once you understand it:
- Networks become easier to understand
- Troubleshooting becomes logical
- Cybersecurity concepts make a LOT MORE sense

Start Your Ethical Hacking Journey Today
Learning cybersecurity can feel overwhelming at first. The best way to start is with a clear roadmap and the right resources.
Download The Beginner Ethical Hacker Starter Kit (2026 Edition) and get instant access to:
✔ Ethical hacking fundamentals
✔ A beginner cybersecurity learning roadmap
✔ Essential hacking tools every beginner should know
✔ Common vulnerabilities explained simply


