Posted on

Password sniffing tutorial for beginners

Hello, aspiring Ethical hackers. In this article, you will learn about password sniffing. You should have observed that almost all the websites you have visited recently have a padlock sign and begin with HTTPS now. Google started giving minor ranking boost to websites with HTTPS enabled since year 2014. As you will learn by the end of the blogpost, there is a good security reason behind this.

What is Password sniffing?

Password sniffing or Credential sniffing is sniffing or capturing of credentials (or any other data) while they are in transit from one machine to another machine (usually from client to server). Password sniffing is only possible when plain text protocols are in use. Plain text protocols are those protocols in which confidential information like usernames and passwords are passed to the server in complete plain text and without any encryption.

This allows anyone in middle to sniff on these usernames and passwords. Examples of plain text or clear text protocols are FTP, Telnet, SMTP, HTTP, IMAP, POP3, TFTP etc. Let’s see password sniffing practically. In this article, we will demonstrate the basic level of password sniffing on plaintext protocols. For this, we will be using three virtual machines which are on the same network.

They are  Metasploitable 2 which acts as server, Ubuntu which acts as client and of course Kali as our Attacker system.  As you can see, the IP addresses of the three machines are

     Metasploitable2 – 192.168.64.128 (Server)

     Ubuntu – 192.168.64.132 (Client)

     Kali – 192.168.64.132 (Attacker system)

Let’s start Wireshark on the attacker machine (on interface eth0). It starts capturing packets on the network.

The reason why we are using Metasploitable 2 as our target is that it already has many services that we need for this tutorial preinstalled.  The first service we will be using is Telnet. It is a protocol that is used for remote access on another system. On most Linux systems, Telnet clients are installed by default.

So we open a terminal and log into the Metasploitable 2 Telnet server with the credentials shown below.

The login is successful. Now on the Attacker system, we can observe the traffic being captured by the Wireshark sniffer. You can see data related to Telnet being transferred.

We can Right Click on that Telnet data stream and click on “Follow” as shown below.

In the sub menu that opens when we click on the only option “TCP stream” a new window opens that will show only the TCP stream.

In this window, you can see the credentials we just used to login into the target system. Telnet is a plain text protocol which transfers credentials and other sensitive data in plain text. This allows sniffing of data. That’s the reason it has been mostly replaced by Secure Shell (SSH) nowadays.   

Let’s see another protocol. File Transfer Protocol (FTP) is a protocol that is used to share files. It is another protocol that transfers data in plain text. From our client, we login into the FTP server with credentials “anonymous:anonymous”.

Anonymous account in FTP is used to share files to anyone without the need for them to know credentials.

On the Wireshark interface, you can see FTP data being transferred.

We can view the TCP stream

This once again shows credentials.

Instead of observing LIVE data transfer and following TCP stream from there, we can also just save the packet capture file and open the file later for analysis.
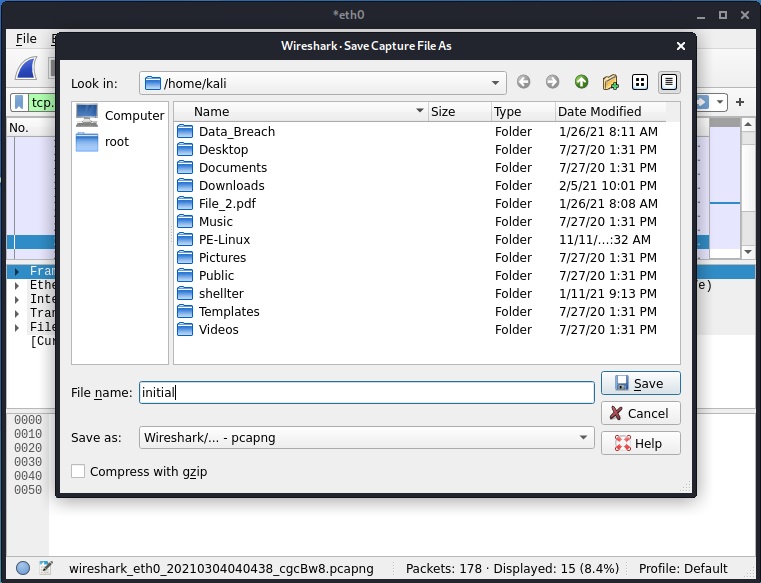
After opening the file, we can search for specific terms as shown below. 

packet sniffing

Then following the TCP stream gives us the credentials.

Seeing the vulnerability due to sniffing, many protocols have been replaced with secure protocols which transfer data in encrypted form instead of plain text form. These are given below.

Posted on

Driftnet: Network Sniffing Tool to Capture Images

Hello aspiring ethical hackers. In our previous blogpost, you have learnt about WireShark. In this article, you will learn about Driftnet, a network sniffing tool that captures images in the network. When data travels across a network, it doesn’t always move in a neat, protected package. On poorly secured or unencrypted networks, information can be observed, intercepted and reconstructed by anyone who knows where to look.

Driftnet is a classic example of a network sniffing tool that demonstrates just how much data can leak when encryption is missing. In this blog post, we’ll explore what Driftnet is, how it works, what it captures and why it’s often discussed in cybersecurity training and ethical hacking labs.

What is Driftnet?

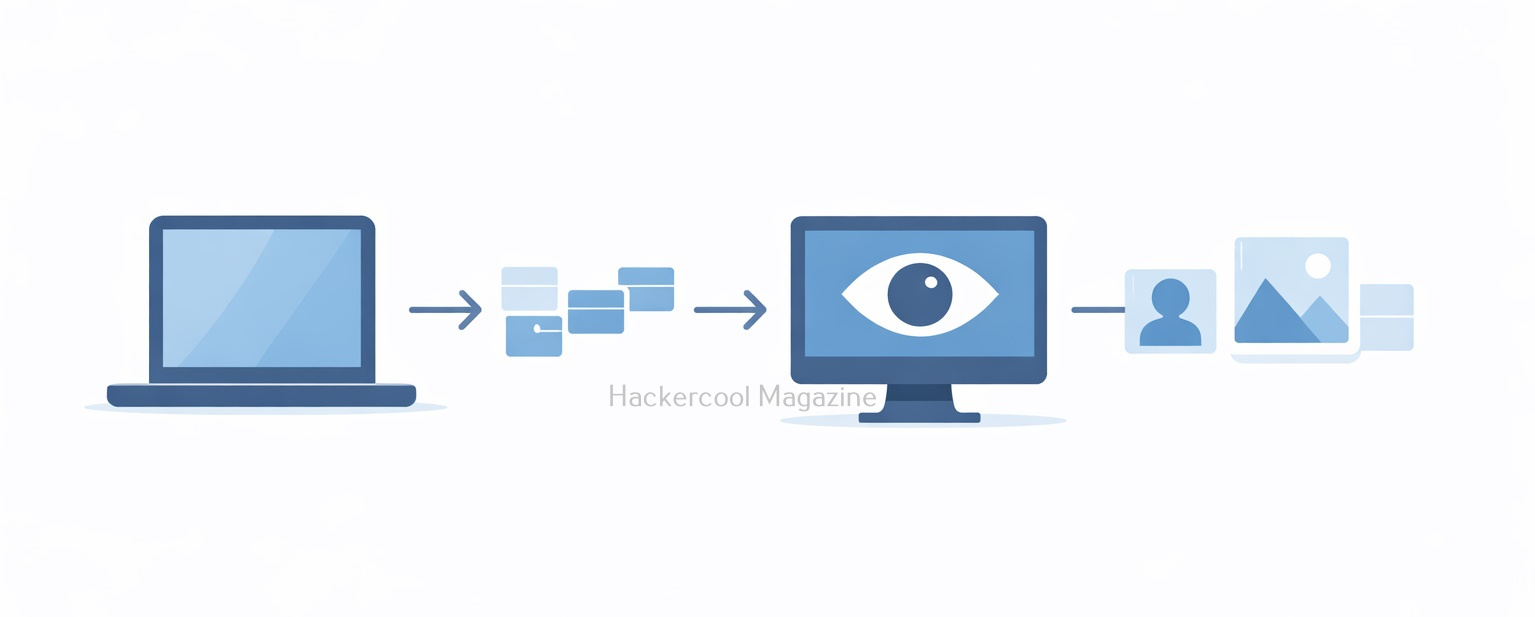
Driftnet is an open-source network traffic analysis tool designed to monitor network packets and extract images (such as JPEGs, PNGs, and GIFs) as they pass through the network. Unlike full packet analyzers, Driftnet focuses on a very specific goal: rebuilding visual content from unencrypted traffic.

Originally created as a demonstration tool, Driftnet shows how attackers can passively observe data without actively breaking into systems. It listens quietly on a network interface and reconstructs images being transmitted in real time.

This makes it a powerful educational tool and presents a clear warning about the risks of unencrypted communications.

How Driftnet works?

Driftnet operates by putting a network interface into promiscuous mode, allowing it to capture packets not specifically addressed to the local machine. Here’s a simplified breakdown:

1. Packet Capture:

Driftnet can capture packets moving across the network using packet capture libraries. It doesn’t inject traffic. Like every sniffer, it only listens.

2. Traffic Filtering:

This tool scans network packets for recognizable image file signatures commonly used in HTTP traffic.

3. Image Reconstruction:

When any image data is detected, it reconstructs the image from packet fragments and displays it in a separate window or saves it locally.

4. Passive Monitoring:

As Driftnet does not modify traffic, it can remain invisible to users on the network. Simply put, if an image travels across the network without encryption, Driftnet may be able to capture and display it.

What Kind of Data Can Driftnet Capture?

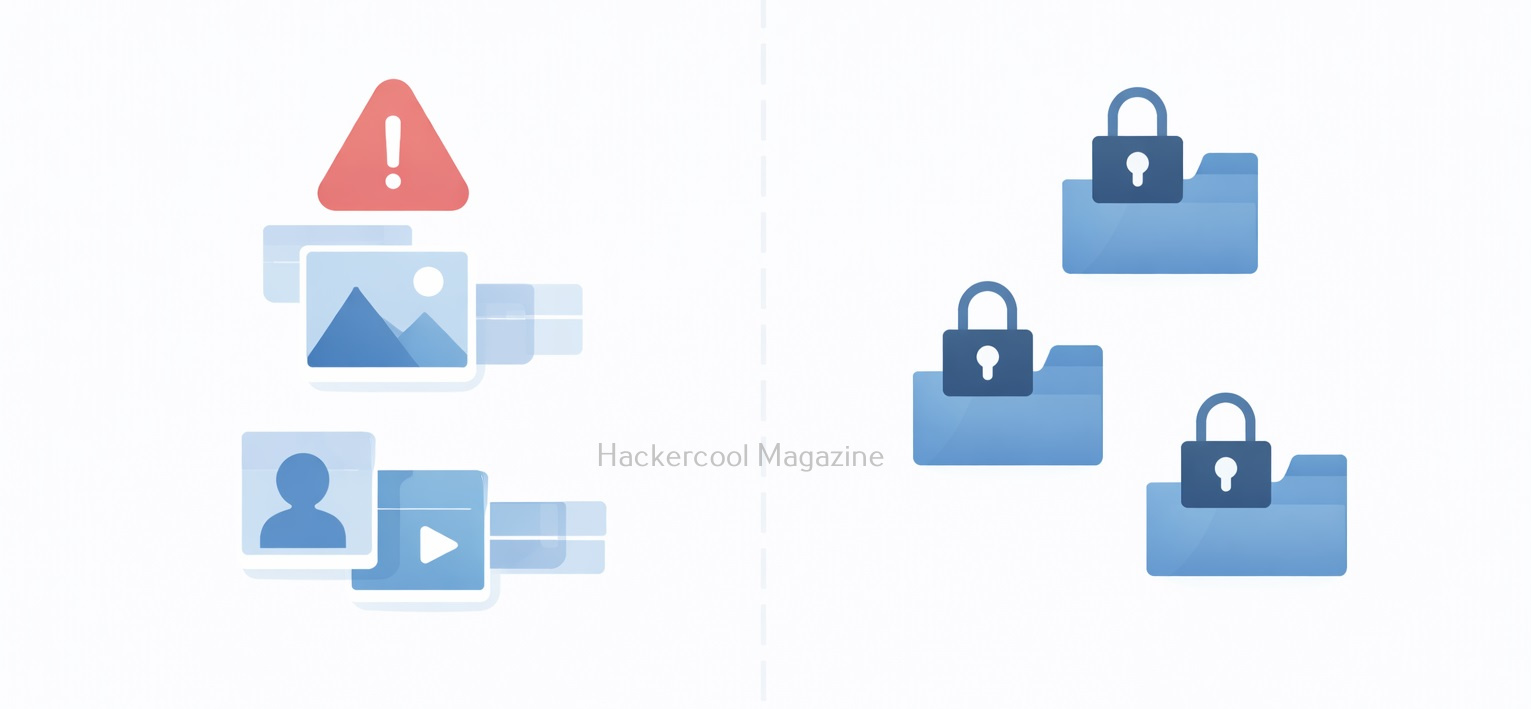
Driftnet is limited in scope but still eye-opening. It can capture:

  • Images loaded on unsecured websites
  • Profile pictures from legacy web applications
  • Media from internal dashboards using HTTP
  • Images transmitted over poorly configured internal networks

It cannot capture:

  • Encrypted HTTPS traffic
  • VPN-protected traffic
  • Modern TLS-secured content
  • End-to-end encrypted communications

Real-World Scenarios Where Driftnet Matters

1. Public Wi-Fi Networks

Open Wi-Fi in cafés, airports or hotels is a classic environment where unencrypted traffic can still appear.

2. Internal Corporate Networks

Legacy systems, internal dashboards or test environments often run without encryption.

3. IoT and Embedded Devices

Some cameras, printers and dashboards transmit images without proper security.

A Practical Walkthrough for beginners

Now, let’s see driftnet in action. For this tutorial, we will be needing any program that requires images to be transferred in a network. To keep similarity with Real-world scenarios, we will use Netop Vision Pro Classroom Management Software for this purpose. A Free Trial can be downloaded from here. As its name implies, this is a Classroom Management Software used for distance learning. It has two modules: the Teacher module and Student module.

The Teacher module is installed on one system and the student module is installed on all the student systems. The computer running the Teacher module has complete control over the computer running the student module and the student has no or very small limited role. The Teacher can view the Desktop of the Student’s Desktop to make sure the student is on track.

We need a lab too. We will be using Basic Lab from our Hacking Labs blogpost. The only change is instead of two virtual machines, we need three virtual machines.

  1. Windows 7 (For installing Netop Vision Student Module)
  2. Windows 7 (For installing Netop Vision Teacher Module)
  3. Kali Linux (Attacker system)

Instead of Metasploitable 2, we need to have two Windows 7 systems. One for installing Netop Vision Student Module and another for running Netop Vision Teacher Module. The third system is Kali Linux which is the attacker system and used for sniffing images. Let’s setup the Lab first. Download the Netop Vision Pro software onto the first Windows 7 system and click on it. Select the “Run Installer” and click on “Next”.

Click on “I Accept The Terms in the license agreement” and click on “Next”.

Select the Vision Student Module and click on Next.

Select the option as a Windows Startup Service and click on Install.

Check the IP address of this system and restart it.

Here’s the Student’s Windows system. There is some program running on it.

Now, in the second Windows 7 system, install the Teacher module of Netop Vision.

When it prompts for the license key, click on “Next”.

Click OK to restart the computer.

After the computer (on which Netop Vision’s Teacher Module) reboots, open the Netop Vision application. This should open the class room manager window automatically. If that did not happen, open it from the File menu. Create a new classroom. Click on “New”.

Click on “Next”.

Add the student system. Click on “Add” and add the IP address of the student system as shown below. Then click on “translate addresses”. You will get the IP address translated to the name of the computer. Click “OK”.

Click “Next”.

Click on “Finish” to finish the installation.

We have set up a new classroom. From the classroom manager, open the new classroom you just created.

We can see the Desktops of connected Student computers. Since we have connected only one student computer, only one system is shown.

As you already read above, The Teacher module is used to keep track of Student computers. For this, there is a live transmission of Desktop images from Student Computer to Teacher computer. The target is ready. On the Kali Linux system, install the Driftnet tool using command shown below.

sudo apt-get install driftnet
mitm attack

Check the name of the network interface.

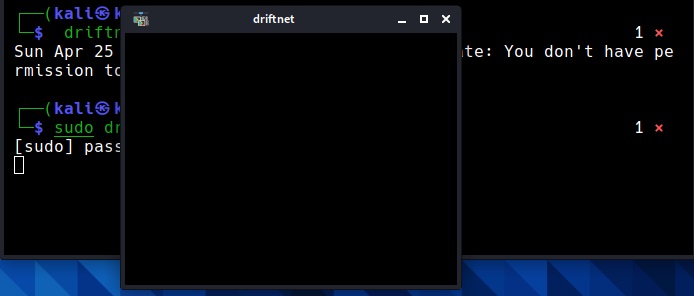
Now all we have to do is to start the driftnet tool on that interface.

sudo driftnet -i eth0

A small window will open as shown below.

When you maximize the window, you can see the live capture of the images of the Student’s Desktop. These images of the student computer are being captured by the teacher module. These images are captured at regular short intervals and transmitted in real time to the Teacher computer.

But how are these images being sniffed by Driftnet? Just like in the case of plain text protocols, these images are being transmitted in the network without any encryption. Hence, driftnet has been able to capture them by sniffing on the network.

How to Defend Against Driftnet-Style Attack?

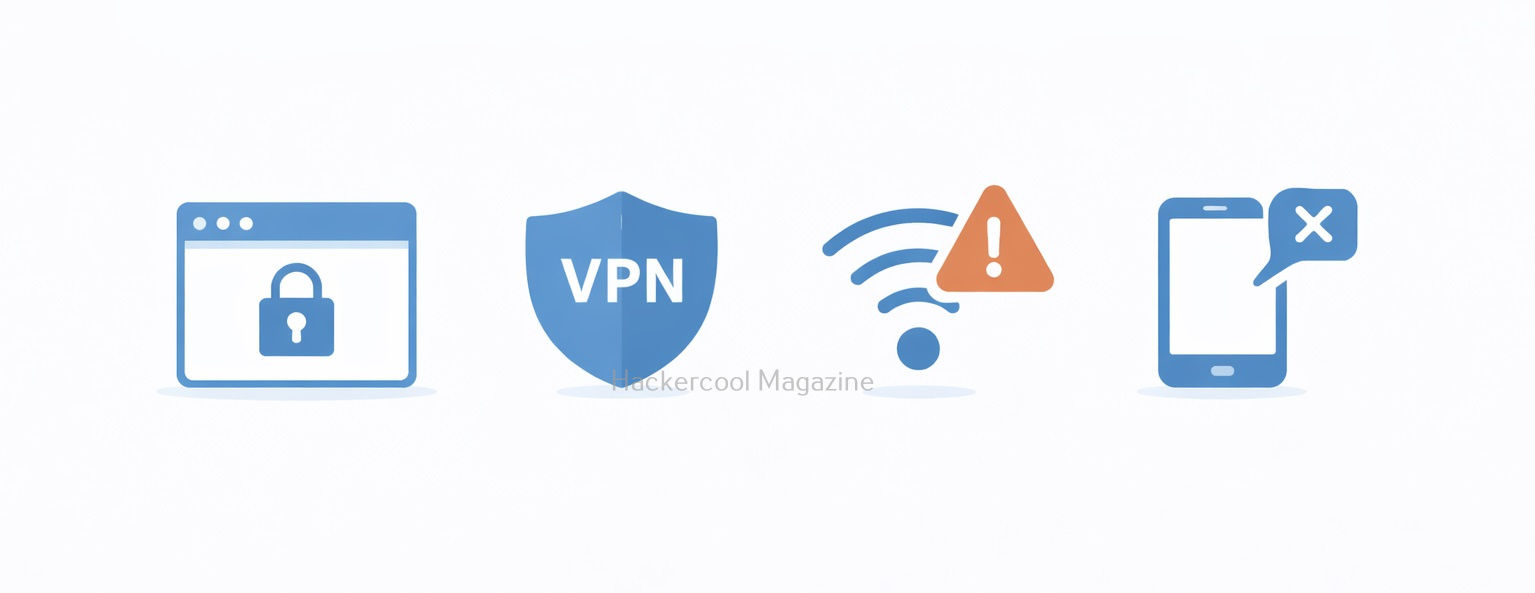
1. Use HTTPS Everywhere:

TLS encryption prevents packet sniffers from reading the captured content.

2. Enforce VPN Usage:

A VPN encrypts traffic even on hostile networks.

3. Secure Internal Applications:

Never assume internal traffic is safe by default.

4. Avoid Open Wi-Fi:

Always prefer WPA2/WPA3 secured networks or mobile hotspots.

5. Monitor for Promiscuous Interfaces:

Use Network monitoring tools that detect suspicious sniffing behavior. Driftnet may look simple, but it delivers a powerful lesson: unencrypted data is visible data. While modern encryption has reduced its effectiveness on today’s internet, the tool remains relevant for understanding passive attacks, network visibility and why security fundamentals still matter. If an image can be seen, it can be stolen. And if traffic isn’t encrypted, someone is always watching.

Posted on

Beginners guide to packet sniffing

Hello, aspiring ethical hackers. In our previous blogpost, you learnt about Man in the Middle (MiTM) attack. In this blogpost, you will learn about packet sniffing. Data doesn’t only get hacked when it is saved on a computer or a hard disk. It also gets hacked when it is in transit between one system and another system over internet. For example, in 2008, the Heartland Payment Systems which is one of the world’s largest credit card payment processors was hacked by two Russian hackers. After gaining access, they placed sniffers within the Heartland system.  Using these sniffers, they collected 130 million credit card credentials.

What is Packet Sniffing?

Packet sniffing is an act or method of monitoring, gathering or collecting data or information while it is in transit from one system to another system (usually from client to server). Since data or information is transferred over internet in the form of small network packets, it is known as packet sniffing.

Types of Sniffing

Sniffing can be classified into two types. They are Passive sniffing and Active sniffing.

1. Passive Sniffing:

In this type of sniffing, we just observe or monitor the traffic going around the network. There is no need of injection of any additional traffic into the network. To do this, we should be able to view the traffic belonging to all the devices in the network. This is only possible when all the devices in the network are connected through a Network hub. In a network connected by a hub, all the devices can see the traffic sent to all other devices on the network.

2. Active Sniffing:

In this type of sniffing, additional traffic has to be injected into the network to begin sniffing. This type of sniffing is performed in network connected by a switch.

What is a Sniffer?

Packet sniffing can be performed using either software or hardware. The software or appliance used to perform sniffing is known as a sniffer.

Examples of software sniffers include Wireshark, Tcpdump, Windump, Ettercap, dsniff, Kismet, Driftnet and Network miner etc.

Examples of Sniffing attacks

1. Password Sniffing:

This is the simplest form of sniffing attack as in this type of sniffing, sniffers just collect the data in transit silently. Although, sniffers are looking to sniff on credentials. any data that is not encrypted before being transmitted between two devices can be sniffed on. For example, protocols like FTP, Telnet and HTTP etc. transmit all data including credentials in clear text. Learn more about password sniffing attack here.

2. DNS Cache Poisoning:

Also known as DNS poisoning or DNS spoofing, this attack involves poisoning the cache of a DNS server. A Domain Name Server (DNS) resolves host names to the IP addresses and vice versa. So, if a DNS cache is poisoned with malicious entries, any user trying to visit a genuine website may be redirected to a fake malicious website.

3. MAC Flooding:

In this type of sniffing attack, attacker sends a large amount of traffic to the network switch to fill the MAC address table using fake MAC addresses. When the MAC address table is full, the network switch behaves like a hub.

4. MAC Spoofing:

Also known as ARP spoofing or ARP poisoning, in this attack, the attacker tries to spoof the MAC address of another device like a switch. This results in all the devices on the networks thinking that attacker-controlled computer is the switch and start sending traffic to it.

5. TCP Session Hijacking:

In this sniffing technique, also known as Session Hijacking, attacker steals the user’s session ID and impersonates as that user.

6. JavaScript Card Sniffing:

In this type of sniffing attack, hackers take control of a website and make changes to the javascript by adding malicious lines of code to it. These changes are done to collect any valuable information, like credentials, credit card numbers and other information.

7. DHCP attacks:

In this attack, DHCP server is flooded by the attacker with fake DHCP requests to use all the allocated IP addresses for that network.

Next, learn about Wireshark, a versatile network analyzer and sniffer.