Hello, aspiring ethical hackers. In our previous blogpost, you learnt about DNS footprinting. In this article, you will learn about DNS enumeration. When you start learning ethical hacking and cybersecurity, one of the first skills you encounter is information gathering. Before security professionals can analyze a system, they need to understand what exists. They need to discover domains, servers and services that make up an organization’s online presence.
One important technique used during this process is DNS enumeration. DNS is often described as the phonebook of the internet. It connects human-friendly domain names to the technical information computers need to communicate. By understanding DNS enumeration, beginners can learn how cybersecurity professionals gather information and map internet-facing infrastructure.
In this guide, we’ll explain:
- What DNS enumeration is
- Why DNS matters in cybersecurity
- Common DNS records
- Information discovered during enumeration
- How it fits into ethical hacking
- Common beginner mistakes
New to Ethical Hacking?
Start your journey with The Beginner Ethical Hacker Starter Kit (2026 Edition).
Inside the free guide, you’ll learn:.
- Ethical hacking fundamentals
- Beginner cybersecurity roadmap
- Essential hacking tools
- Common vulnerabilities explained

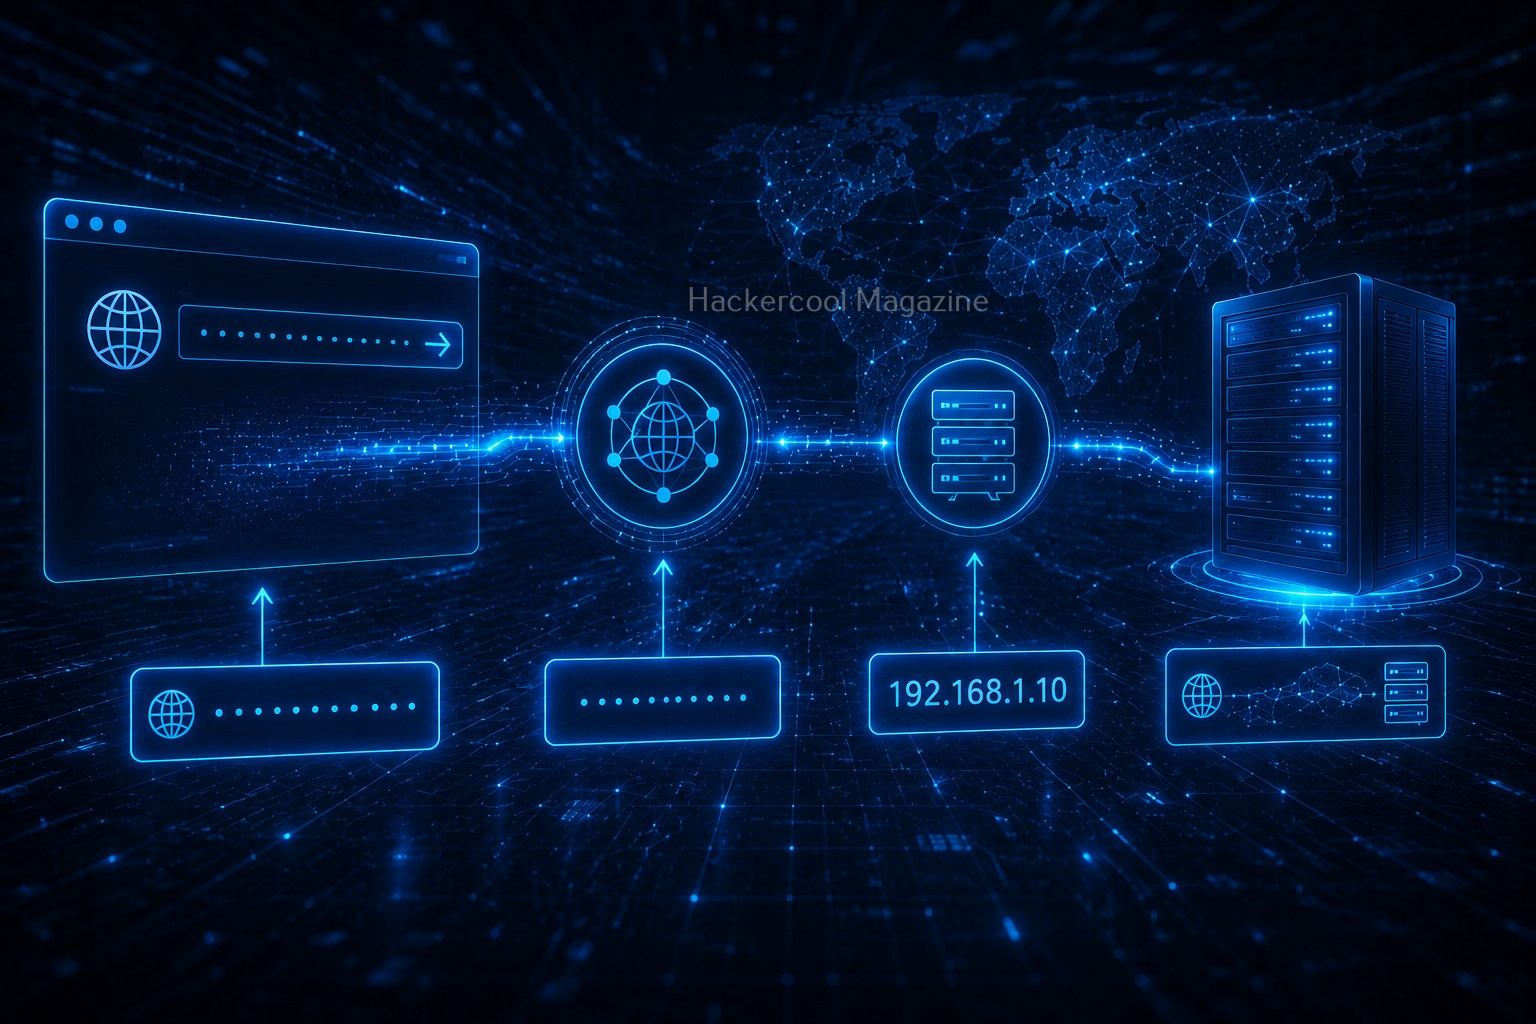
What is DNS?
Before learning DNS enumeration, you first need to understand DNS. DNS stands for Domain Name System. It converts easy-to-remember domain names into IP addresses that computers understand.
For example, Humans prefer:
example.com
Computers communicate using numerical addresses. DNS performs the translation between them. Without DNS, using the internet would be much more difficult because people would need to remember IP addresses instead of names.

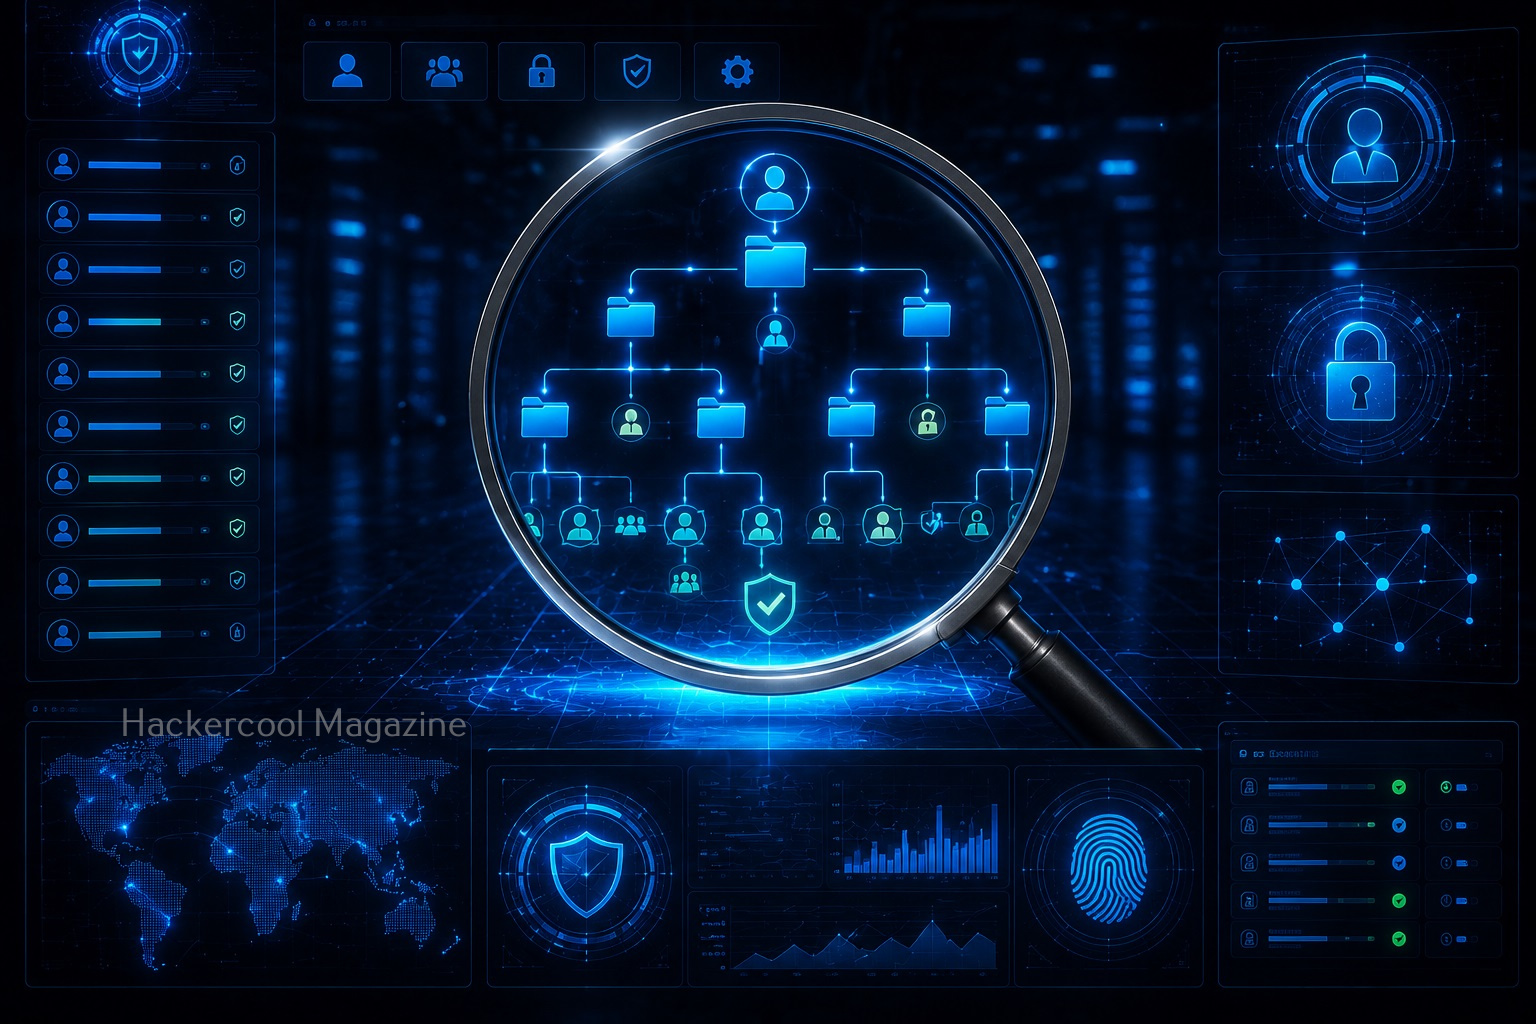
What is DNS Enumeration?
DNS enumeration is the process of collecting information about a domain and its DNS records.
The goal is to discover details about:
- Domain configuration
- Servers
- Subdomains
- Mail systems
- Infrastructure information
In simple terms,
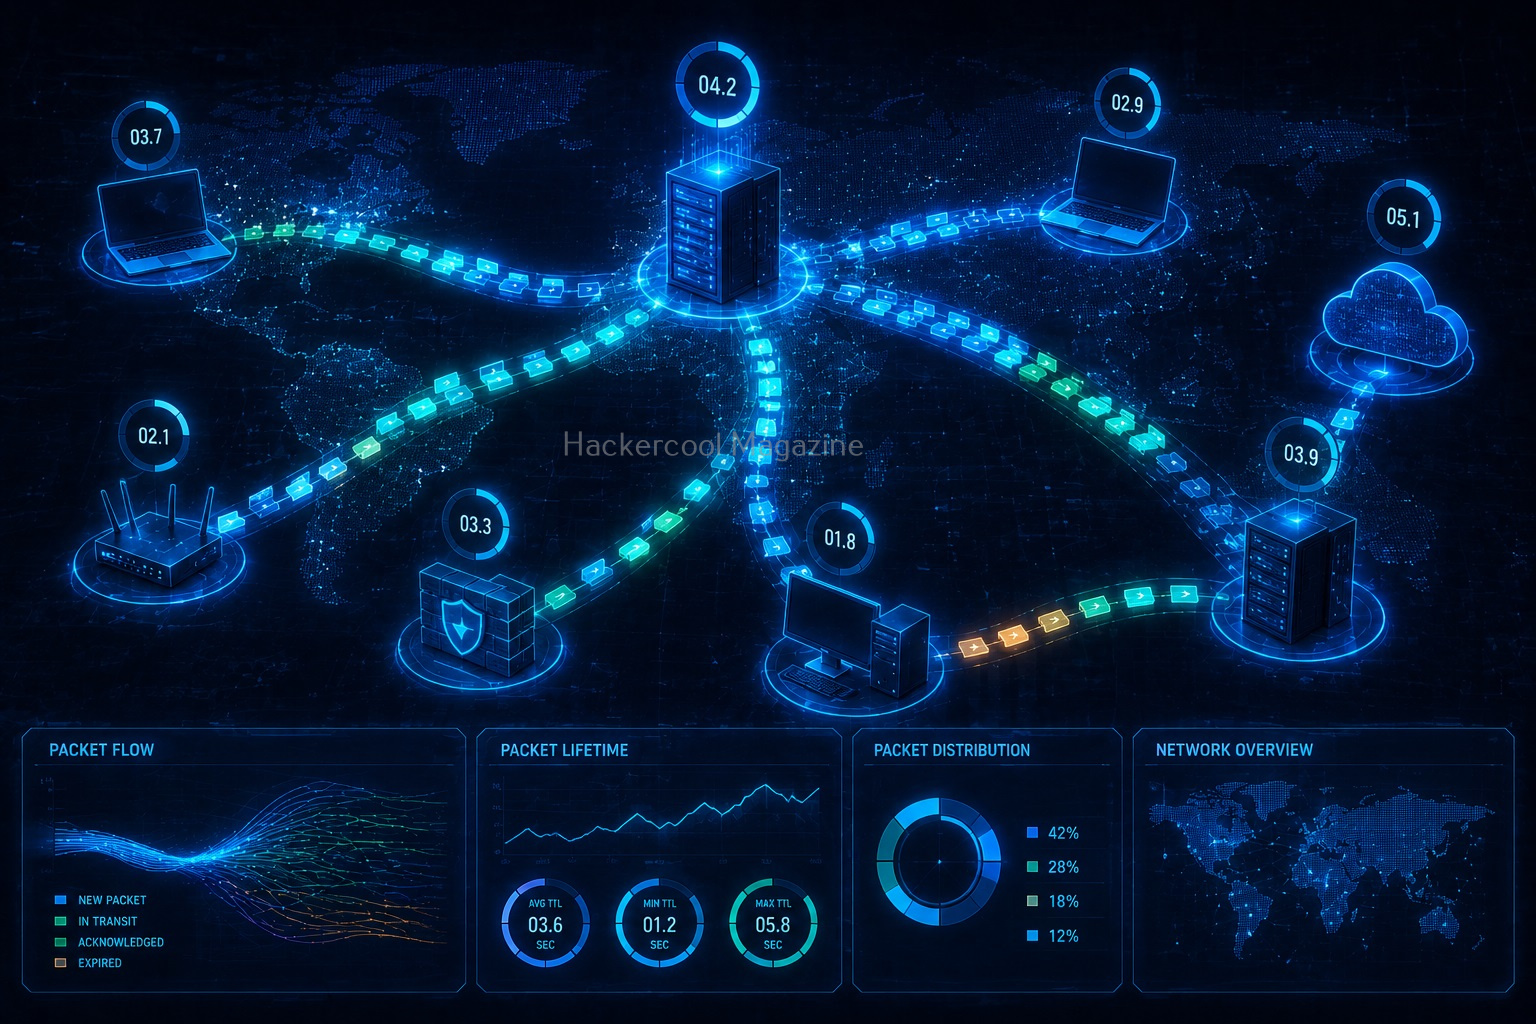
DNS enumeration helps create a map of the systems connected to a domain. It is commonly performed during the reconnaissance phase of cybersecurity assessments.
Why is DNS Enumeration important?
DNS contains valuable information about how an organization’s online systems are structured. Security professionals use DNS enumeration to improve visibility.

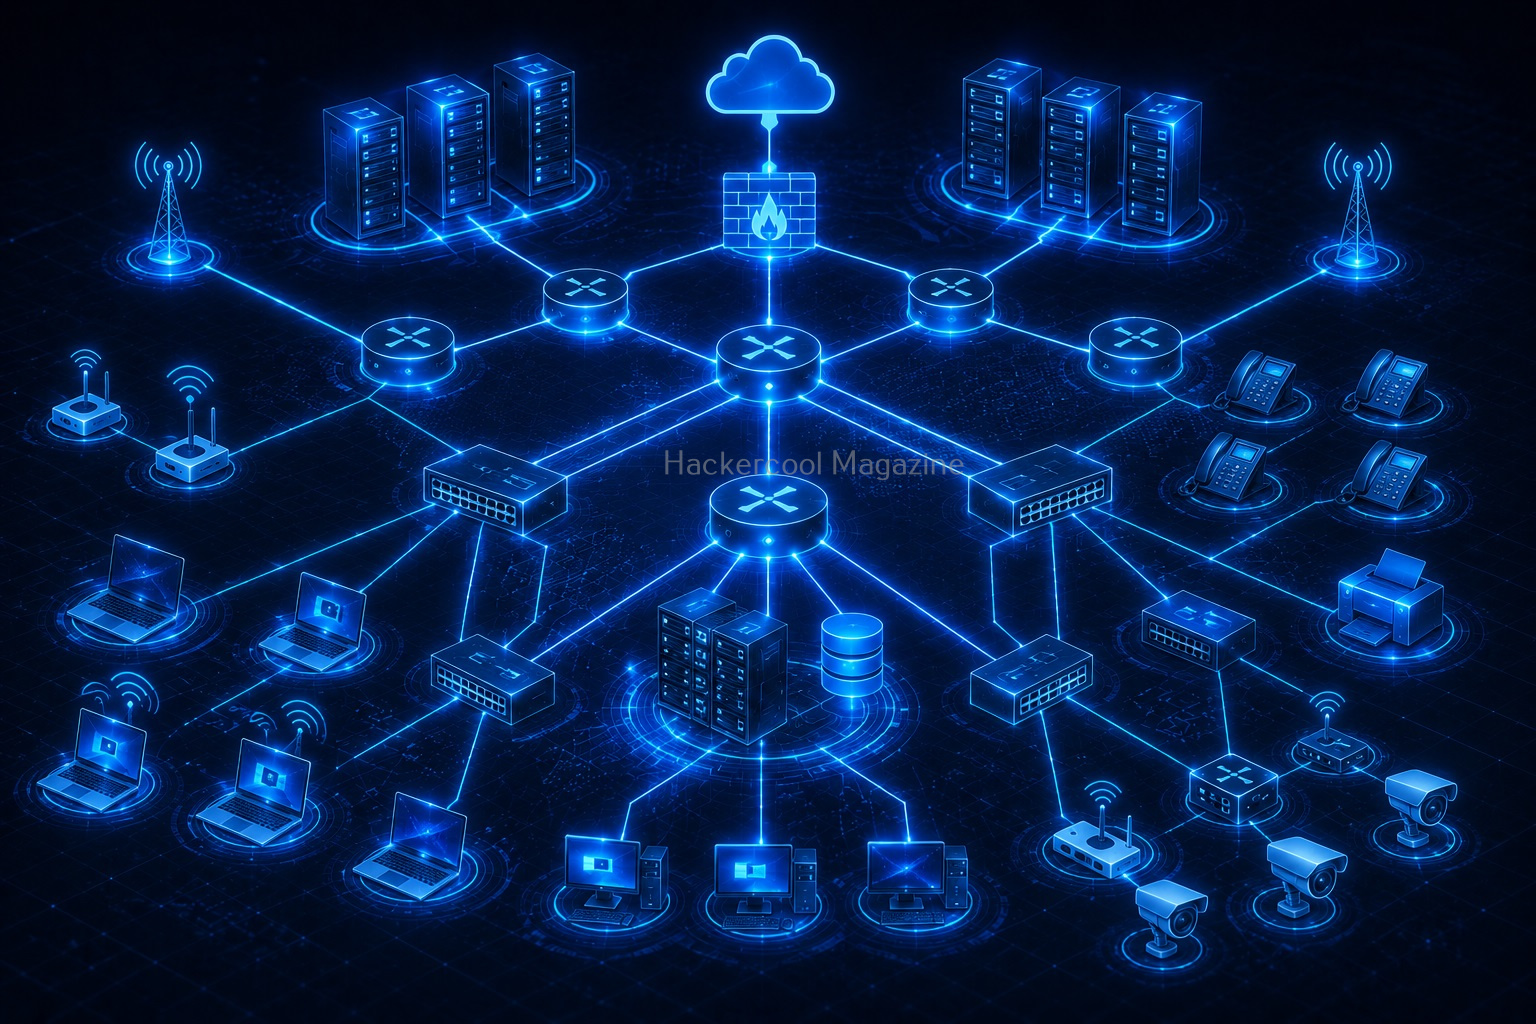
1. Discover Internet Assets:
Organizations may have many systems connected to their domains. Examples are,
- Main websites
- Customer portals
- Development environments
- Support systems
DNS enumeration helps identify these assets.
2. Understand Infrastructure:
DNS records can provide clues about:
- Hosting environments
- Email systems
- External services
- Cloud resources
This helps build a technical overview.
3. Improve Security:
Organizations use DNS reviews to identify:
- Forgotten systems
- Incorrect configurations
- Unnecessary exposure
You cannot protect what you don’t know exists.
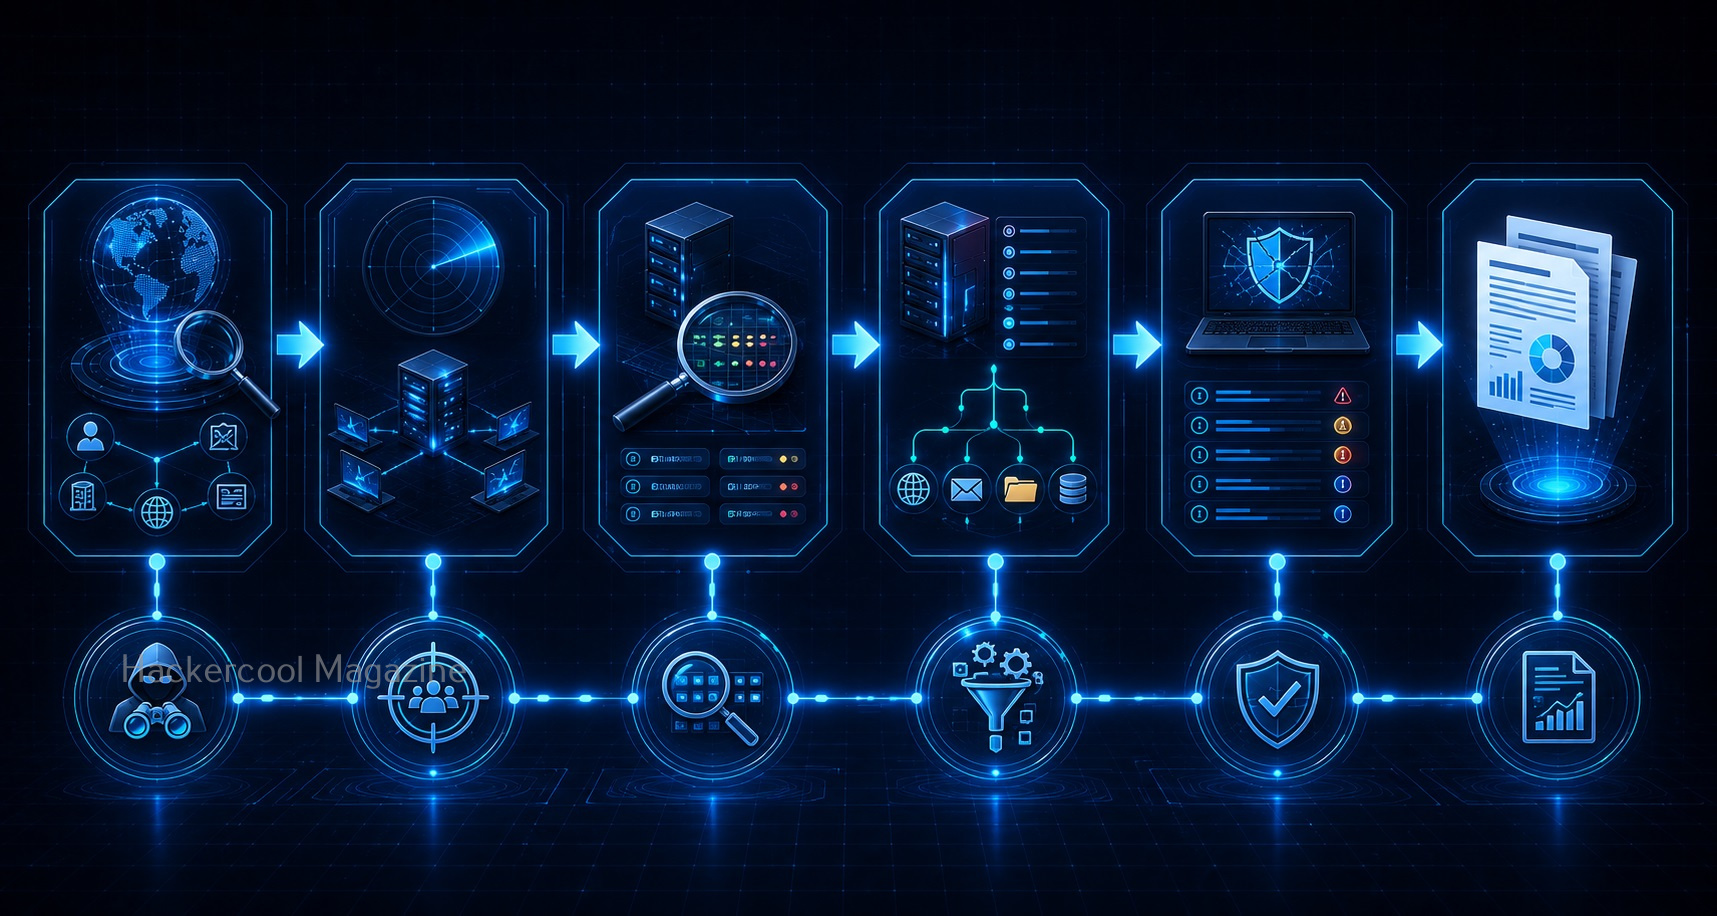
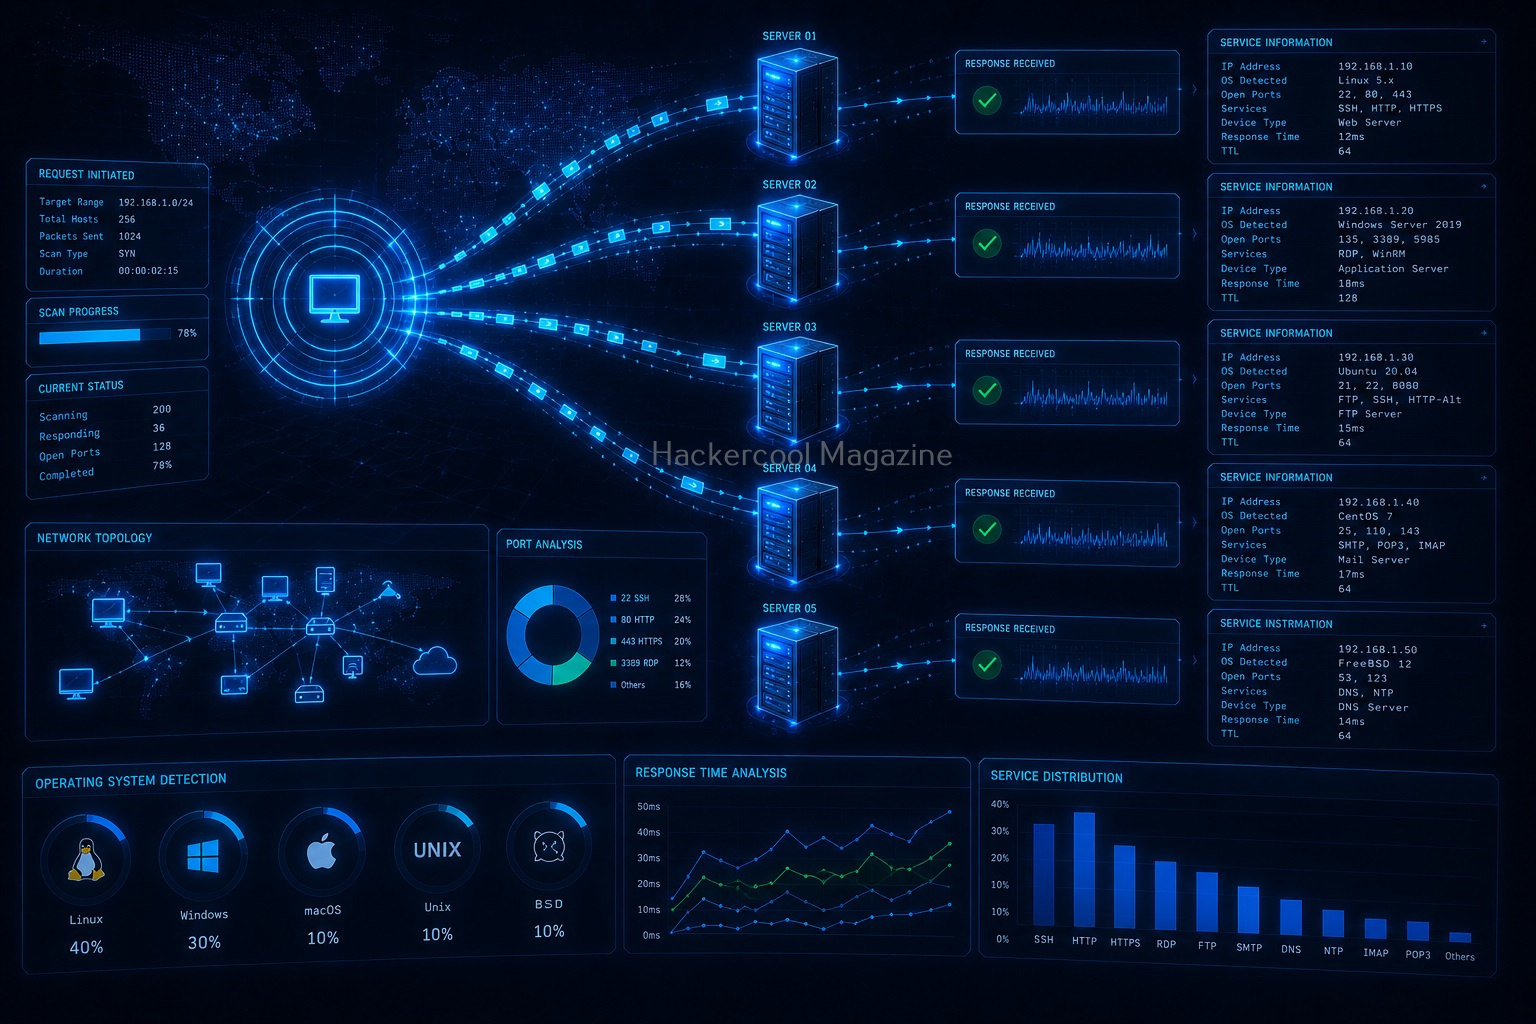
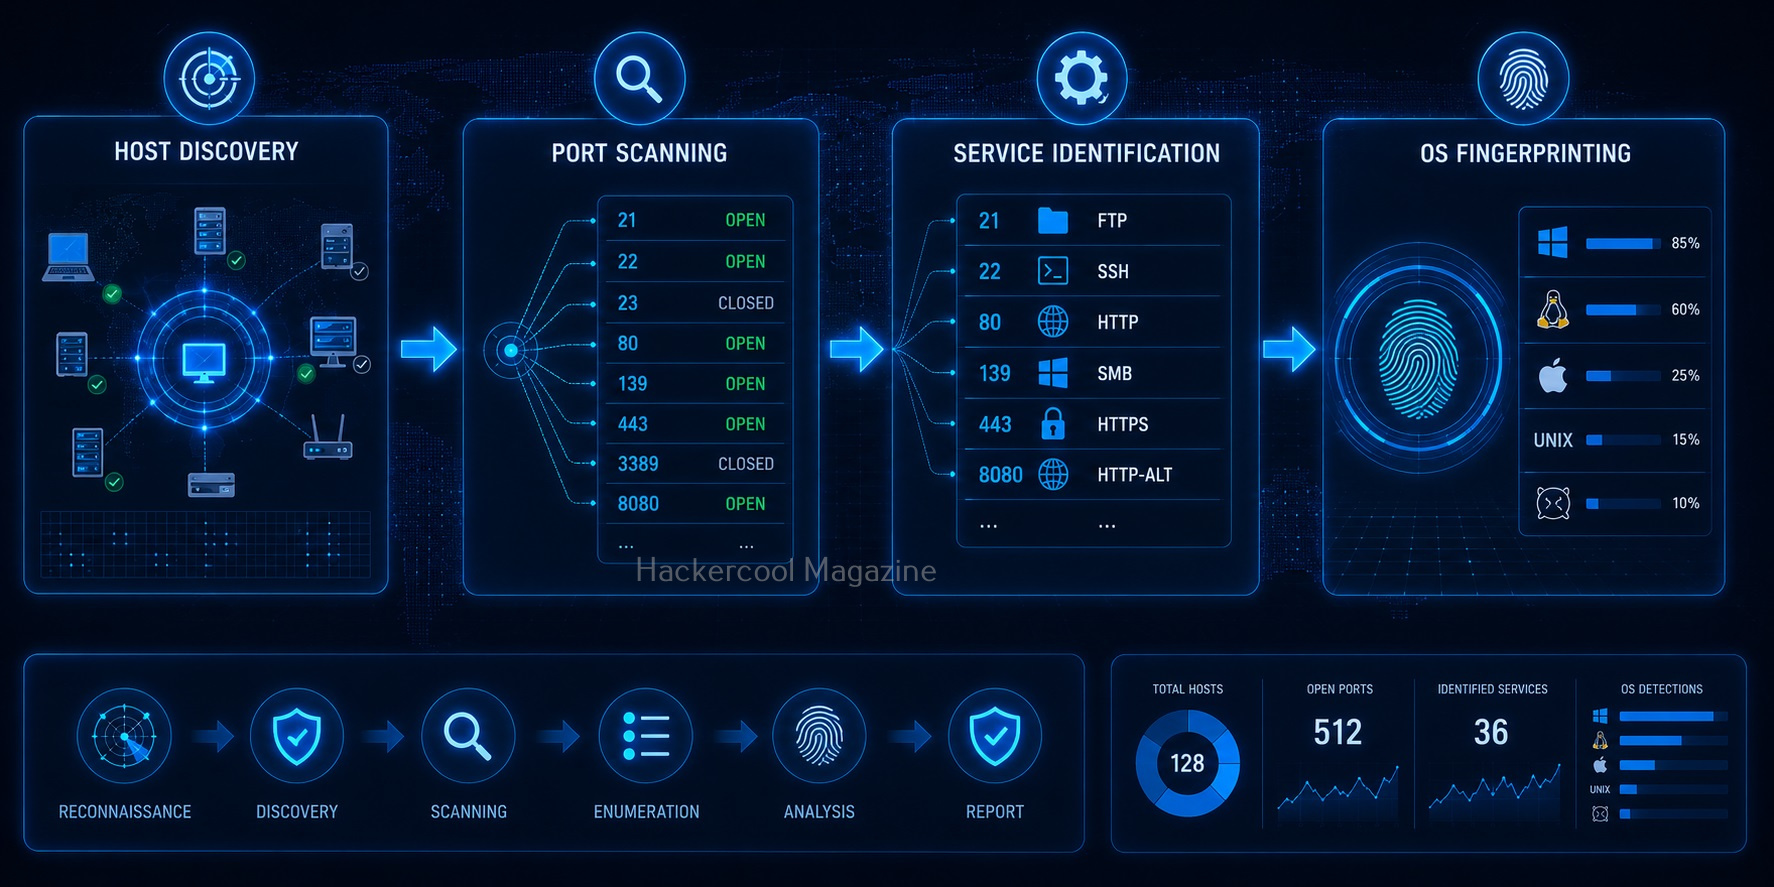
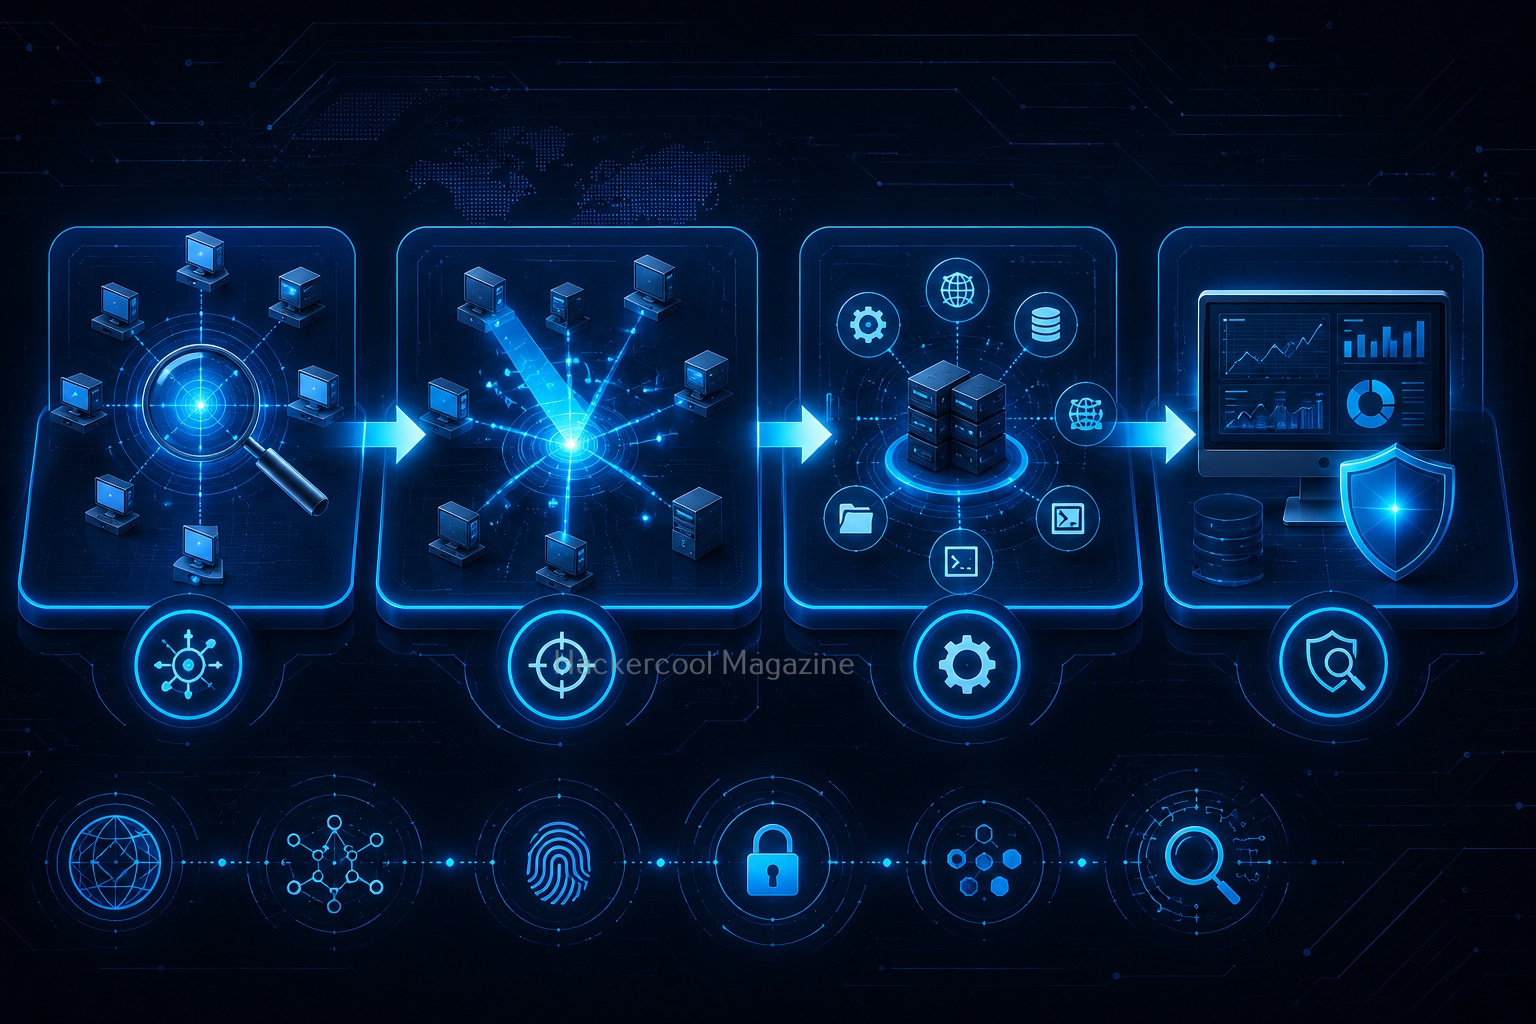
DNS Enumeration in Ethical Hacking
DNS enumeration is usually performed early in a security assessment.
A typical workflow looks like:
- Reconnaissance
- DNS Enumeration
- Host Discovery
- Port Scanning
- Service Enumeration
- Security Analysis
- Reporting
DNS information helps guide later testing phases.
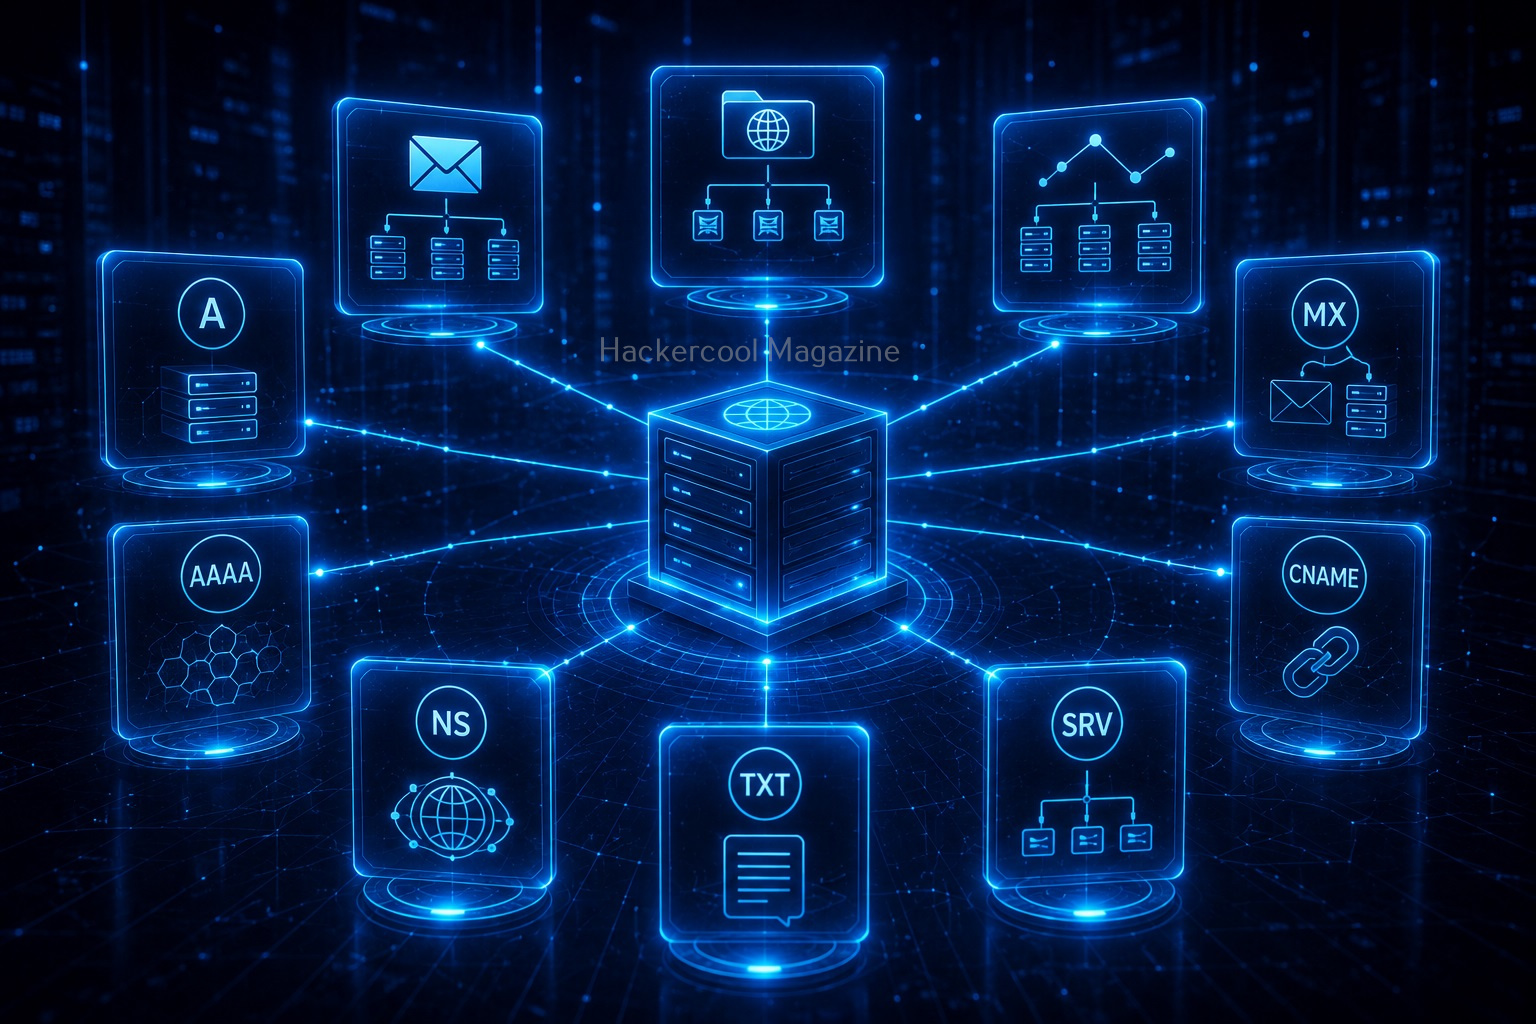
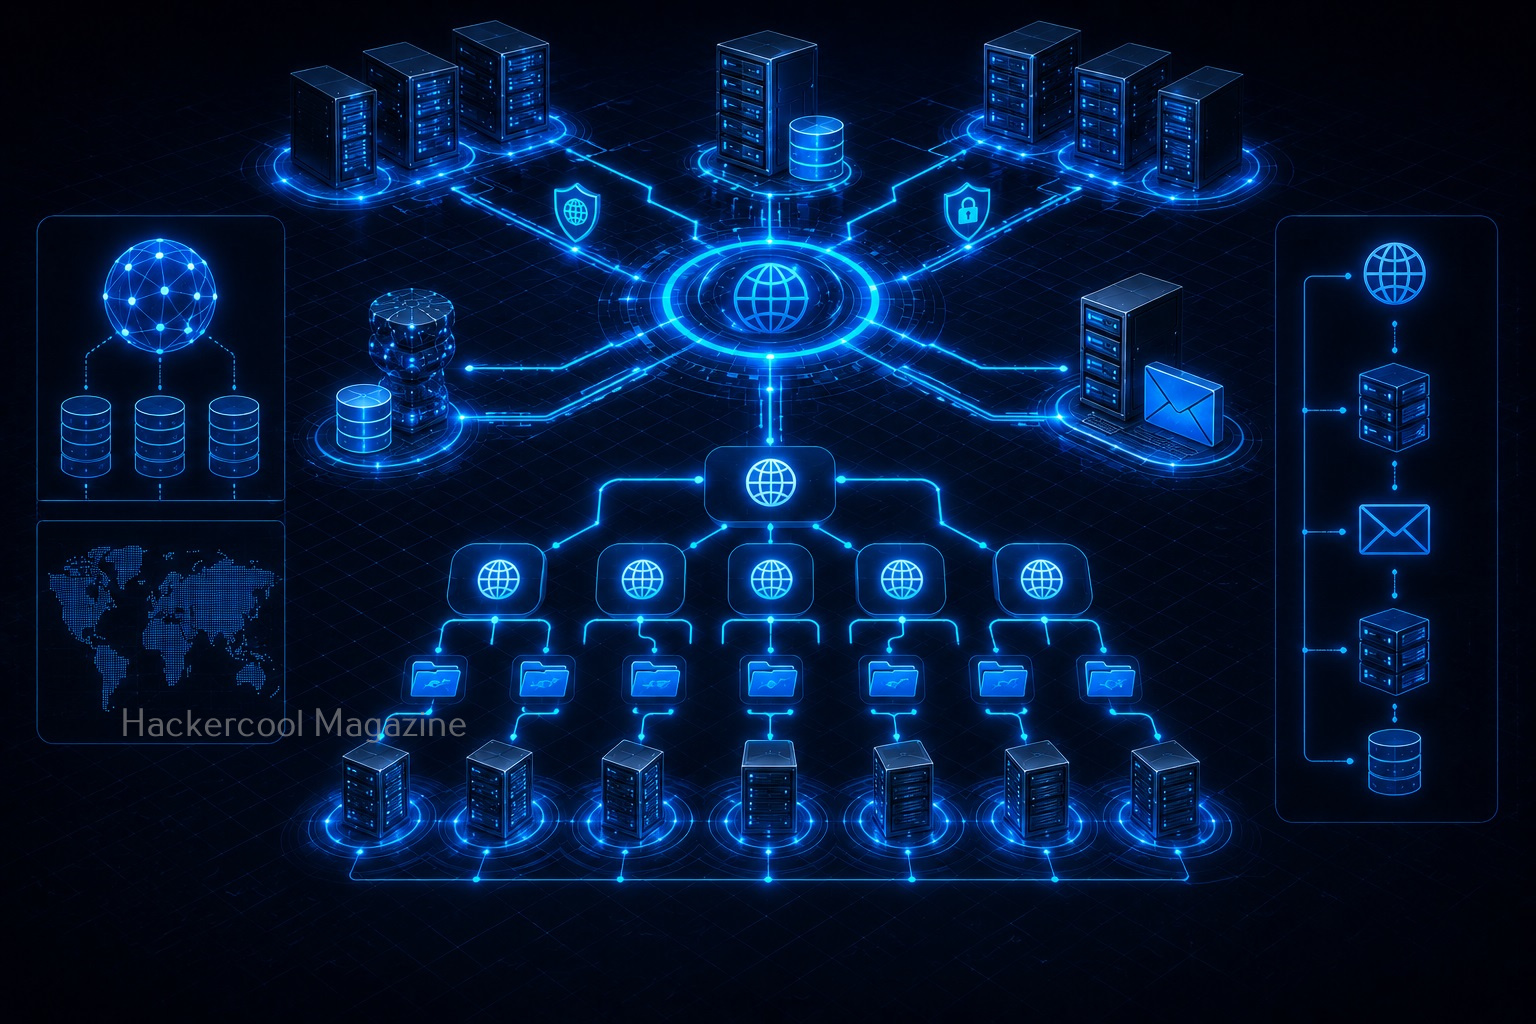
Understanding DNS Records
DNS stores different types of records. Each record provides specific information. Let’s look at some common ones.
1. A Record:
An A record connects a domain name to an IPv4 address.
Example purpose:
Finding where a website points. It helps identify servers hosting services.
2. AAAA Record:
An AAAA record works like an A record but points to an IPv6 address. IPv6 is the newer internet addressing system.
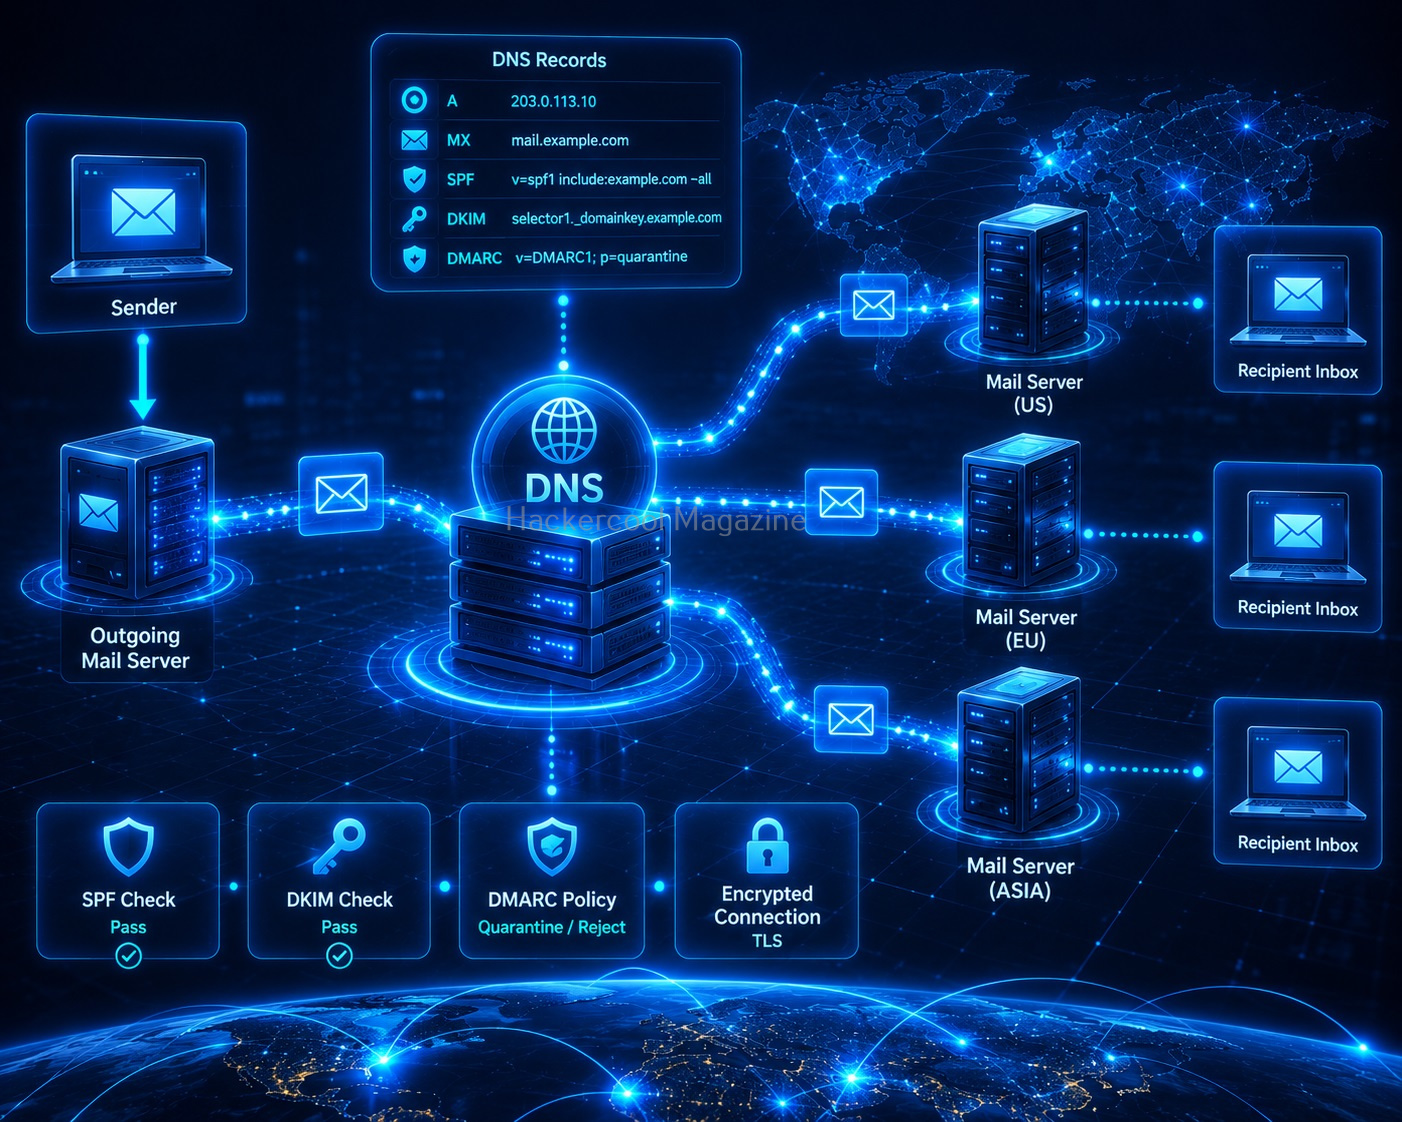
3. MX Record:
MX stands for Mail Exchange. MX records identify mail servers responsible for handling email. They help determine how a domain manages email communication.

4. NS Record:
NS stands for Name Server. These records identify which servers manage DNS information for a domain. They show where DNS records are controlled.

5. TXT Record:
TXT records store text-based information.
They are commonly used for:
- Domain verification
- Email security settings
- Ownership validation
TXT records often reveal useful configuration details.
6. CNAME Record:
A CNAME record creates an alias from one domain name to another. It helps organizations manage multiple services more easily.
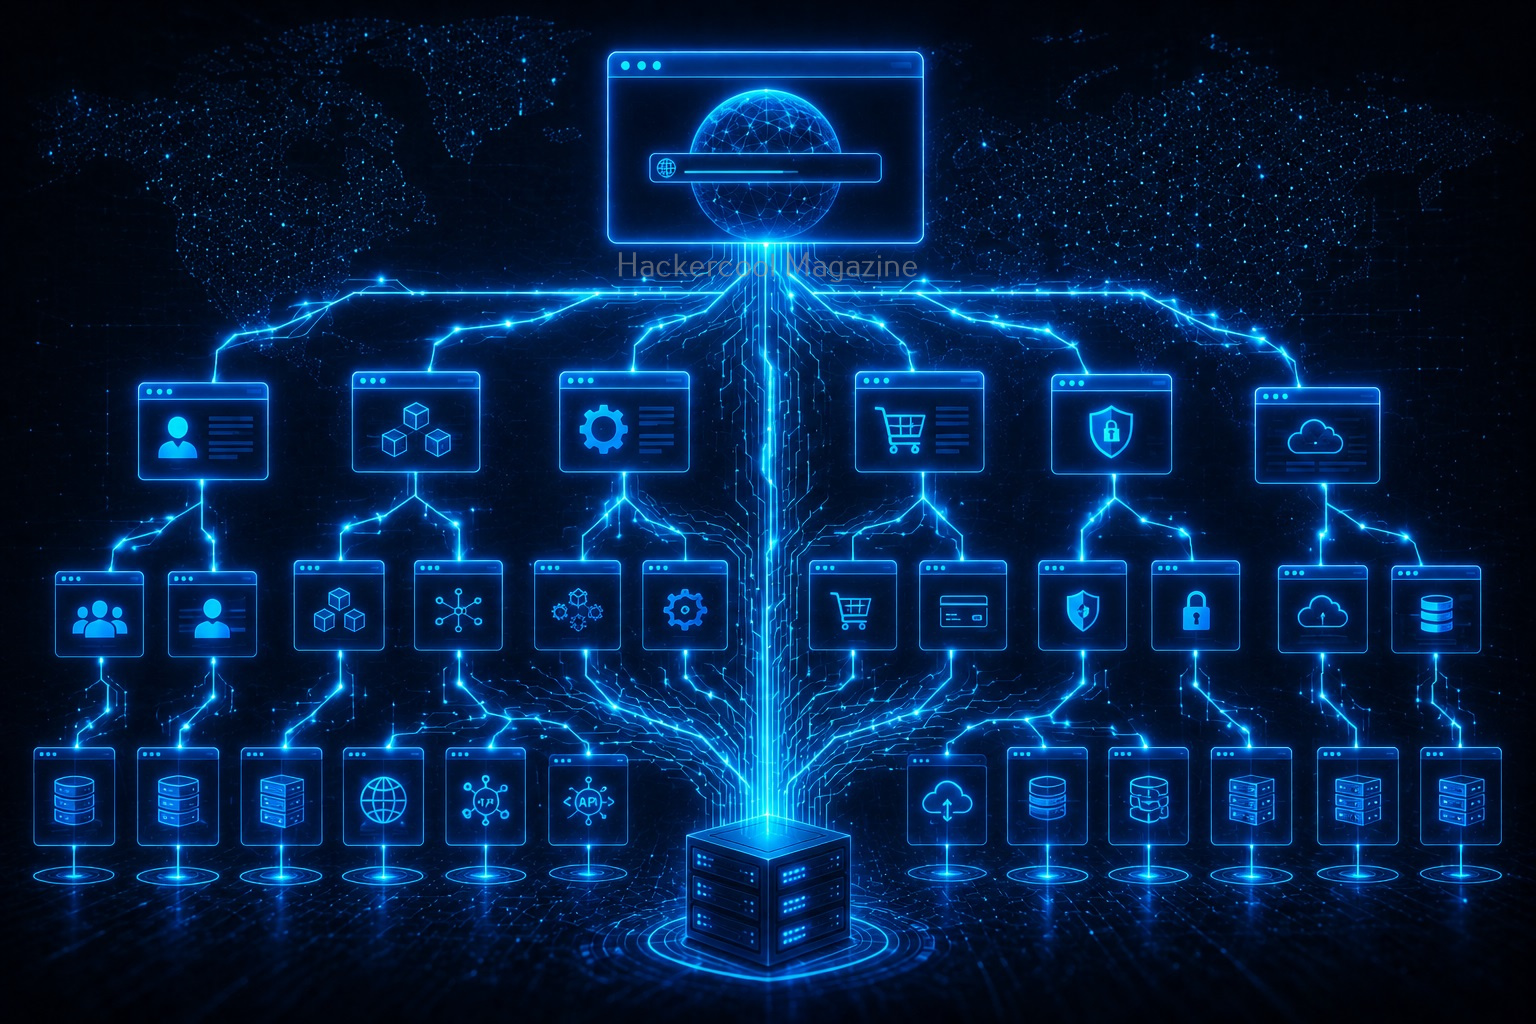
Subdomain Enumeration
One important part of DNS enumeration is discovering subdomains. A subdomain is an extension of a main domain.
For example, if example.com is the main domain, it’s subdoamins are,
- blog.example.com
- shop.example.com
- support.example.com
Organizations often use subdomains for different services.
Why Subdomains Matter:
A single organization may operate many web applications.
Examples:
- Main website
- Employee portal
- API services
- Testing environments
Finding subdomains helps create a more complete picture of online assets.

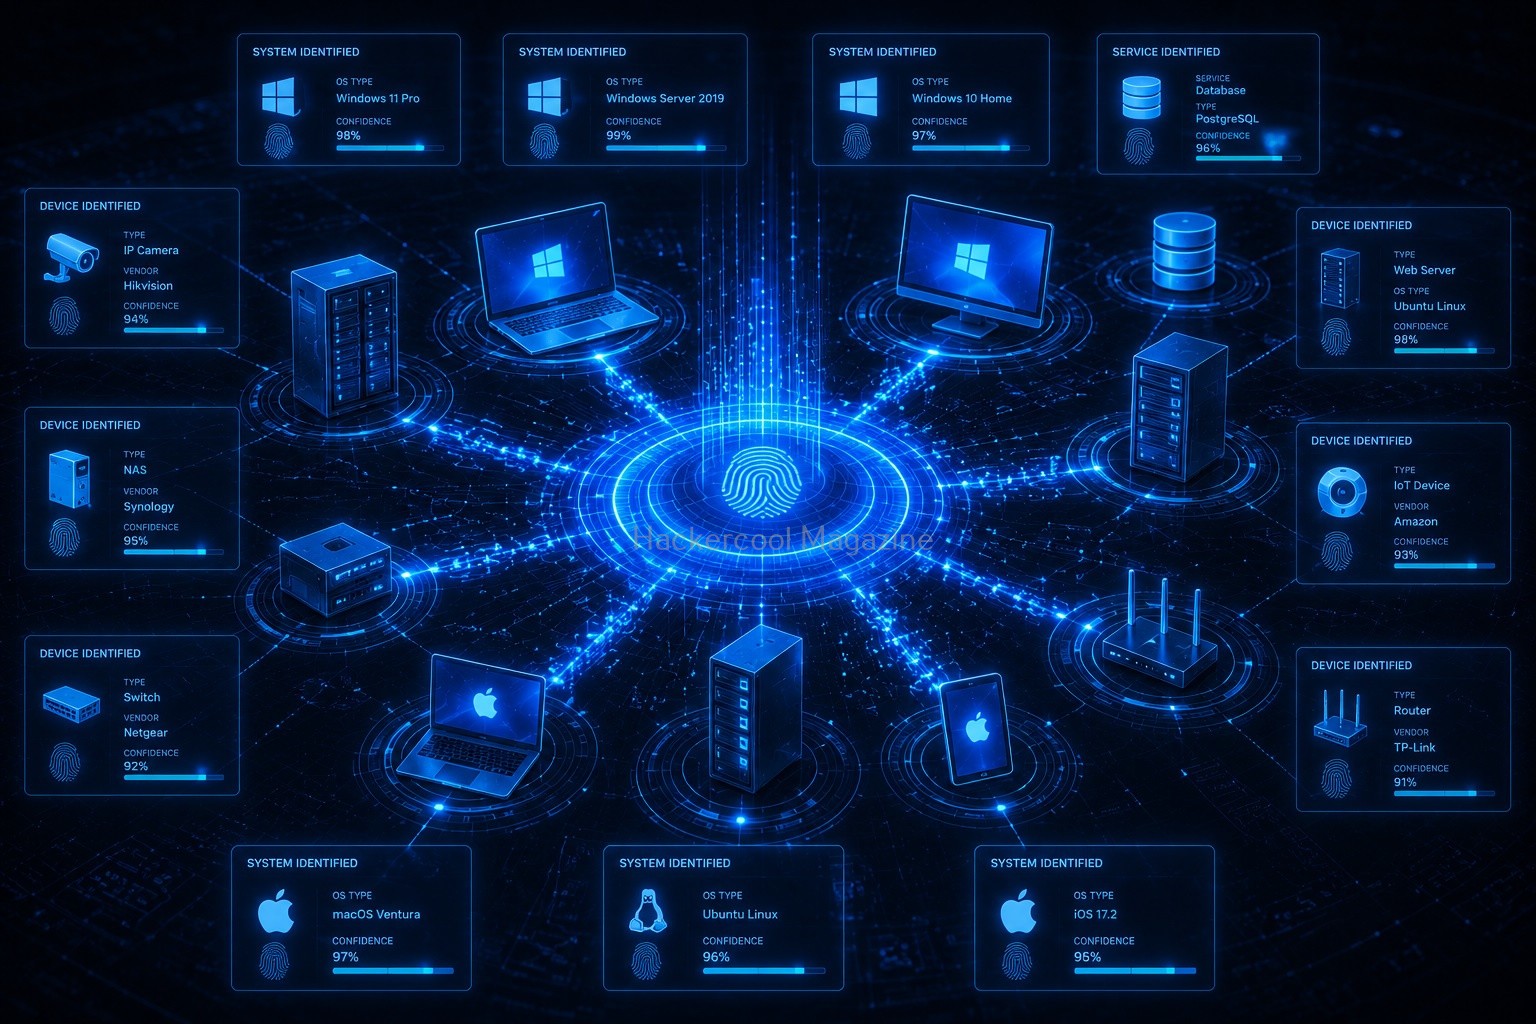
Information Found During DNS Enumeration
DNS enumeration can reveal information such as:
- Domain names
- IP addresses
- Name servers
- Mail servers
- Subdomains
- Cloud services
- Technical infrastructure
Each piece helps understand how systems are organized.
Want to Learn Ethical Hacking Step-by-Step?
If you’re serious about learning cybersecurity, a structured roadmap makes the journey much easier.
Download The Beginner Ethical Hacker Starter Kit (2026 Edition) and discover:
✔ The ethical hacking learning path
✔ Beginner-friendly security concepts
✔ Essential tools ethical hackers use
✔ The most common vulnerabilities explained
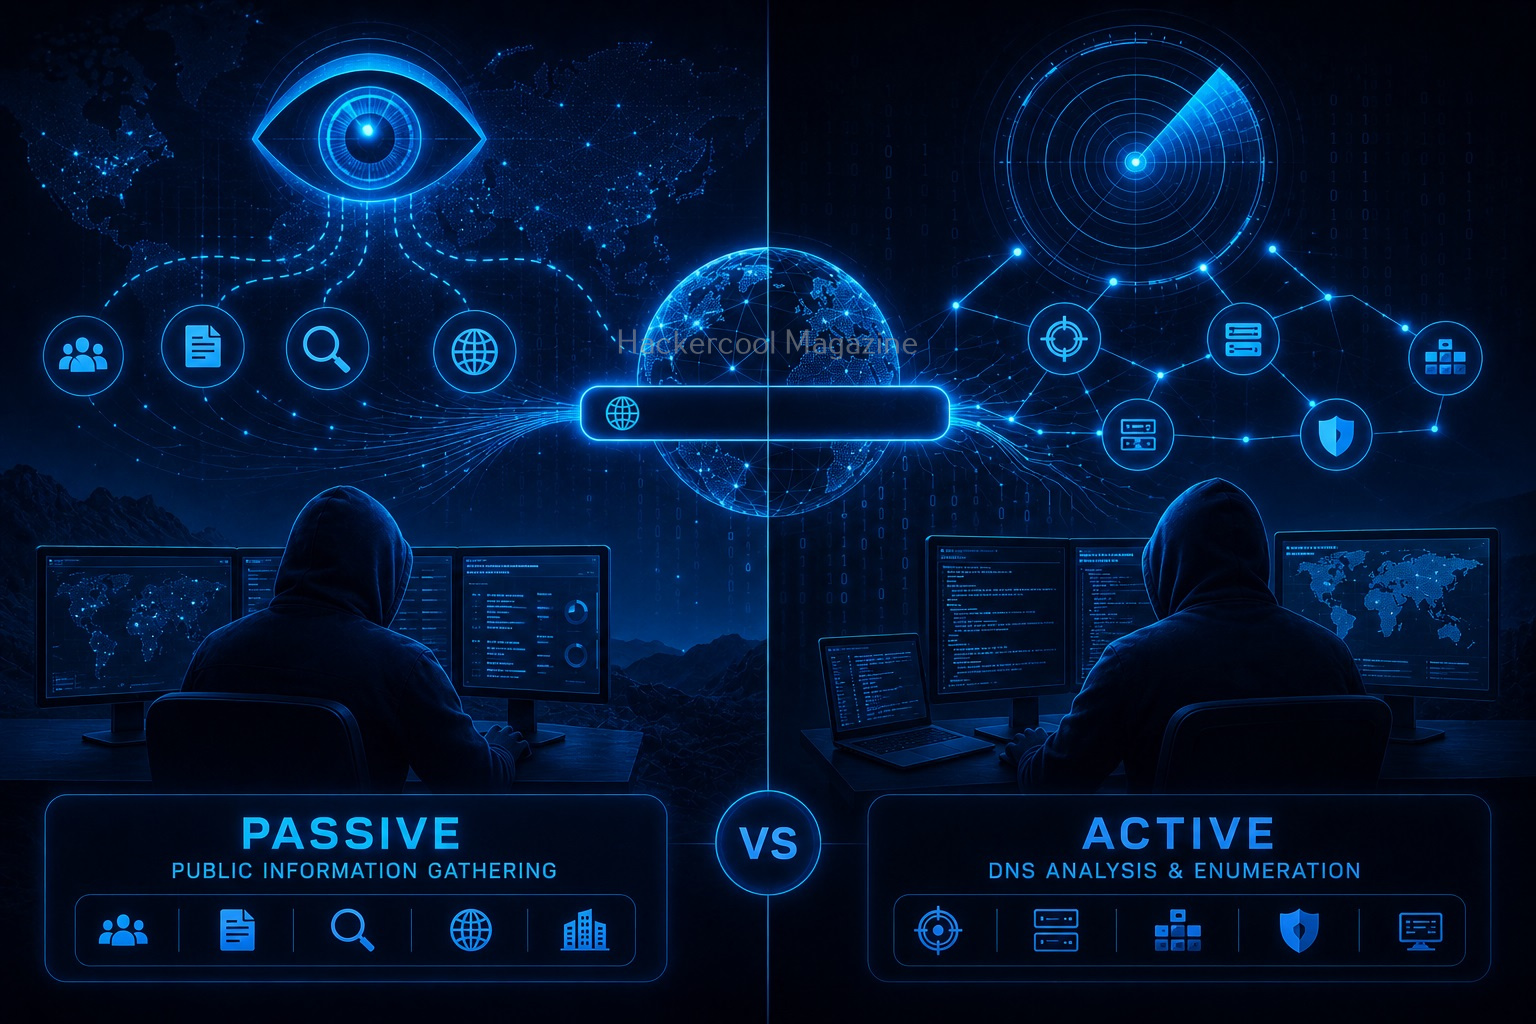
Active vs Passive DNS Enumeration
DNS enumeration can generally be divided into two approaches.
Passive DNS Enumeration:
Passive techniques collect existing public information.
Examples include:
- Public databases
- Search information
- Historical records
The goal is to learn about the target without directly interacting heavily with systems.
Active DNS Enumeration:
Active techniques involve making DNS requests and analyzing responses. This provides current information but involves direct interaction. Both approaches have legitimate uses in cybersecurity.

DNS Enumeration and Asset Discovery
Large organizations may have hundreds or thousands of online assets. Over time:
- Old servers remain online
- Projects are forgotten
- Temporary systems become permanent
DNS enumeration helps identify these unknown assets. This is important because forgotten systems can become security risks.
Common Beginner Mistakes
Many beginners make these mistakes while learning DNS enumeration. Please try to avoid these mistakes.
Memorizing Tools Instead of Concepts:
Tools can collect DNS data quickly. But understanding the information matters more. Focus on learning what records mean.
Ignoring Small Details:
Small discoveries can provide valuable context. A single subdomain or record may reveal useful information.

Not Taking Notes:
Documentation is essential. Record:
- Domains
- Subdomains
- Observations
- Questions
Good documentation builds professional habits.
Forgetting Authorization:
Only perform security testing where you have permission.
Practice using:
- Your own domains
- Labs
- Educational environments

Safe Ways Beginners Can Practice
You can learn DNS concepts safely.
Study Your Own Website:
If you own a domain, explore its DNS records.
Create a Practice Domain:
Experiment with different DNS configurations.
Build a Home Lab:
Practice networking concepts safely.
Use Educational Platforms:
Many cybersecurity labs include DNS exercises.
An Example
There are a number of tools that can be used to perform this enumeration. Let’s see some of them.
1. Linux Host command:
The host command in Linux can be used to perform DNS lookup of a domain. It can be used to retrieve IP address information from domain name and vice versa. See the image below.

We can also query for specific types of records from the DNS server using ‘host’ command. Here are the various records of a DNS server. Let’s query for mail servers and name servers as shown below.

2. dig:
The dig (Domain Information Groups) command is tool for interrogating DNS servers. Just like host command, Dig can be used to perform DNS lookups and query DNS servers. For example, if we want to query for the name servers of a particular domain, we can do this as shown below.

Similarly, we can also query for mail servers and name servers as shown below.


You can also perform DNS enumeration with tools DNSenum, DNSrecon and DNSwalk.
Skills DNS Enumeration Builds
Learning DNS enumeration improves:
Investigation Skills:
You learn how to collect clues.
Network Understanding:
You understand how internet systems connect.
Analytical Thinking:
You learn to connect information together.
Documentation:
You develop organized reporting habits.
Why Beginners Should Learn DNS Enumeration
DNS enumeration teaches an important cybersecurity lesson:
Systems reveal information. Security professionals must understand what information is visible and why it matters.
This skill supports many areas:
- Ethical hacking
- Penetration testing
- Security analysis
- Incident response
- Asset management

Conclusion
DNS enumeration is one of the most important beginner skills in cybersecurity. It helps you understand how websites and online services are connected behind the scenes. Before analyzing security weaknesses, professionals first need visibility. DNS enumeration provides that visibility.
Remember:
✔ DNS translates names into technical information
✔ DNS records reveal infrastructure details
✔ Subdomains help map online assets
✔ Understanding results matters more than tools
✔ Documentation is a critical skill
✔ Always practice ethically and legally
Mastering DNS enumeration builds a strong foundation for your ethical hacking and cybersecurity journey.
Start Your Ethical Hacking Journey Today
Learning cybersecurity can feel overwhelming at first. The best way to start is with a clear roadmap and the right resources.
Download The Beginner Ethical Hacker Starter Kit (2026 Edition) and get instant access to:
✔ Ethical hacking fundamentals
✔ A beginner cybersecurity learning roadmap
✔ Essential hacking tools every beginner should know
✔ Common vulnerabilities explained simply