Web applications are everywhere. From online banking and shopping websites to social media platforms and business portals, web applications handle enormous amounts of sensitive information every day.
Unfortunately, maybe due to this popularity, web applications are also one of the most common targets for cyber attacks. Many successful web app breaches occur not because attackers are highly sophisticated, but because applications contain common security weaknesses that could have been prevented.
For aspiring ethical hackers, cybersecurity enthusiasts and web developers, understanding common web vulnerabilities is an essential skill. In this beginner-friendly guide, we’ll explore some of the most important web vulnerabilities, how they work, their potential impact and how organizations can protect themselves.
New to Ethical Hacking?
Start your journey with The Beginner Ethical Hacker Starter Kit (2026 Edition).
Inside the free guide, you’ll learn:.
- Ethical hacking fundamentals
- Beginner cybersecurity roadmap
- Essential hacking tools
- Common vulnerabilities explained

What Are Web Vulnerabilities?
A web vulnerability is a weakness in a web application that can be exploited by attackers to gain unauthorized access, steal data, manipulate systems or disrupt services.
These vulnerabilities often arise from:
- Poor coding practices
- Misconfigurations
- Inadequate security controls
- Lack of input validation
- Weak authentication mechanisms
Understanding these vulnerabilities helps security professionals identify risks before attackers do.
Why Should Beginners Learn Web Vulnerabilities?
Learning web vulnerabilities helps you:
- Understand how web applications work
- Think like a security professional
- Identify security risks
- Improve defensive security skills
- Build a foundation for ethical hacking
Most modern penetration tests include web application assessments, making this knowledge extremely valuable. Let’s learn about the most popular (i mean infamous) web vulnerablties.

1. SQL Injection (SQLi)
SQL Injection is one of the most well-known web vulnerabilities. It occurs when an application improperly handles user input that interacts with a database.
How It Works?
Many websites use databases to store information such as:
- User accounts
- Product information
- Orders
- Customer records
When applications fail to validate input properly, attackers may be able to manipulate database queries.
Potential Impact:
SQL Injection can potentially allow attackers to:
- Access sensitive data
- Modify information
- Delete records
- Bypass authentication
Why Beginners Should Learn It?
SQL Injection teaches important concepts about:
- Input validation
- Databases
- Secure coding practices
Learn in detail about SQL Injection.

2. Cross-Site Scripting (XSS)
Cross-Site Scripting occurs when applications allow untrusted content to be displayed in a user’s browser.
How It Works?
An attacker injects malicious client-side code into a web page. When another user visits the page, the browser executes the code.
Potential Impact
XSS may lead to:
- Session theft
- User impersonation
- Defaced web pages
- Malicious redirects
Beginner Lesson:
Never trust user-supplied input.
Applications should validate and safely display user content. Learn deeply about Cross Site Scripting (XSS).

3. Cross-Site Request Forgery (CSRF)
CSRF tricks authenticated users into performing actions they did not intend.
How It Works?
A user logs into a website. While still logged in, they visit a malicious page that triggers unintended actions behind the scenes.
Potential Impact:
It’s potential impact includes:
- Changing account settings
- Updating email addresses
- Initiating unwanted actions
Beginner Lesson:
Authentication alone is not enough. Applications must verify the legitimacy of requests. Learn in detail about CSRF vulnerability.

4. Broken Authentication
Authentication weaknesses remain a major source of security incidents.
Weak authentication may include:
- Weak passwords
- Poor session management
- Predictable credentials
- Missing multi-factor authentication
Potential Impact:
Attackers may gain access to:
- User accounts
- Administrative interfaces
- Sensitive information
Beginner Lesson:
Strong authentication is a critical security layer.
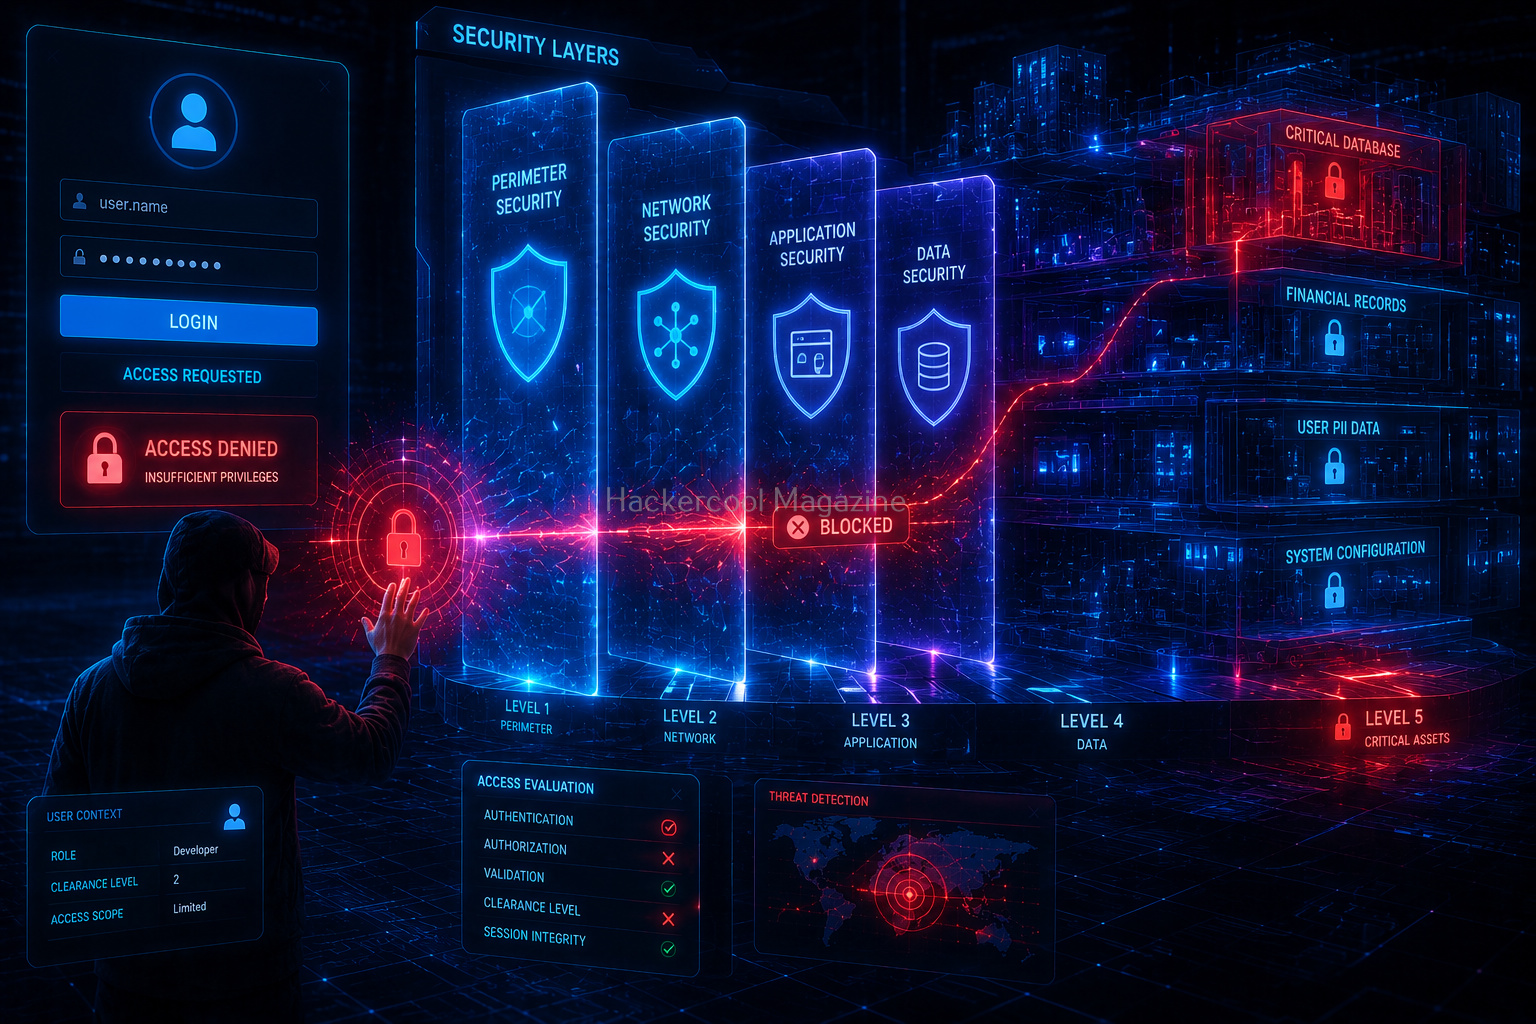
5. Broken Access Control
Access control determines what users are allowed to do. Broken access control occurs when users can perform actions beyond their intended permissions. A regular user may:
- Access administrative pages
- View other users’ data
- Modify restricted resources
Potential Impact:
Unauthorized access to sensitive functions and information.
Beginner Lesson:
Authentication identifies users. Authorization determines what they can access. Both are essential.

6. Security Misconfiguration
Many vulnerabilities result from incorrect system configurations. Common examples include:
- Default credentials
- Unnecessary services
- Exposed administrative interfaces
- Debug settings left enabled
Potential Impact:
Misconfigurations often create easy entry points for attackers.
Beginner Lesson:
Secure systems require proper configuration, not just secure code.

7. Sensitive Data Exposure
Applications often handle valuable information. If protection mechanisms are weak, sensitive data may be exposed.
Examples:
- Personal information
- Financial records
- Login credentials
- Internal business data
Potential Impact:
Privacy violations and data breaches.
Beginner Lesson:
Data protection is a core security responsibility.

8. Insecure File Uploads
Many websites allow users to upload files. Improper validation can create security risks.
Examples:
Users may upload:
- Images
- Documents
- Profile pictures
Without proper controls, uploads can become dangerous.
Potential Impact:
File upload weaknesses may allow attackers to:
- Store unwanted files
- Bypass restrictions
- Abuse application functionality
Beginner Lesson:
Never assume uploaded files are safe. Learn in detail about File upload vulnerability.
Want to Learn Ethical Hacking Step-by-Step?
If you’re serious about learning cybersecurity, a structured roadmap makes the journey much easier.
Download The Beginner Ethical Hacker Starter Kit (2026 Edition) and discover:
✔ The ethical hacking learning path
✔ Beginner-friendly security concepts
✔ Essential tools ethical hackers use
✔ The most common vulnerabilities explained

9. Directory Traversal
Directory traversal vulnerabilities occur when applications improperly handle file paths.
How It Works:
Applications may allow access to files outside intended directories.
Potential Impact:
Exposure of:
- Configuration files
- Sensitive information
- Internal resources
Beginner Lesson:
Applications should carefully validate file access requests. Learn in detail about Directory traversal vulnerability.

10. Clickjacking
Clickjacking tricks users into clicking something different from what they believe they are clicking.
How It Works:
Attackers hide legitimate pages beneath deceptive content. Users unknowingly interact with the hidden page.
Potential Impact:
Unintended actions may occur without user awareness.
Beginner Lesson:
User interface security matters too.
Why These Vulnerabilities Keep Appearing
Most of these vulnerabilities have been since long time. However, they continue to appear even nowbecause of
Lack of Security Awareness:
Developers may not fully understand security risks.
Time Pressure:
Security is sometimes sacrificed for faster deployment.
Complex Applications:
Modern web applications can be extremely complicated.
Insufficient Testing:
Security testing may be overlooked.
Understanding Risk Severity
Not all vulnerabilities are equally dangerous. Security professionals typically evaluate these vulnerabilities into three categories. They are,
Likelihood:
How easy is its exploitation?
Impact:
What damage could occur if the web vulnerability is exploited?
Exposure:
How many systems are affected?
Understanding risk helps prioritize remediation.
How Organizations Protect Against Web Vulnerabilities?
Organizations use multiple defensive measures.
Secure Coding Practices:
Developers follow security-focused design principles.
Input Validation:
Applications verify incoming data.
Security Testing:
Regular assessments help identify weaknesses.
Security Updates:
Keeping software updated reduces risk.
Principle of Least Privilege:
Users receive only the access they need.
Monitoring and Logging:
Suspicious activity can be detected more quickly.

Common Beginner Mistakes
Avoid these misconceptions.
Focusing Only on Tools:
Understanding vulnerabilities matters more than tools.
Memorizing Without Understanding:
Learn why vulnerabilities occur.
Ignoring Defensive Concepts:
Security is about protection, not just attacks.
Trying to Learn Everything at Once:
Focus on one vulnerability at a time.
How to Learn Web Security Safely
Practice in legal environments only. Good options include:
- Security training labs
- Educational platforms
- Vulnerable practice applications
- Home lab environments
Always stay within authorized boundaries.

A Simple Learning Path for Beginners
Here’s a simple weekly learning plan for beginners to master these web vulnerabilities. Start with:
Week 1:
Learn how websites work.
Week 2:
Understand databases and authentication.
Week 3:
Study SQL Injection and XSS concepts.
Week 4:
Learn access control and authentication weaknesses.
Week 5:
Explore security misconfigurations.
Week 6:
Review and practice concepts.
This gradual approach builds a strong foundation.

Conclusion
Web vulnerabilities are at the heart of many cybersecurity incidents. For beginners, learning these vulnerabilities is not about becoming an attacker. It’s about understanding how systems fail so they can be protected.
Remember:
✔ Web vulnerabilities are common security weaknesses
✔ Understanding them improves both offensive and defensive skills
✔ Security starts with strong fundamentals
✔ Practice should always occur in legal environments
✔ Concepts matter more than tools
Understanding these common web vulnerabilities is one of the most important steps in becoming a skilled ethical hacker or cybersecurity professional. The stronger your understanding of these concepts, the better prepared you’ll be to identify, assess, and help prevent real-world security issues.
Start Your Ethical Hacking Journey Today
Learning cybersecurity can feel overwhelming at first. The best way to start is with a clear roadmap and the right resources.
Download The Beginner Ethical Hacker Starter Kit (2026 Edition) and get instant access to:
✔ Ethical hacking fundamentals
✔ A beginner cybersecurity learning roadmap
✔ Essential hacking tools every beginner should know
✔ Common vulnerabilities explained simply