Hello aspiring Ethical Hackers. In our previous blogpost, you learnt about Blue Teaming. In this article, you will learn about Threat Hunting, which plays a powerful role in Blue Teaming. In today’s digital landscape, cyber threats are becoming increasingly sophisticated. Attackers often hide deep within networks, evading traditional security tools like antivirus software and firewalls. So how do organizations detect these stealthy intrusions before they cause serious damage? That’s where threat hunting plays an important role.
New to Ethical Hacking?
Start your journey with The Beginner Ethical Hacker Starter Kit (2026 Edition).
Inside the free guide, you’ll learn:.
- Ethical hacking fundamentals
- Beginner cybersecurity roadmap
- Essential hacking tools
- Common vulnerabilities explained
If you’re new to cybersecurity or curious about how security professionals find hidden threats, this beginner’s guide to threat hunting will explain what it is, why it matters and how to get started.
What is Threat Hunting?
Threat hunting is the process in which a proactive search is performed to detect malicious activity or threats within a network or system that have evaded existing security defenses. Instead of waiting for automated alerts, threat hunters actively look for suspicious patterns, behaviors or anomalies that indicate an attacker might be lurking undetected.
Think of it as a detective searching for clues that a criminal has been in the building — even when alarms haven’t gone off. Unlike reactive approaches (such as responding to alerts), hunting threats focuses on finding what security tools might have missed by leveraging human intuition, knowledge, experience and analytical skills.
Why Is Threat Hunting Important?
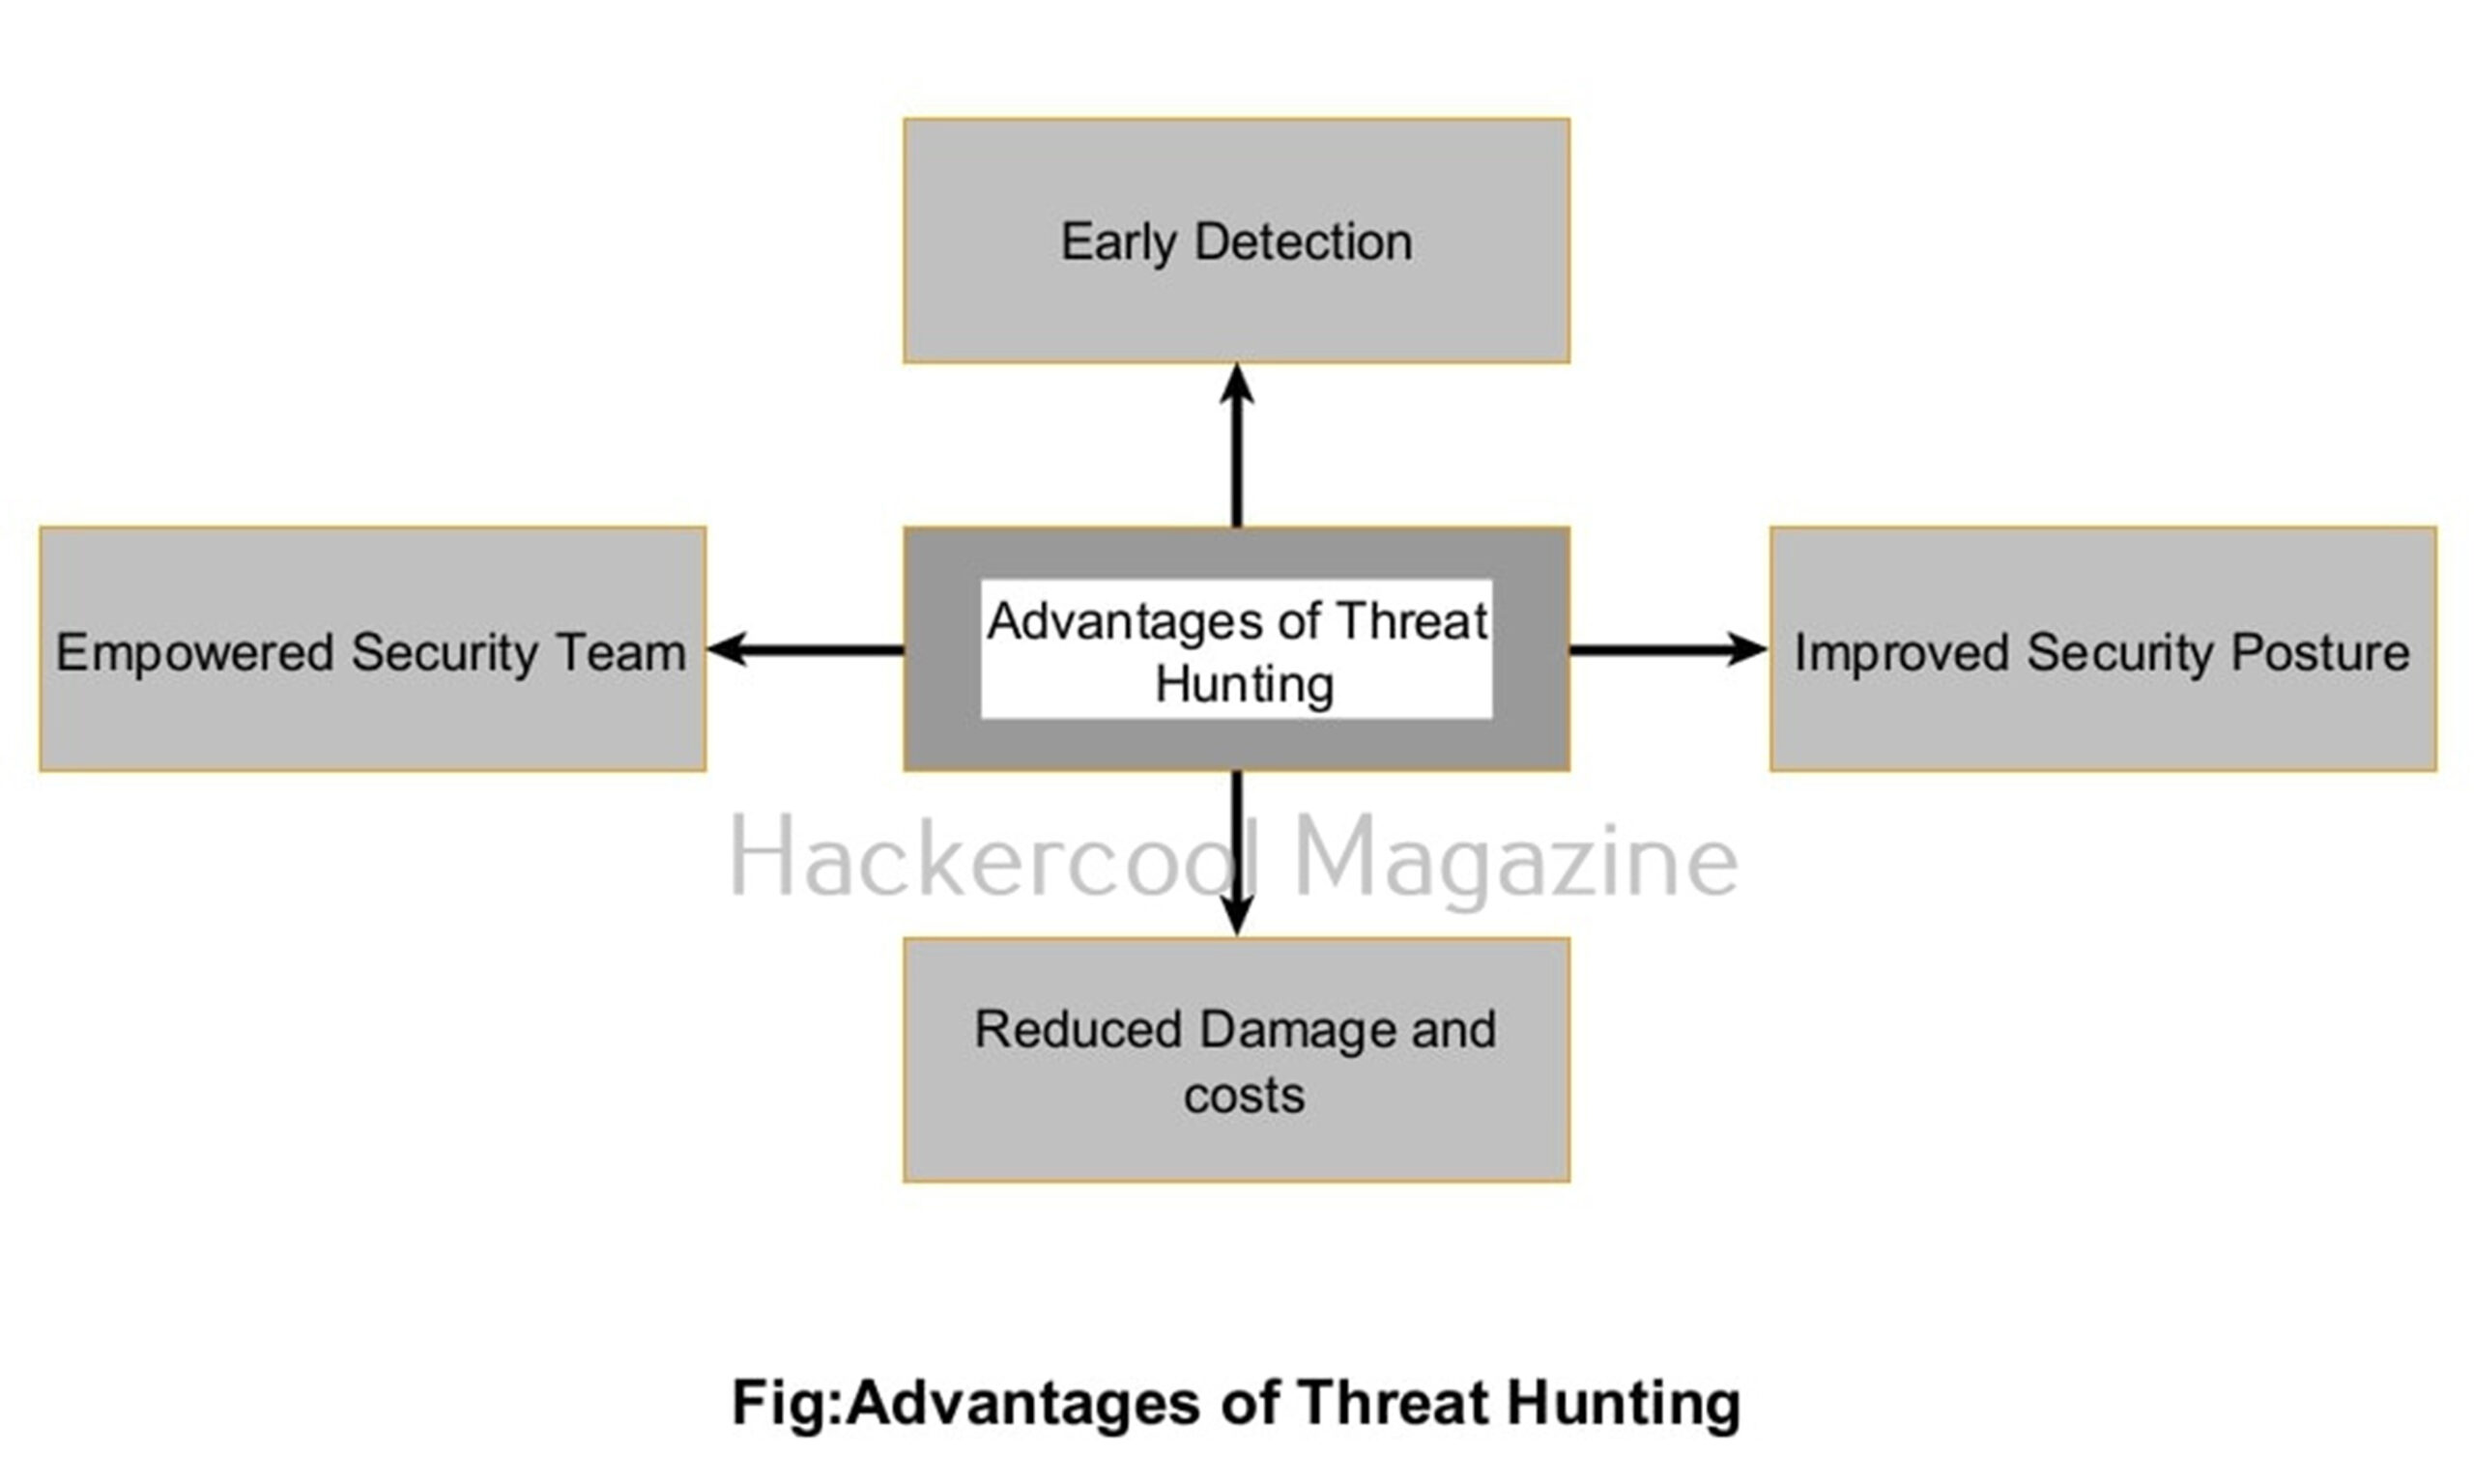
1. Early Detection of Advanced Threats:
Many modern attackers use highly advanced techniques designed specifically to avoid detection. Threat hunting helps find these stealthy attackers early, reducing the attacker’s ‘dwell time’. ‘Dwell time’ is the time attackers spend inside a network they have compromised.
2. Improves Overall Security Posture:
By uncovering hidden threats and attack techniques, threat hunters provide valuable feedback to improve the organization’s detection rules, incident response processes etc.
3. Reduces Damage and Costs:
The sooner an attacker is detected, the less damage they can do — whether it’s stealing data, disrupting operations or installing ransomware. So it reduces damage and costs.
4. Empowers Security Teams:
Threat hunting encourages curiosity, creativity and deeper understanding of your environment, turning security analysts into proactive defenders.
Common Threat Hunting Techniques
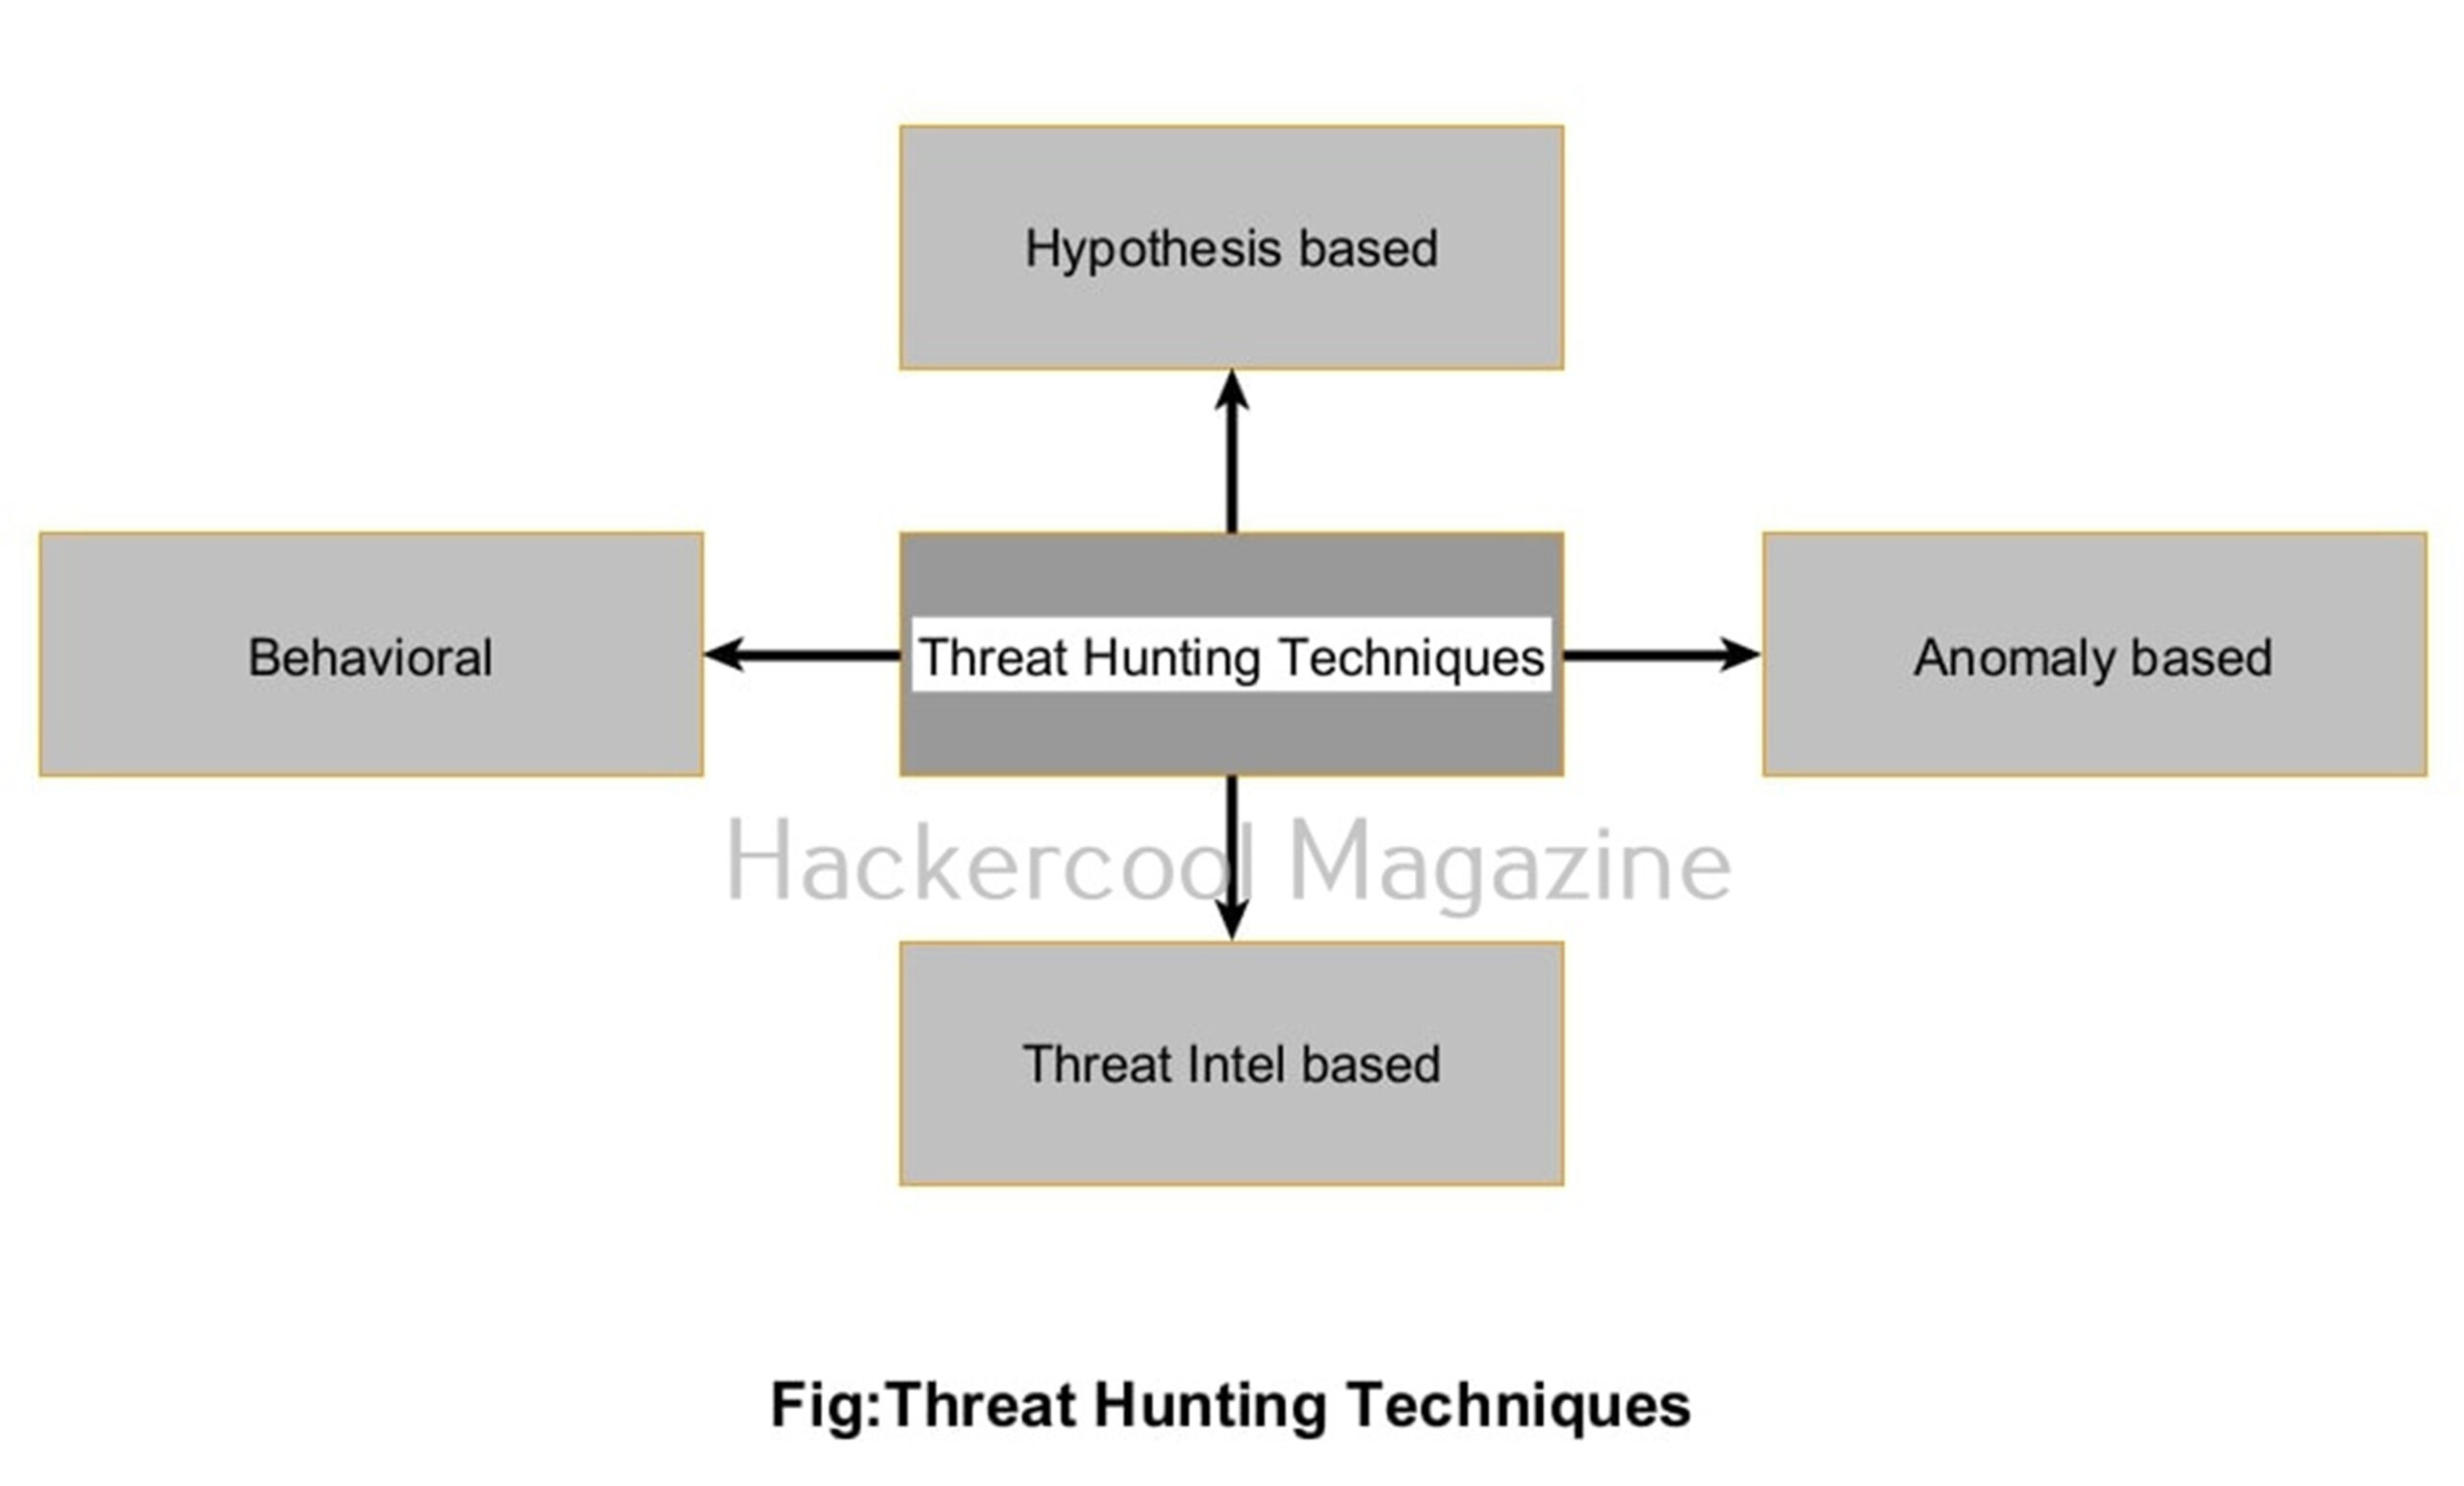
Threat hunting blends data analysis, hypothesis-driven investigation and tool usage. Here are some popular approaches:
1. Hypothesis-Driven Hunting:
In this technique, Threat Hunters start with a theory or suspicion, like “What if an attacker already in our network is using PowerShell to run malicious scripts?” They then look for signs matching this hypothesis.
2. Anomaly Detection:
In this type of hunting, threat hunters search for unusual behavior that stands out, such as:
- A user logging in at odd hours
- Unexplained data transfers
- Processes launching unexpectedly
3. Tactical Hunting based on Threat Intelligence:
In this technique, threat hunters use known Indicators of Compromise (IOCs) like IP addresses, domain names or file hashes linked to malware campaigns.
4. Behavioral Analysis:
In this technique, threat hunters focus on patterns of activity (e.g., lateral movement or privilege escalation) rather than specific malware signatures.
Want to Learn Ethical Hacking Step-by-Step?
If you’re serious about learning cybersecurity, a structured roadmap makes the journey much easier.
Download The Beginner Ethical Hacker Starter Kit (2026 Edition) and discover:
✔ The ethical hacking learning path
✔ Beginner-friendly security concepts
✔ Essential tools ethical hackers use
✔ The most common vulnerabilities explained
Keys for successful Threat Hunting
Successful threat hunting relies on access to good data and other factors. They are:
- Security Information and Event Management (SIEM) platforms: These help in centralizing logs and provide search/query capabilities (e.g., Splunk, Elastic Stack, QRadar).
- Endpoint Detection and Response (EDR) tools: These tools monitor endpoint behavior in real-time (e.g., CrowdStrike, Carbon Black).
- Network Traffic Analysis: This helps in examining network packets for suspicious activity (e.g., Zeek, Wireshark)
- Threat Intelligence Feeds: Provide updated information on attacker tactics and IOCs.
- Scripting Languages: Python or PowerShell are used to automate data analysis and custom hunting queries.
Threat Hunting Process for beginners
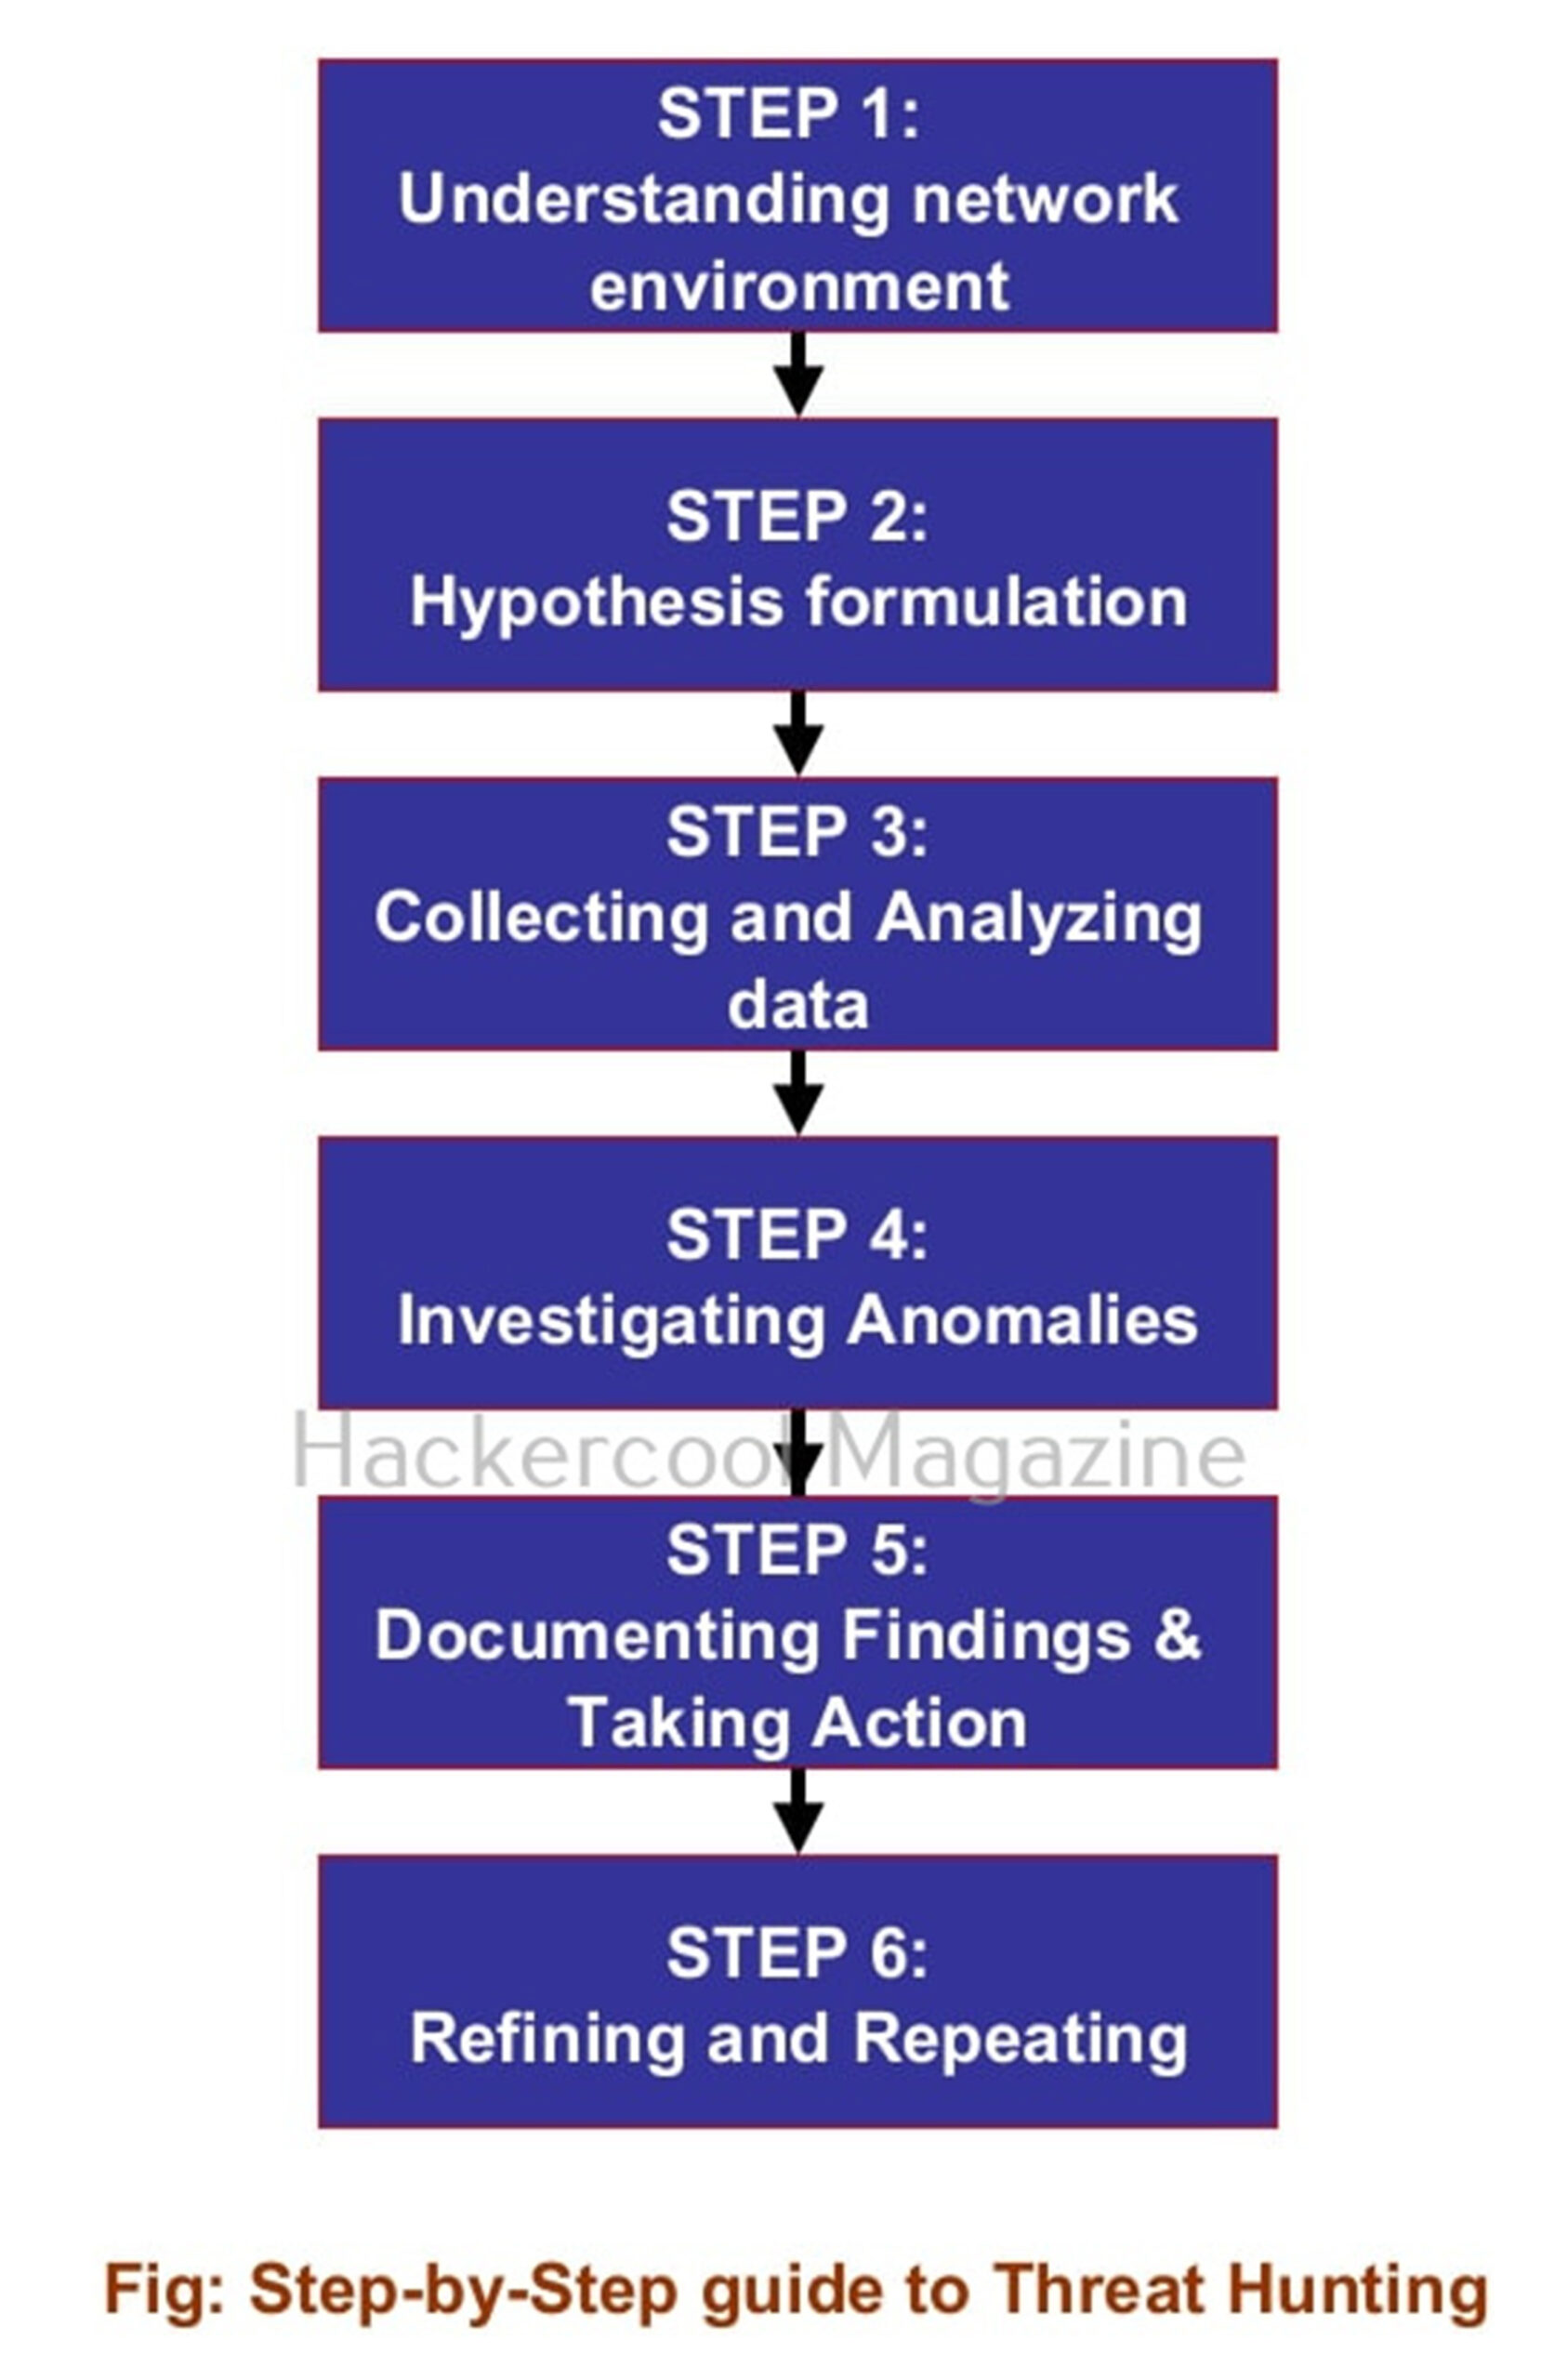
Here’s a Step-by-step process you can follow to start threat hunting:
Step 1: Understand your network environment:
Before you can find anomalies or threats, you need to first know what “normal” looks like for your network. Study your network architecture, user behaviors, typical processes and baseline logs.
Step 2: Formulate a Hypothesis:
Once you have understood your environment, formulate a Hypothesis. Start with a focused question or theory relevant to your target network. For example:
- “Are there signs of credential dumping?”
- “Is anyone using PowerShell scripts outside of business hours?”
- “Is there unusual DNS traffic indicating data exfiltration?”
Step 3: Collect and Analyze Data:
Once you have a hyposthesis, gather logs from endpoints, servers, firewalls and other relevant network devices. Use your SIEM or EDR tools to search for patterns that support or disprove your hypothesis.
Step 4. Investigate Anomalies:
If you spot any anomalies or unusual events while analyzing, dig deeper. Cross-reference with threat intelligence, check related logs and look for lateral movement or privilege escalation attempts.
Step 5. Document Findings and Take Action:
Record if you find anything suspicious including timelines, affected assets and attacker behavior. Alert your incident response team or take remediation steps as necessary.
Step 6: Refine and Repeat:
Always remember Threat hunting is an iterative process. Use lessons learned to update detection rules, improve data collection and form new hypotheses.
Conclusion
Threat hunting is a powerful, proactive approach to cybersecurity that complements automated defenses by leveraging human insight and analysis. Whether you’re a security analyst, IT professional or just passionate about cybersecurity, developing threat hunting skills will make you a valuable defender in today’s complex threat landscape.
Start Your Ethical Hacking Journey Today
Learning cybersecurity can feel overwhelming at first. The best way to start is with a clear roadmap and the right resources.
Download The Beginner Ethical Hacker Starter Kit (2026 Edition) and get instant access to:
✔ Ethical hacking fundamentals
✔ A beginner cybersecurity learning roadmap
✔ Essential hacking tools every beginner should know
✔ Common vulnerabilities explained simply